Render Options in the Visualization Menu
These rendering options are available from the VRED Visualization menu. Use these debug modes to select the kind of baked light you want to see in your 3D rendering and check what is there. Preview lighting, before baking or check indirect light or lights and shadows.
Raytracing
Sets whether raytracing in the Viewport is off or on (choose CPU Raytracing or GPU Raytracing).
Do the same using the following Toolbar options:
 .
.
Raytracing Downscale
Sets a level of downscaling to control the quality of the raytracing in the render view (Viewport) by controlling the calculation of the raytracing. Select the downscale quality level. See the Downscale video for more information.
Do the same using the Downscale Toolbar option.
Realistic Rendering
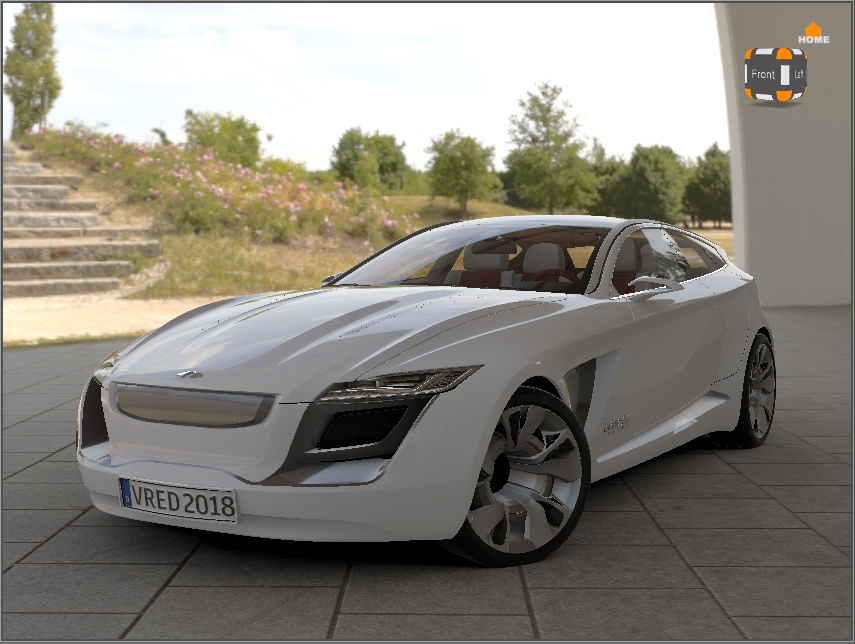
In raytracing mode, a selection of different render passes are provided for interactive display. To view composed rendering, choose Beauty Rendering.
Renderpasses Rendering
Allows you to interactively evaluate specific render passes in the viewport. This feature works in raytracing only. You can view the following:
Combined Channels
Turns on the renderpass for the selected channels. Choose from Diffuse IBL, Diffuse Light, Diffuse Indirect, Glossy IBL, Glossy Light, Glossy Indirect, Specular Reflection, Incandescence, Translucency, Transparency Color, and Background Color.
These are the same options that can be set in the Render Settings > File Output > Renderpasses section.
Material Channels
Turns on the renderpass for the selected material channels. Choose from Diffuse Color, Glossy Color, Specular Color, Incandescence, Translucency Color, Transparency Color, and Background Color.
Illumination Channels
Turns on the renderpass for the selected illumination channels. Choose from Diffuse IBL Illumination, Diffuse Light Illumination, Diffuse Indirect Illumination, Glossy IBL Illumination, Glossy Light Illumination, Glossy Indirect Illumination, Translucency IBL Illumination, Translucency Light Illumination, Translucency Indirect Illumination, and Specular Indirect Illumination.
Image Processing
Turns on renderpasses for the selected image processing effects. Choose from Fog, Lens Flare, Backplates, and Frontplates.
These are the same options that can be set in the Render Settings > File Output > Renderpasses section.
Auxiliary Channels
Turns of renderpasses for the seleced auxiliary channels. Choose from Albedo, Occlusion, Mask, Depth, Material ID, Normal, Camera Normal, Position, and View.
These are the same options that can be set in the Render Settings > File Output > Renderpasses section.
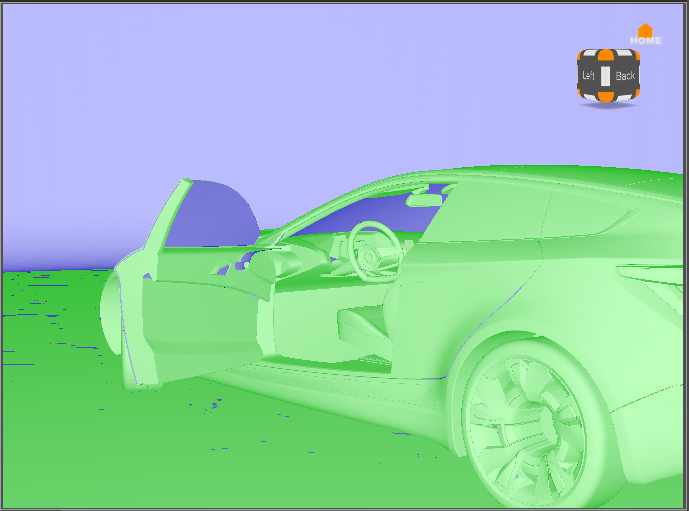
Vertex/Face Normal Rendering
Gives visual feedback about the orientation of vertex and face normals, helping you see if a surface is oriented incorrectly. See Working with Normals for how to use this and what the different colors mean.
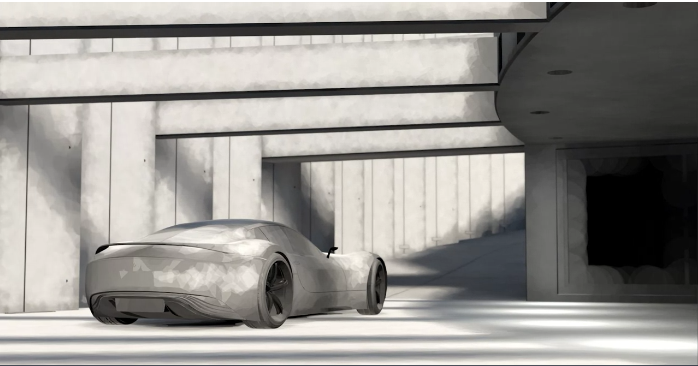
Ambient Occlusion Rendering
Shows any subtle variations in lighting and helps you see surface details that would be difficult to discern, so it's great for finding flaws in a surface. If the lighting in our scene is too bright, it can be used to soften it. Toggle this on to see the precalculated ambient occlusion of the scene.
Precomputed Illumination Rendering
Shows any baked illumination, whether indirect, direct (like when baking with the Light and Shadows mode), or the sum of both direct and indirect illumination for GPU and CPU Raytracing, as well as OpenGL.
This is only available for OpenGL rendering and for Raytracing with Precomputed Illumination modes using baked illumination. You cannot view baked illumination while in Full Global Illumination raytracing. But, like with the old Indirect Illumination Rendering mode, you can view a photon map or final gather map (if enabled).
Find this option in the Visualization menu. It was previously called Indirect Illumination Rendering.
Surface Analysis Rendering
Analyzes the quality of a surface. Options of this rendering mode are defined in the Surface Analysis module. See Analyzing Surfaces for activating and adjusting settings.
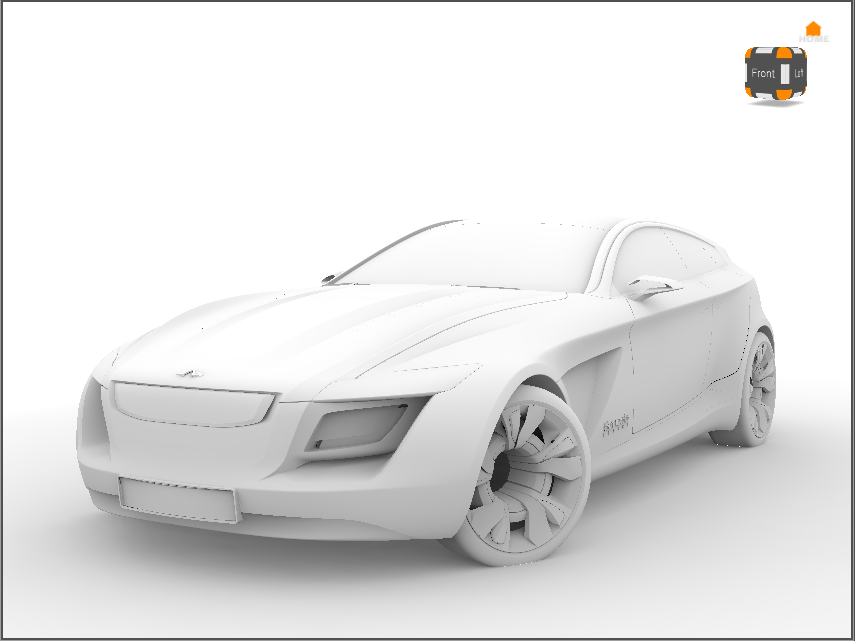
Analytic Rendering
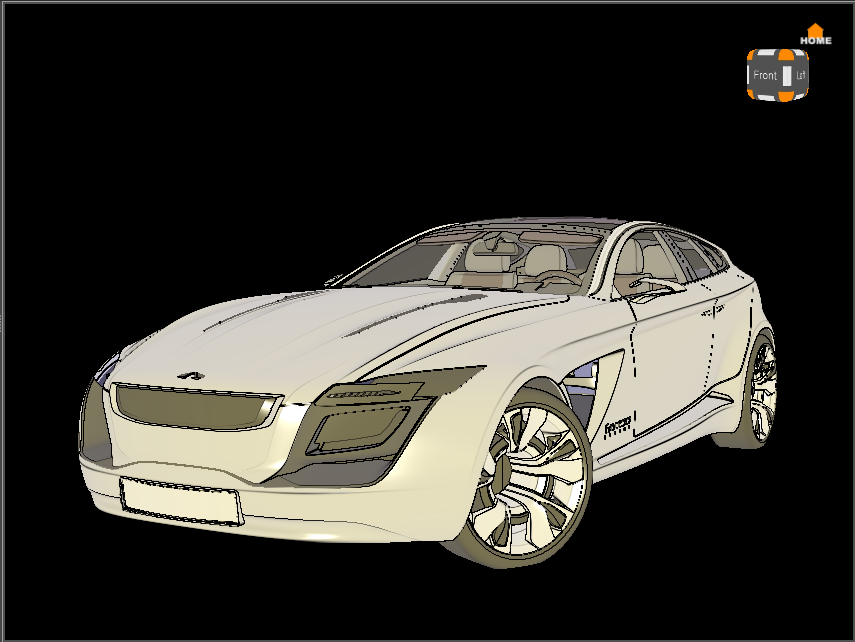
Uses a basic shading quality, without distracting reflections. It only uses standard light sources and ignores IBL (image-based lighting).
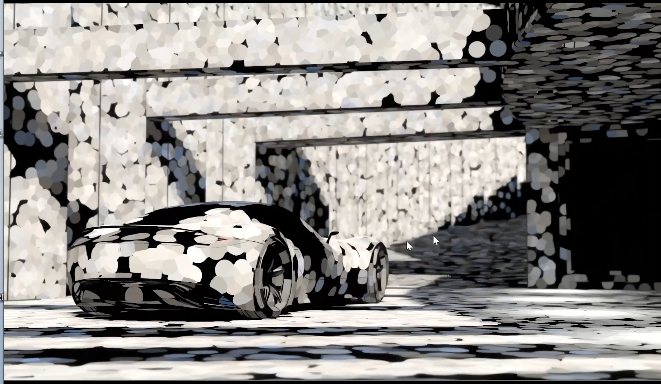
Non Photorealistic Rendering
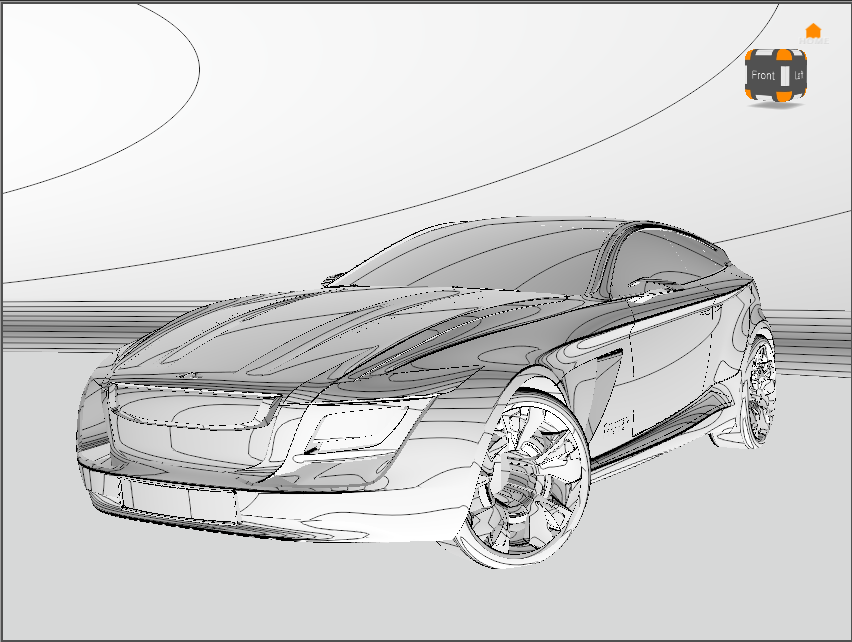
Non photorealistic rendering is an OpenGL render mode, for rendering schematic images. Use NPR shading for outline rendering.
Wireframe Rendering
Changes how the scene is rendered in the Viewport. When enabled, everything is rendered in wireframe, reducing calculation time and resource needs. The wireframe color can be set in Edit > Preferences > Render Options > Wireframe.
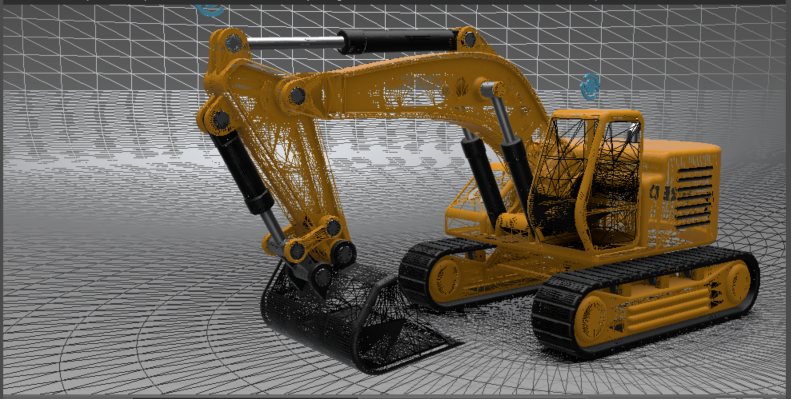
When disabled, everything is rendered as expected.
Bake Render Options
Use the Bake Render Options debug modes to select the kind of baked light seen in your 3D rendering and to check what appears. Simulate switching baked lights on and off. See the contribution of the environment during run-time and how environment material controls, like Exposure, will change the illumination of the scene.
When in Precomputed Illumination Rendering mode, if the following options are enabled, you see all the illumination in the scene.
Shadows - Displays the shadow baked lightmap.
Base Illumination - Displays all illumination from the real-time environment. Disabling this displays only the separate illumination map.
Separate Illumination - Displays the illumination from everything baked separately using Enable Separate Illumination and Bake Separate Illumination. Disabling this displays the base illumination map coming from the environment and some indirections from geometry.
Separate Illumination Options - Opens the Bake Render Options dialog with controls for changing the intensity and color of all separate lightmaps, and toggling texture compression for OpenGL on and off.
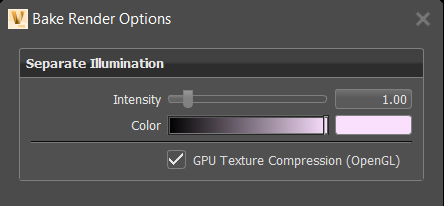
Bake Render Options Dialog
Intensity - Controls for changing the intensity of all separate lightmaps. Use it to turn lights on and off or dim and brighten them. You can use scripts to create Variant Sets.
Color - Controls for changing the color of all separate lightmaps. Use it to multiply the light with a color and change it. You can use scripts to create Variant Sets.
GPU Texture Compression (OpenGL) - Use for separate illumination lightmaps for OpenGL rendering.
Enables compression is done at run-time by the graphics card driver on texture upload and is on by default. Toggle off if any compression artefacts become visible in the OpenGL rendering.
Please note, artefacts might be more visible when viewing the raw texture data with Visualization > Precomputed Illumination Rendering, but less visible in Realistic Rendering, depending on how the lightmap data is combined with other real-time light (e.g., from the environment).
Tip:For Python users, try this script:
setLightmapGPUTextureCompression(on)
Here are scripts to use with Variant Sets:
To enable the controls:
setBakeRenderOptions(VR_BAKED_BASE_ILLUMINATION, True)
setBakeRenderOptions(VR_BAKED_SEPARATE_ILLUMINATION, True)
setBakeRenderOptions(VR_BAKED_SHADOWS, True)
To disable the controls:
setBakeRenderOptions(VR_BAKED_BASE_ILLUMINATION,False)
setBakeRenderOptions(VR_BAKED_SEPARATE_ILLUMINATION,False)
setBakeRenderOptions(VR_BAKED_SHADOWS,False)
How to Turn Geometry Lighting On and Off
Geometry lights are geometry with an incandescent material assigned to it that glows and adds to the illumination of the scene. Use the Bake Render Options to turn geometry source lighting on and off. In the Bake Render Options, enable or disable Separate Illumination. When disabled, you see only the ambient occlusion.
This can also be done via script in the Variant Sets module. In the Scripts tab, you can build a toggle that turns the lights on and off.
setBakeRenderOption(VR_BAKED_SEPARATE_ILLUMINATION, not
getBakeRenderOption(VR_BAKED_SEPARATE_ILLUMINATION))
How to Control the Intensity of the Separate Illumination
Bake white light, such as an ambient light for a door panel, into your scene and change the intensity in real-time.
Create a separate illumination lightmap for the ambient light:
- For a light, with the light selected, in the Bake Light and Shadows module Bake Settings tab, select Ambient Occlusion and enable Enable Separate Illumination. Click Calculate All.
- For a geometry light source, with the geometry selected, in the Material Editor, select it material, then in the Incandescence section, enable Bake as Separate Illumination and Use as Light Source (Raytracing Only). In the Bake Light and Shadows module, click Calculate All.
Select Visualization menu > Bake Render Options > Separate Illumination Options to access Intensity.
Use the Intensity slider to change the brightness of all separate illumination lightmap.
Change the intensity of the separate illumination lightmaps via Python in the Variant Sets module > Scripts tab, using setSeparateBakeInsensity(1,0), and build variants with it.
How to Control the Color Multiplier for the Separate Illumination Map
Bake white light into your scene, such as an ambient light for a door panel, and change the color with the multiplier in real-time.
At present, you cannot build light classes to change the intensity or the color multiplier for the separate lights individually and control, for example, a "red" light independent from a "blue".
Create a separate illumination lightmap for the ambient light:
- For a light, with the light selected, in the Bake Light and Shadows module Bake Settings tab, select Ambient Occlusion and enable Enable Separate Illumination. Click Calculate All.
- For a geometry light source, with the geometry selected, in the Material Editor, select it material, then in the Incandescence section, enable Bake as Separate Illumination and Use as Light Source (Raytracing Only). In the Bake Light and Shadows module, click Calculate All.
Select Visualization menu > Bake Render Options > Separate Illumination Options to access Color.
Click the color swatch or move the slider to multiply the light with a color to change it.
Change the color of the separate illumination lightmaps via Python in the Variant Sets module > Scripts tab, using setSeparateBakeColor(Color3f(0.0, 0.1, 0.1)), and build variants with it.