For accurate flow results, the wind tunnel should be sized based on the model dimensions.
This video and tutorial describe how to modify the wind tunnel for your model. As you watch the video, please follow along in Flow Design. Feel free to pause the video at any time to practice the skill, or simply watch it all the way through and practice with the steps in the tutorial.
Tutorial: Modify the Wind Tunnel
If you haven't already, start Flow Design and open one of the sample models. We used the car model in the tutorial, but any of the examples will do.
|
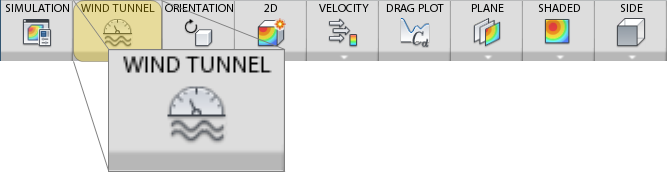
Step 1 Change the wind tunnel size by clicking Wind Tunnel from the ribbon:
|
|
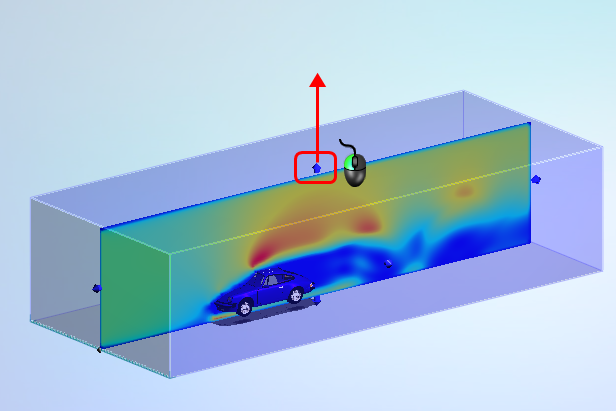
Step 2 Resize the wind tunnel in a particular direction by dragging a manipulator in the desired direction.
|
|
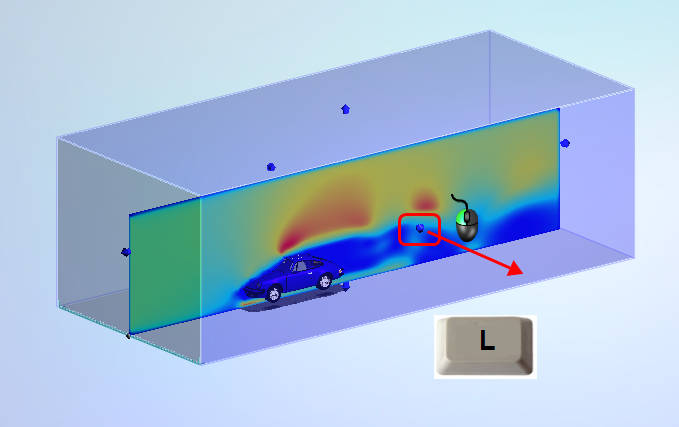
Step 3 To resize symmetrically, click the keyboard "L". (You do not need to hold the key; just tap it once.) As you drag a side, the other side resizes in the same way:
|
|
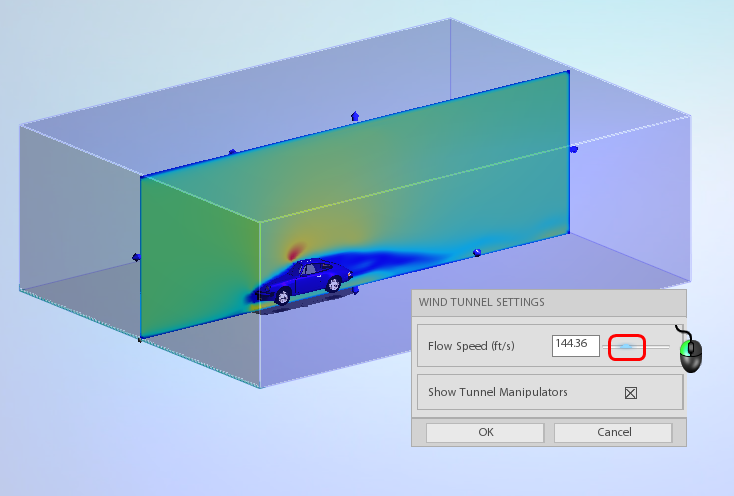
Step 4 Change the flow speed by dragging the slider in the Wind Tunnel Settings dialog:
Note: The results automatically update based on the new value of flow speed.
|
|
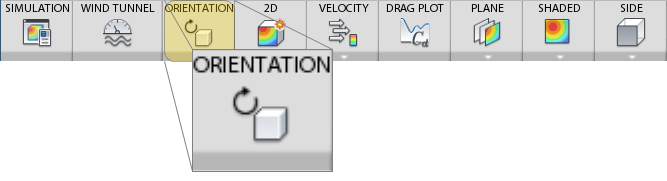
Step 5 Change the model orientation by clicking Orientation from the ribbon:
Note: In the standalone version of Flow Design, we change the model orientation and leave the wind tunnel fixed in space. In the CAD plugin versions, we change the wind tunnel orientation instead.
|
|
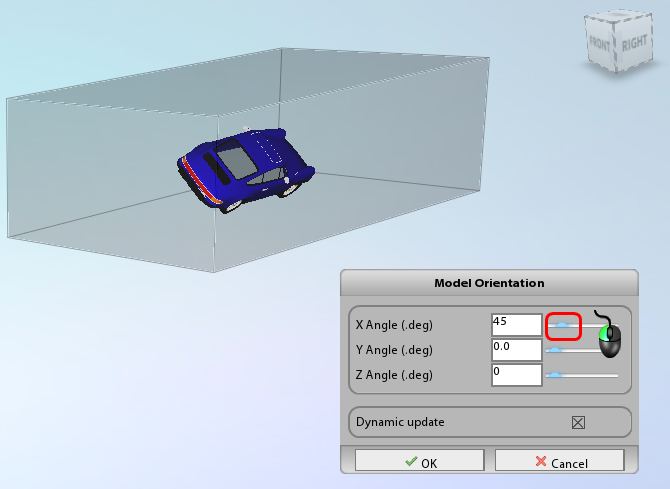
Step 6 Drag the sliders to reorient the model: X axis:
|
|
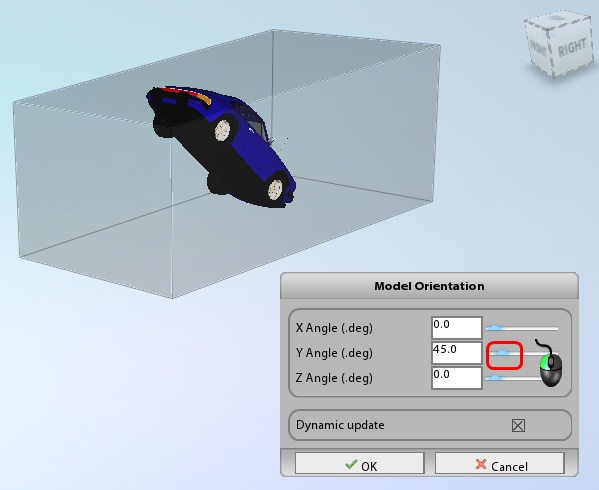
Step 7 Rotate the model about the Y axis:
|
|
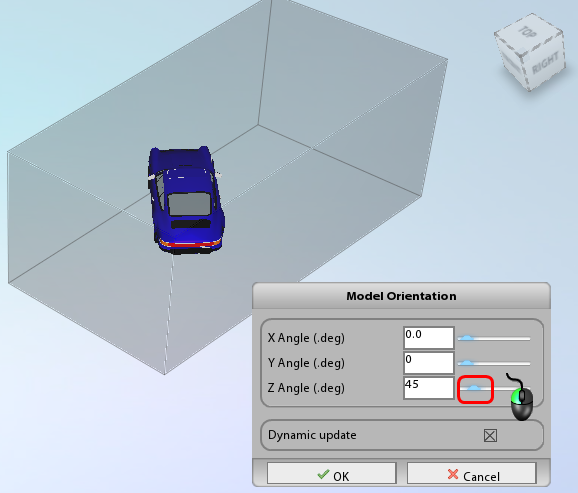
Step 8 Rotate the model about the Z axis:
|
Next Steps
To learn about viewing results on planes, watch the next video and tutorial.
Additional Information
For more information about wind tunnel sizing, you can review additional information here.