
A plane shows results on a two-dimensional slice through the wind tunnel. For 2D simulations, the plane defines the calculation location. When the plane is moved, Flow Design starts a new calculation using the newly defined location of the plane.
For 3D simulations, the calculation occurs throughout the entire wind tunnel, and is not controlled by the location of the plane. The plane is useful, however, for visualizing results through a cross-section of the wind tunnel. Moving the plane through the tunnel is a convenient way to visualize the flow behavior around the model.
Plane appearance options
You can display results on a plane either as shaded contours or as vectors.
Use a Shaded plane to display velocity magnitude or pressure:


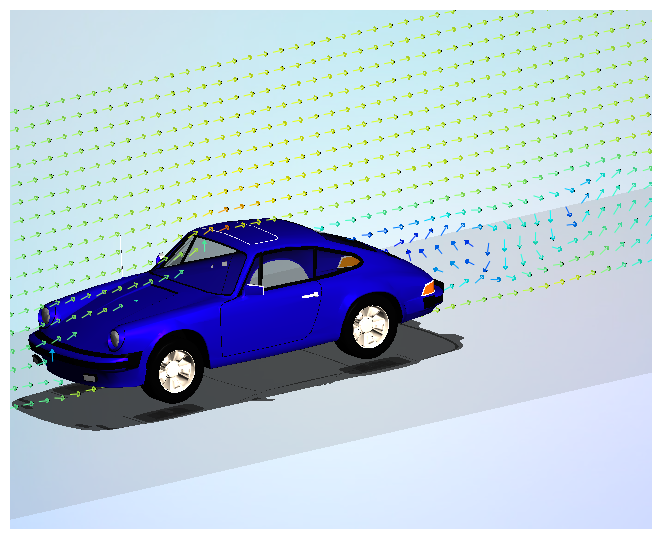
Use Vectors to show the direction of air flow in addition to the velocity magnitude (shown by color).
To change the orientation of the plane
You can orient a plane in three pre-defined ways using the orientation command. The visible command is based on the current orientation, and will be either Side, Top, or Front.

These orientations are parallel to the corresponding faces of the wind tunnel, and you can use the ViewCube for reference. To re-orient the plane, expand the Side / Top / Front command, and select the desired orientation.
Side

Top

Front

To move a plane
Click your mouse on the drag handle, and drag the plane along the axis:
