Okta SCIM Setup
This guide describes how to configure Okta AD to automatically provision and deprovision users and groups to Autodesk.
Capabilities
The following provisioning features are supported:
Push New Users and Groups
- New users and groups created through OKTA will also be created in the Autodesk Account.
Push User Deactivation & Reactivate Users
- Deactivating the user through OKTA will deactivate the user in the Autodesk Account.
- User accounts can be reactivated in the Autodesk Account.
Push Profile and Group Updates
- Group attributes and membership updates will be synced in the Autodesk Account.
- Users' profile details updated through OKTA will be pushed to the Autodesk Account.
Known Issues
Refresh App Groups feature on Okta Group Push is not supported since it imports groups from the SCIM server.
Push groups by name feature on Okta Group Push is supported only when the group name does not exist in the SCIM server or the group can be found for linking.
Prerequisites
- SCIM base URL
- API token
Both the base URL and API token will be available in the directory sync set up in Autodesk Account. The API token is generated using the SCIM Service Account credentials in the Okta.
Configure Autodesk SSO Application from Okta
Sign in to Okta and access the Applications tab.
Click the Browse App Catalog button.
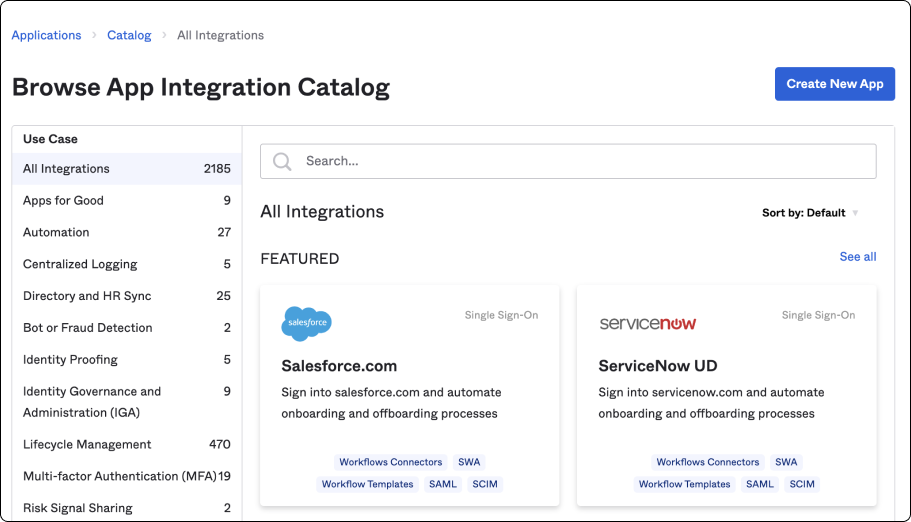
Search for the "Autodesk SSO" application and update the Sign-on, provisioning, and user assignment details accordingly.
The "userName" attribute value follows an email address format, so you'll need to select Email for the Application username format in the Sign On tab in Okta.

Provisioning
Under the application page, go to the Provisioning tab and click Integration on the left-hand side under Settings.

Scroll down and select the Enable API integration checkbox.

In order to fill Base URL and API Token go to the Autodesk Account and select the User management tab on the left navigation bar.
Go to By User or By Group to access the team settings.
Click the Set up directory sync button and select Okta SCIM as the directory environment..

Click Next to access the Okta admin crendentials.

Copy the Base URL and API token.
Now, in the Okta Provisioning page, paste the the base URL and API token in the respective fields.
Select the Import Groups checkbox.
Select Test API Credentials to make sure that Okta AD can connect to Autodesk.
Save the connection.
Select To App on the left-hand side navigation bar to enable the provisioning settings.

Select the Enable checkboxes beside Create Users, Update User Attributes and Deactivate Users and click Save.
Note: Once the users and groups are mapped and the automatic provisioning is enabled in the Autodesk Account, Okta users and groups will be synchronized immediately. If there is an issue with the sync, it will be logged on the dashboard and the user should retry manually to provision the users.
User and Group Assignment
Assigning users
Select Assignments tab of the app. Select the Assign drop-down button to assign more people or groups in Okta to the Autodesk app.


Once the user and group assignment are complete, the assigned users and groups will be added to Autodesk Account.
Start Provisioning
Select the Push Groups tab in the Autodesk app.

You can push groups by name or by rule. For by rule groups,, you can create a rule that pushes any groups that match the rule.

You can push groups to sync your Okta group and its users with your Autodesk Account.