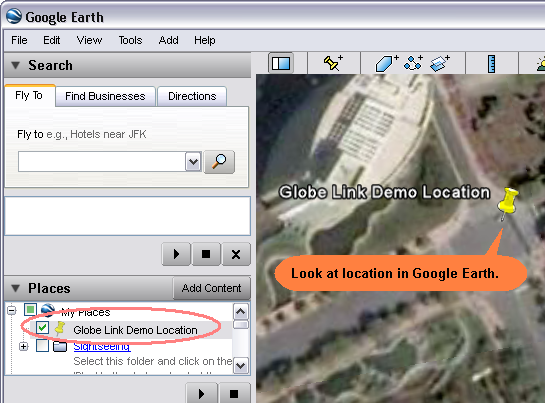
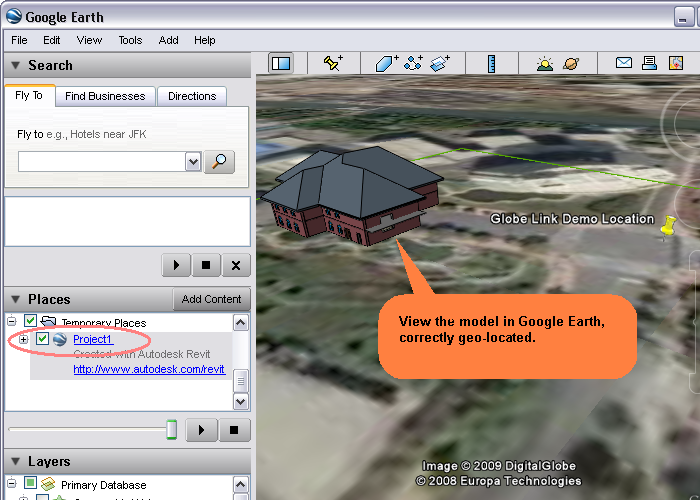
In this lesson, you build a model on top of a site acquired from Google Earth. After building the model, you publish it to Google Earth.
- Locate the site in Google Earth on which to build the model.

- In Revit, click

 New
New Project.
 - Click Add-Ins tab
 Globe Link panel
 Acquirement
 Acquire from Google Earth.
 - Set a floor plan as the active view because Acquire imports the Google Earth image into the Revit active view as the background.
The Google Earth image extents is imported into Revit.
- Click Manage tab
 Project Location panel
 (Location) to display the location of the Revit building model. Its location matches the Google Earth location.
 The Google Earth image imports into Revit as the background on which to build the model. The image was captured by the camera on top of this location.
- (Optional) Click Modify tab
 Modify panel
 (Move) or
  (Rotate) to adjust the site to a desired position on which to build the model.
 - Create a building model directly over the site’s background.
- Click
 (Default 3D View) on the Quick Access toolbar to open the 3D orthographic view.
 - Click Add-Ins tab
 Globe Link panel
 Publish drop-down
 Publish to Google Earth. Note: Publish only executes when a Revit 3D orthographic view is active. Publish also sets the Revit camera properties to the Google Earth camera.
 - View the building model in Google Earth. It is in the correct geographical location.
