In this part of the tutorial, take a graphic design for the label of the shower gel bottle, and apply it to the label surface.
The process of applying the graphic is called Mapping.
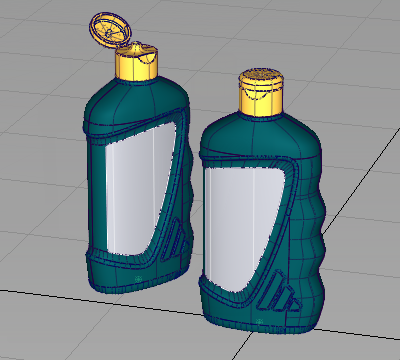
The graphic file (shown on the left) is in a standard format, such as a .tif or .jpg. It can be mapped onto a surface (shown on the right).
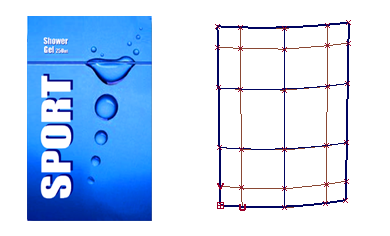
The result is that the graphic file follows the U and V directions of the surface. If the surface is trimmed, the graphic appears on the part of the surface that is visible.
To apply the graphic as a colored label, map the Color parameter.
Mapping can be used on many of the shader parameters, such as transparency, bump, or reflection.
Open the tutorial file (optional)
If you successfully completed Part 1, proceed to the next step: Create a label shader.
If you were not successful in part 1, open the file called render_basics_Part1.wire, located in the wire folder of the CourseWare project. This file contains the completed model from Part 1.
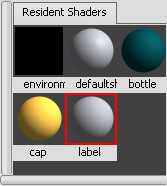
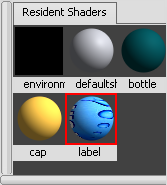
Create a label shader
- Click the Default shader to select it. Then, choose the Copy Current Shader
 tool to create a third shader.
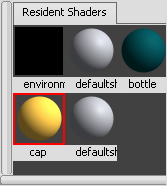
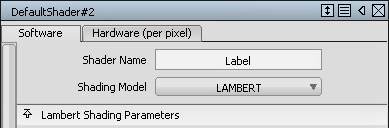
- Double-click the icon of the new shader. Change the Shader Name to Label and set the Shading Model to LAMBERT to represent a matte paper label.
Do not change the color of the shader. Instead, map the label graphic onto the Color channel. The graphic image will replace the default gray color.
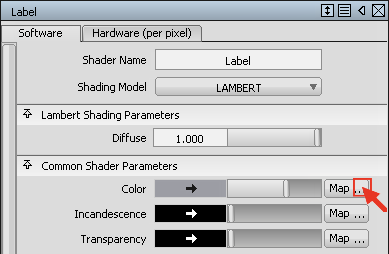
Map the color channel
- In the Label shader editor, click the Map button beside the Color parameter.
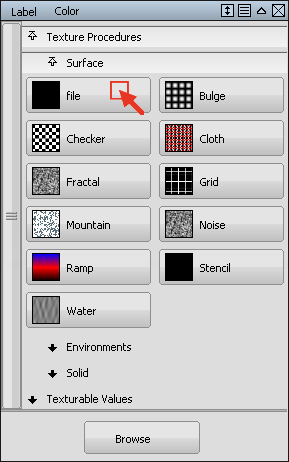
- The Texture Procedures window appears. Choose the Surface > file texture.
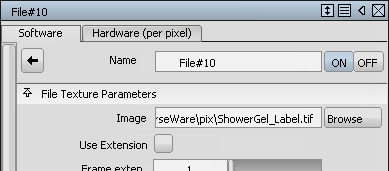
- The File Texture editor opens. Choose the Browse button next to the Image section.
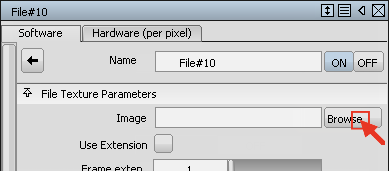
The file browser opens. To retrieve the file that contains the label image, navigate to the CourseWare\pix directory.
- Select the ShowerGel_Label.tif image.
The pathname of the label file displays in the Image section.
Leave the editor window open on the screen, as you will use it later to modify the position of the label.
Tip: Minimize (or hide the window while you work with the bottles by clicking the titlebar. To restore the window to full view, click the title bar again.The shader icon in the Visualize Panel shows the label wrapped around the shader ball.
Now assign the label shader to the label surfaces.
- Pick the label surfaces using the Layer drop-down menu.
- Assign the Label shader to the label surfaces using the Visualize Panel Assign
 icon.
icon. -
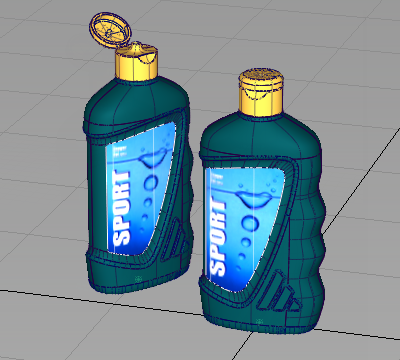
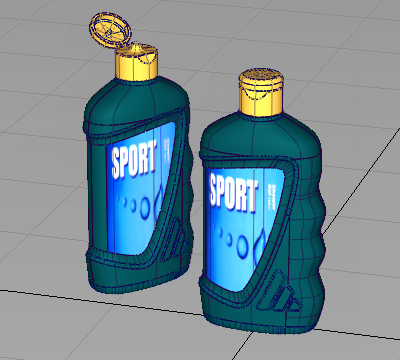
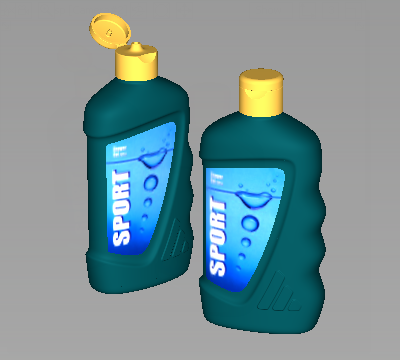
The label graphic now appears on the label surfaces.
- Choose Pick > Nothing
 to deselect the surfaces.
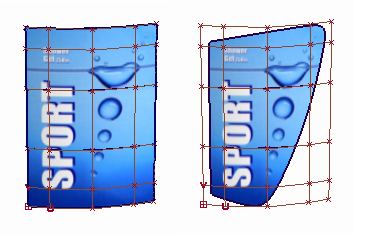
 - You can modify the placement of the label in the Surface Placement section of the texture editor window.
In the Rotate section, type 90 degrees to see an alternative label position.
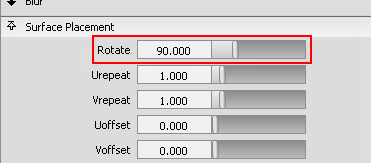
- Return the label rotation to zero degrees, to get the correct label view.
Toggle off the wireframe and grids using the Show button in the Perspective window pane.
 Tip:
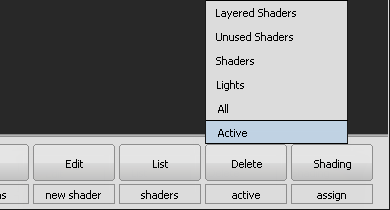
Tip:To see how the label graphic is applied to the shader choose Render > Multi-lister > Shaders. The Multi-lister is an alternative to the Visualize Panel for working with shaders. (You will use it in the next section to work with lights.)
In the Multi-lister, you can see the label graphic is shown as a File Texture attached to the Label shader.

If you want to delete the label graphic, you can select it in the Multi-lister and use Delete > Active on the Multi-lister menus.
 Note:
Note:Do not use Delete > Active from the main menus. This command deletes any geometry selected in the scene.
Save your work
- Save your work in the wire folder of the Lessons project.
- Name your file myRender_Basics2.wire.