Legacy tutorial posted on the old Alias Design Community site on February 15, 2008, by Salvador Roig.
We are an academy of automotive and industrial digital design. We work with the major companies, design studios and universities within Europe. Our aim is to provide the industry with well trained and qualified professionals in digital design.
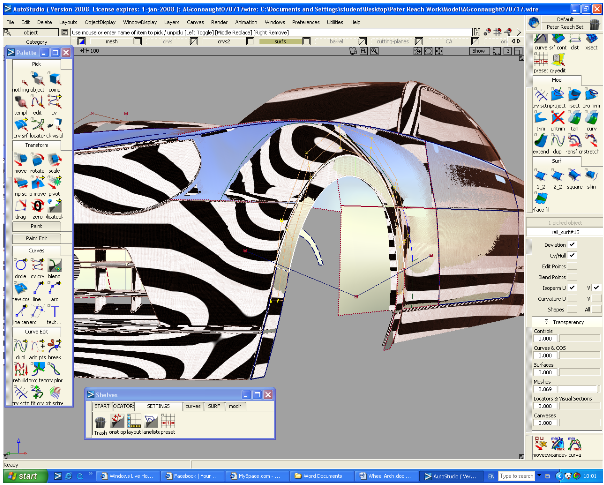
Step 1
Finding the centre of the wheel arch using the mesh as a reference - Create a circle and match it to the centre of the mesh wheel arch in the side view.
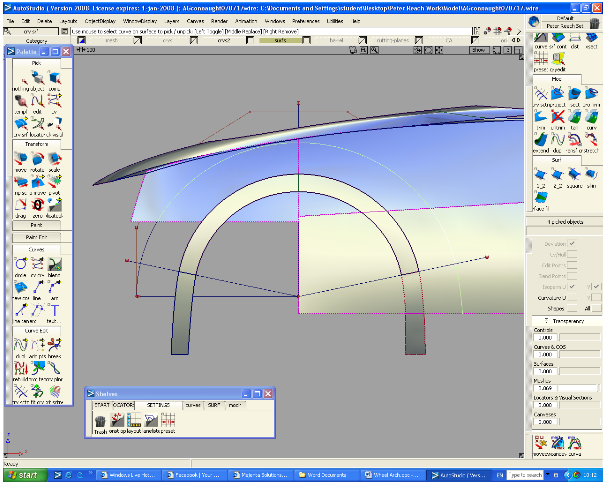
Step 2
Building the Inner wheel arch using a Railed Surface - Create the arch with the three point ach tool and move the CV's to match the mesh. Then create two more curves to complete the wheel and create the railed surface.
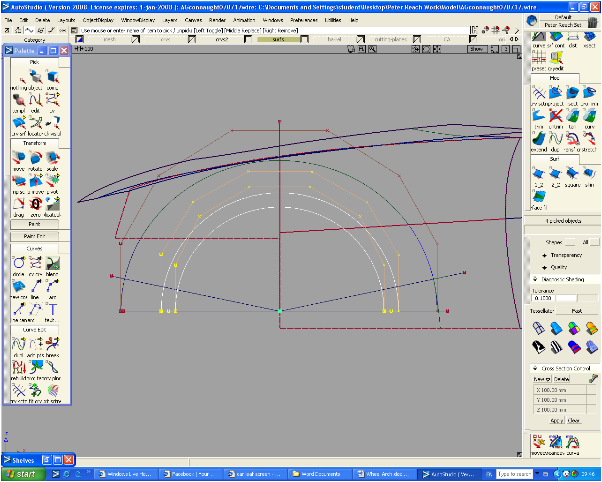
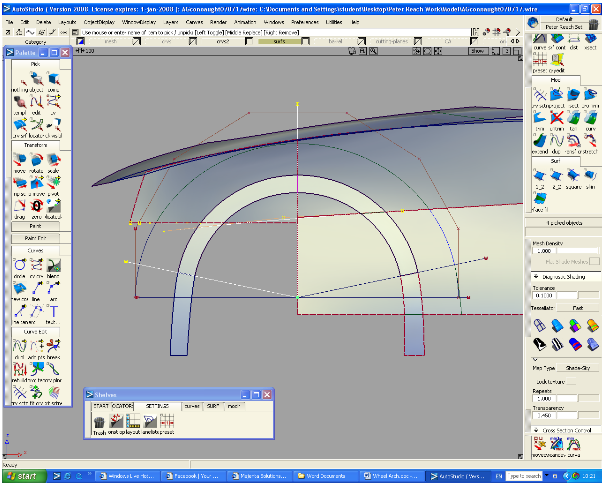
This image shows the CV/Hulls of the railed surface, move these to manipulate your wheel arch surface as close to the mesh as possible (remember that if the mesh isn't correct then do try to follow it exactly use it like a sketch).
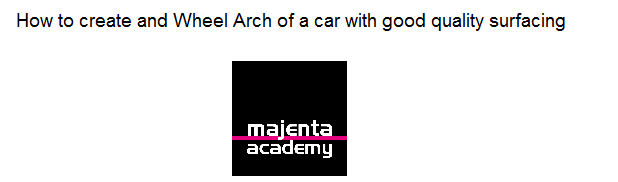
Step 3
Project the large wheel arch curve created earlier onto the side panels of the vehicle.
Step 4
Work out the amount of sections you will need to create the wheel arch, remember that you should keep sections to a minimum, and try to create one at the top (12 o'clock). Use the centre of the wheel arch as the pivot point and also where possible use the shut lines of the body panels to disguise any tangency continuity.
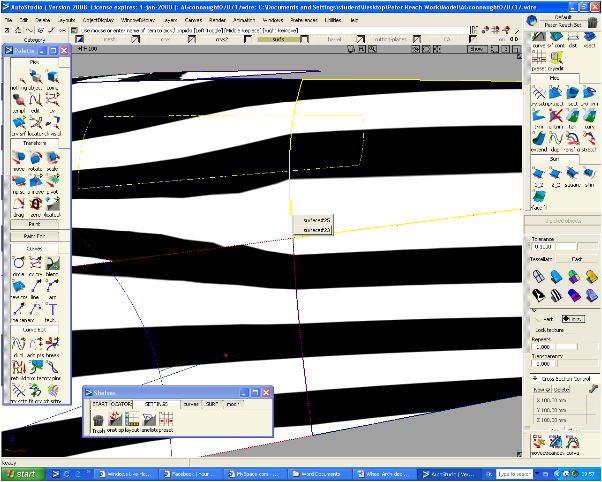
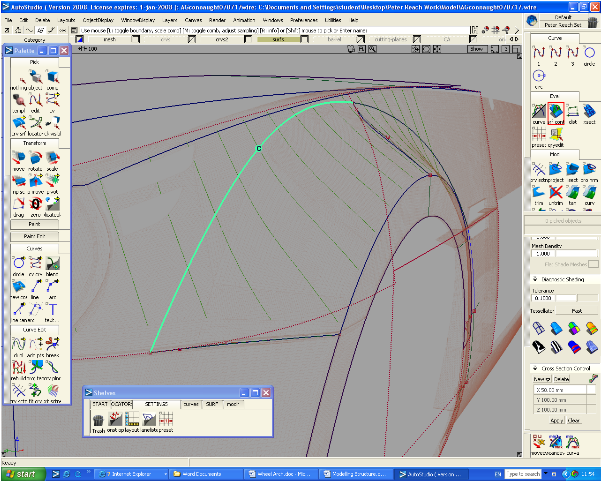
Step 5
Project Curves onto wheel arch so that you can start to build the transition curves. The transition curves should only have curvature at the body panel end as you will place a fillet surface later on the outer section.
Step 6
Align the CV's to the curves on surface projected earlier and then move them using the slide tool to fit the mesh.
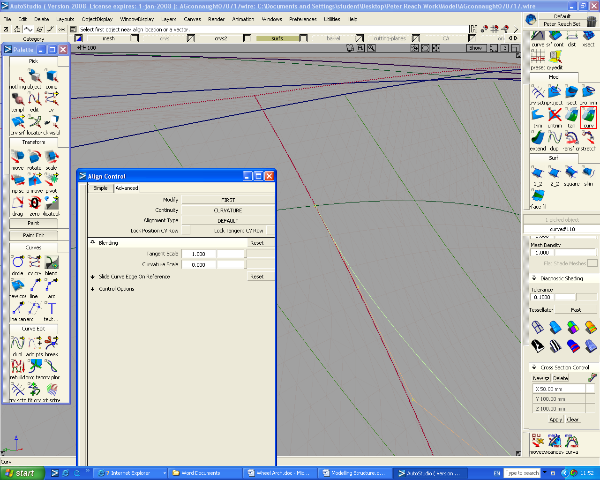
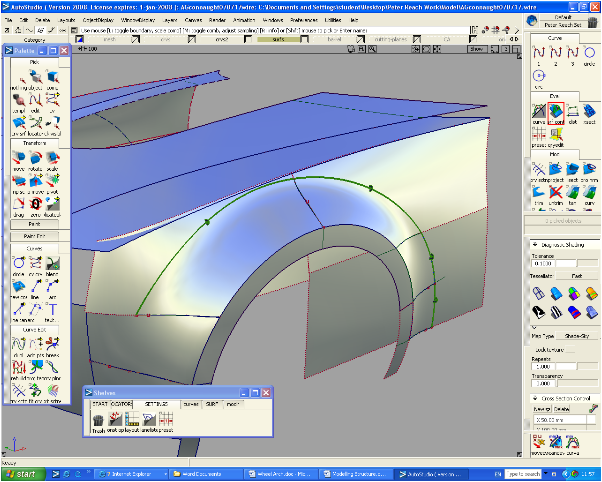
Step 7
Create a railed surface between the 4 curves then use the settings to create curvature between the body panel and the new surface. Move the CV/Hulls in order to follow the line of the mesh, however make sure that the highlights work as you may find that the mesh isn't showing good highlights therefore don't match exactly to the mesh.
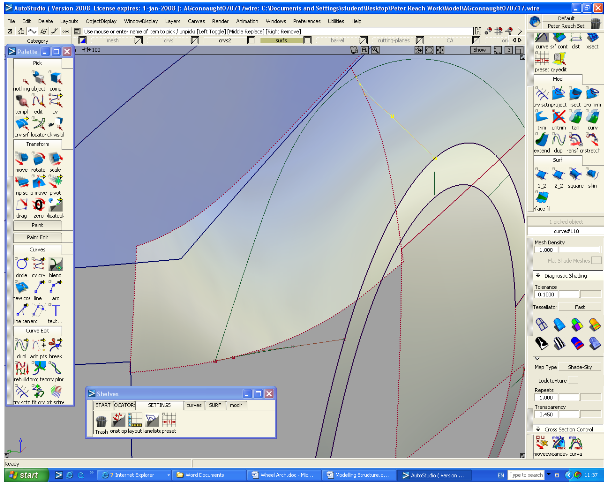
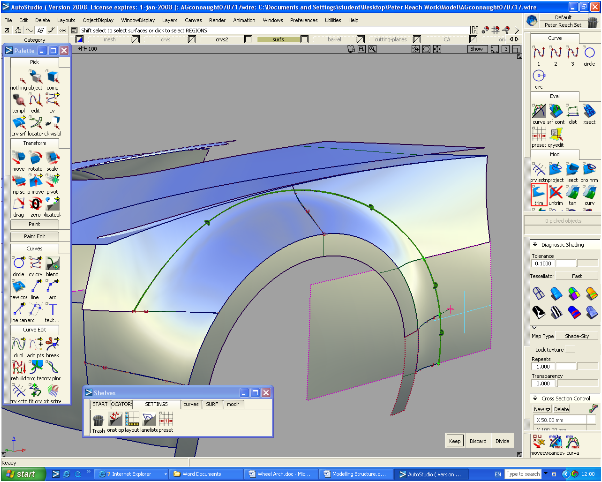
Step 8
Create the remaining surfaces around the wheel arch, don't worry about creating curvature continuity between the new surfaces first make sure that you have continuity between the side panels and the wheel arch.
Step 9
Finally delete the inside surfaces to create a finished front wheel arch, repeat similar steps for the rear wheel arch.
Tips and Tricks
Where possible use the Shut lines to disguise continuity problems, for example when building this model where the door shut lines are on the front wing use them to disguise the tangency continuity instead of trying to create curvature when not necessary (always work to the centre if the shut liens).