When you drag a copy of a tool or diagnostic shader onto a shelf or marking menu, that copy retains its own settings. You can use this feature to access different tool configurations quickly.
Create a custom tool or shader
- Drag a copy of a tool or shader to a shelf or marking menu.
- Set the options of the tool or shader.
- Hold
 (Windows) or
  (Mac) and double-click the tool copy to rename it.
Drag a custom tool onto a shelf
- Double-click the tool icon on the palette and set its options.
-
 -drag the icon in the option window onto a shelf.
 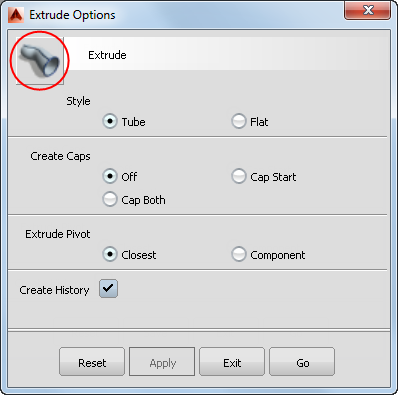 Note:
Note:The icon in the option window represents a copy of the tool with the current settings.
Drag a custom diagnostic shader onto a shelf
- Click the shader icon in the Diagnostic Shade window and set its options.
- -drag the icon in the Diagnostic Shade window onto a shelf.
Customize a tool or diagnostic shader already on a shelf
- Double-click the tool or shader on the shelf and set its options.
- Click Save. Note:
The settings of any other copies of the tool or shader on the shelves or on the palette do not change.
Customize the icon for a tool or diagnostic shader on a shelf
If you have several versions of the same tool with different settings on your shelf, you can edit the tool icons to help differentiate them.
- Hold
 (Windows) or
  (Mac) and double-click the tool or shader on the shelf.
 A confirm box appears, indicating that the icon file has been written to the bitmaps\small folder under your UserPrefs in the TIFF format.
- Click Continue.
- Modify the image file using the image editor application of your choice, and save it back to the same name and location.
The next time you launch Alias, the icon on the shelf will display your modifications.