In this section, complete the model by mirroring the surfaces. You also have the option of creating the power cable to finish off the presentation of the design.
Open the tutorial file (optional)
If you successfully completed part 7, you can proceed directly to the next step, Mirror the surfaces.
If you were not successful in part 7, open the file called vacuum_Part7.wire, located in the wire folder of the CourseWare project. This file contains the completed model from part 7.
Mirror the surfaces
Finally, mirror all the surfaces to create the final design.
- Choose Layouts > Perspective
 or the F8 hotkey to switch to the perspective view.
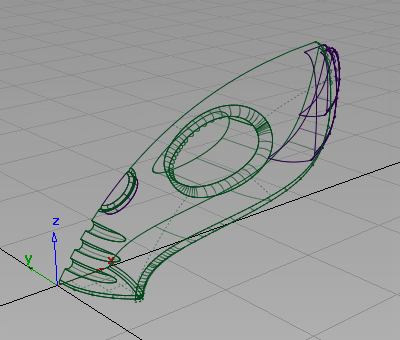
- Choose Pick > Object
 and drag a pick box around all of the surfaces to select them.
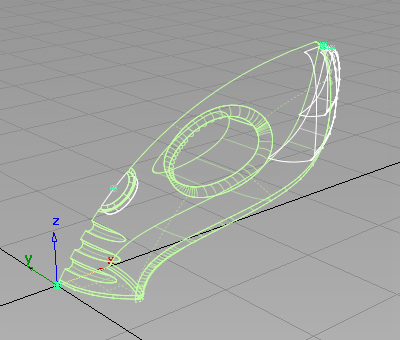
- Choose Edit > Duplicate > Mirror

 to open the mirror tool option box.
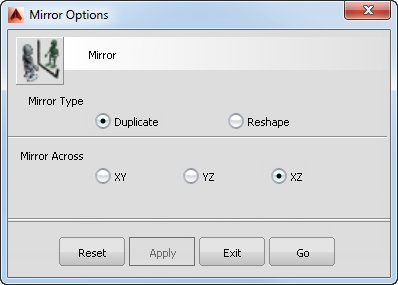
- Choose XZ as the Mirror Across plane, and click Go.

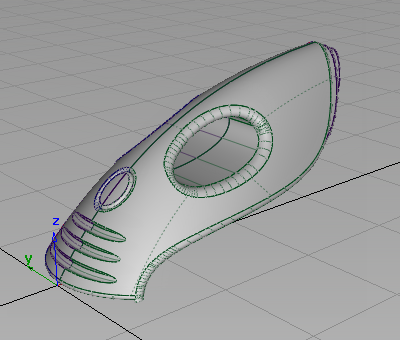
The vacuum cleaner surfaces are mirrored, and the whole design can now be viewed.
- Choose Pick > Nothing
 to deselect the mirrored surfaces.
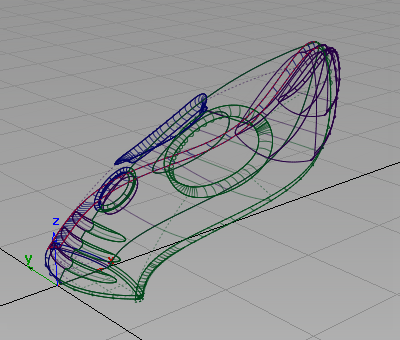
- Use Diagnostic shade to view the completed model.
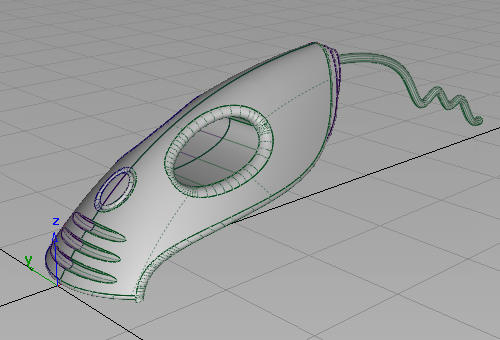
Optional: Create the power cable
If you have time, you can create the power cable using an extruded surface, as you did in the joystick tutorial. The curves are supplied as templates on the curves layer of the tutorial file.
Save your work
- Choose File > Save As
 to save the current scene.
 - Save your work in the wire folder of the Lessons project.
- Name your file myvacuum8.wire.