You can add or modify trees in a model or proposal.
To add trees
- Click


 .
. - Click
 (Sketch Stand of Trees) or
  (Sketch Row of Trees).
 Your selection becomes the default for tree sketching until you change it again.
- Select a tree or vegetation style from the flyout catalog. Note: You can select any type of model, including items like street lights, cars, or safety cones. These items are treated as "tree" features in the database.
- Do one of the following to sketch your landscape:
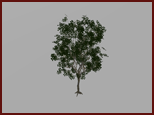
Action Result Visual Double-click a point.
A single plant is placed at that point.
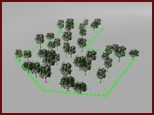
If you selected
(Sketch Stand of Trees), click individual points to create a boundary for the landscaped area. Double-click the last point to finish creating the region. A group of the plants are randomly placed inside the region.
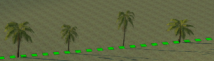
If you selected
(Sketch Row of Trees), draw a line for the tree alley. Plants appear along the line you drew.
- Use the Density slider to adjust the spacing of the plants.
- Use the elevation gizmos to adjust the height of the plants.
Trees are a Vegetation layer in the Model Explorer, and information about them appears on the Properties Palette. The number of plants you added and the area of the planted region appears in the Trees section of the Proposals Manager.