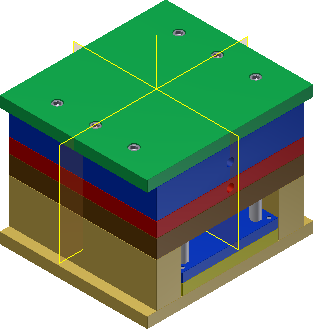
Place a user-defined mold base

Do one of the following:
- Create and save an Inventor assembly file.
- Import a mold base and save as an Inventor assembly file.
Note: Before saving, you can use the Mold Base Author command to specify mold base information, such as alignment and component designations.
- On the Mold Assembly tab, Mold Assembly panel, click User Mold Base.
- On the file open dialog box, browse to and select the mold base assembly file.
- To enable or disable automatic constraints, click Options.
- Click Open. Note: If the assembly does not contain mold base information, a warning box appears. Click Yes to continue, or No to cancel and assign mold base information before placing.
- Select a point or an edge to specify the Placement Reference.
- Optionally, specify the Core Pocket Depth.
- Optionally, select an angle in the drop-down to rotate the mold base.
- Click OK to finish.