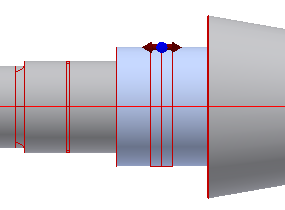
- In the Autodesk Inventor window, select the third shaft element from the left.
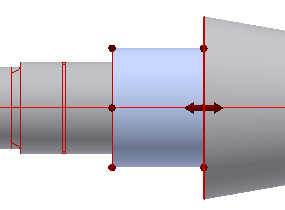
- In this step, use 3D grips to edit section parameters. For this shaft section, two 3D grips are available. Use both of them to edit the dimensions.
Double-click the length 3D grip as shown in the image.
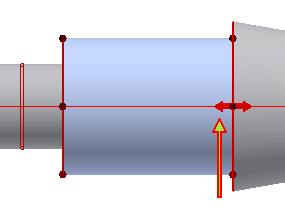
- In the Edit dialog box, enter a new length value of 50 mm, and then click
 . The length of the section changes.
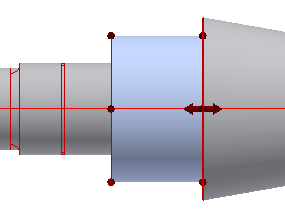
- Double-click the diameter 3D grip as shown on the image.
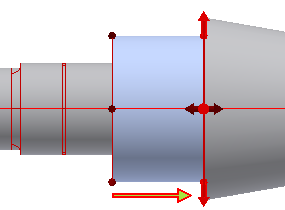
- In the Edit dialog box, enter new length value of 65 mm, and then click
 . The diameter of the section changes.
- Now, add a through hole to the selected shaft section. In the tree control, the third shaft section is activated. Click the arrow next to
 to expand the list of available features for this shaft section, and select Add Through Hole.
The default hole is added to the selected section. To edit the hole, select it in the tree control, and click the
 .
. - In the Through Hole dialog box, change the Hole Diameter value to 12 mm. Ensure that you change the value for the Hole Diameter parameter, not the Main Diameter parameter.
- Click OK.
