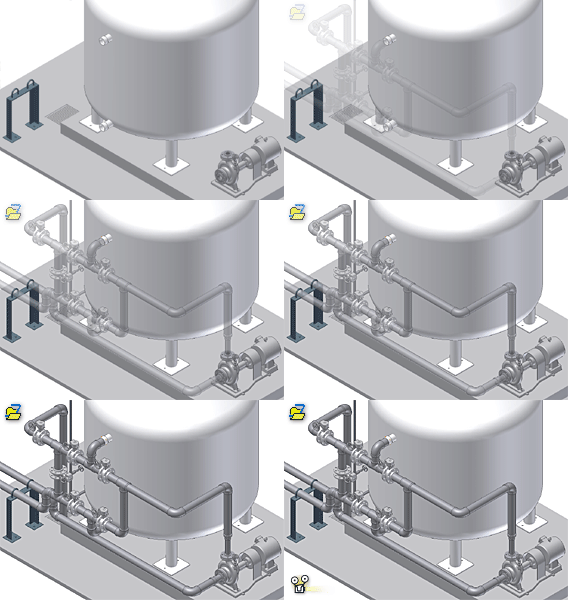
You can create a tube and pipe assembly by adding runs in the context of a standard Autodesk Inventor assembly. The assembly file can be empty or contain an assembly model but must be a saved file. Typically all tube and pipe components, including any additional runs you create, are contained in the master runs assembly.
When creating the first run, determine the location in your workspace to store the master runs assembly along with the first run. Continue to determine the location of each subsequent run, route, and flexible hose assembly (when the active flexible hosing style is defined to use subassembly). We recommend that you put all runs under the master runs assembly and hose assemblies under the corresponding parent run.
-
 With an assembly file open, click
Environments tab
 Begin panel
 Tube and Pipe
.
 - Do either of the following:
- To create the master runs assembly along with the first run, enter the information in the Create Tube & Pipe Run dialog box.
- To add more runs, enter the information in the Create Run dialog box.
- Click OK to close the dialog box.
- To add routes, double-click the run to continue with forward route creation.
- When completing routes and runs, click Return on the Quick Access toolbar, or right-click in the graphics window and select Finish Edit.
- Return to the top assembly and save the file.