Build a snap fit feature on a part starting from a 3D point.
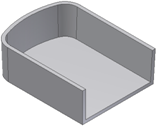
- Create or import a thin walled part. The goal is to place a Snap fit feature on the circular edge at a position that is not convenient for the “on sketch” positioning style. For example, use a point on the edge where the hook direction is unlikely to be aligned with a sketch X or Y axis.

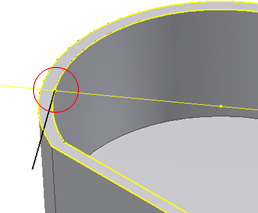
- Build the construction elements and a 3D work point on the internal wall edge at the position where the Snap fit is desired. For example, the 3D work point can be the end of a line that is tangent to the internal edge. The hook direction can be a work axis defined by the 3D work point and the center of the circular edge.

- Click
3D Model tab
 Plastic Part panel
 Snap Fit
 and make sure that the Placement method is On Point.
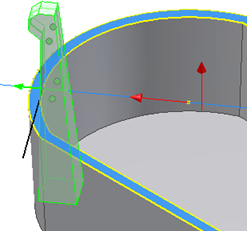
 - Select the work point defined in step 2 as the Center. Select the blue face in the image as the Direction and the work axis defined in step 2 as the hook direction.

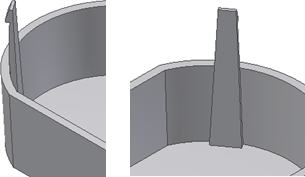
- Adjust the shape parameters as desired and click OK.
