Now that all the parts are placed in the iCopy template, test a final time to verify that everything works as expected.
- Open Target.iam.
-
 On the ribbon, click the
Assemble tab
 Component panel
 iCopy
command.
 - Select Frame.iam in the Select Source Assembly dialog box. Click Open. The Constrain iCopy dialog box displays.
- Select the work point at the end of the cyan (light blue) line for the Lower left point.
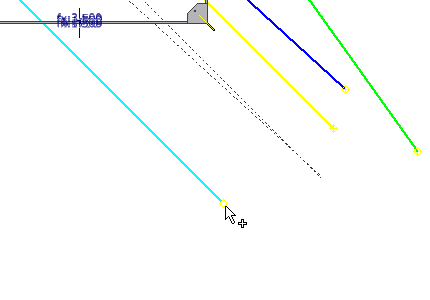
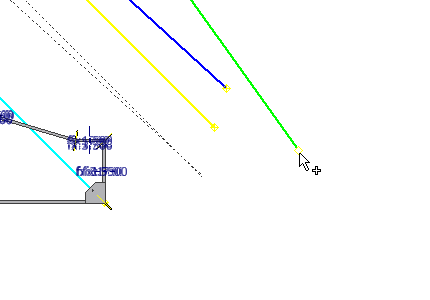
- Select the work point at the end of the green line for the Lower right point.
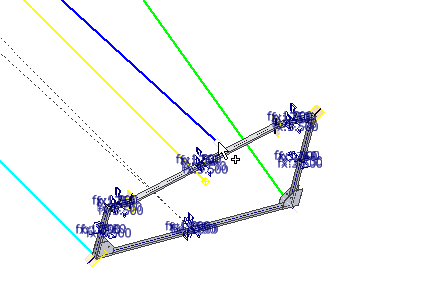
- Select the work point at the end of the blue line for the Upper left point.
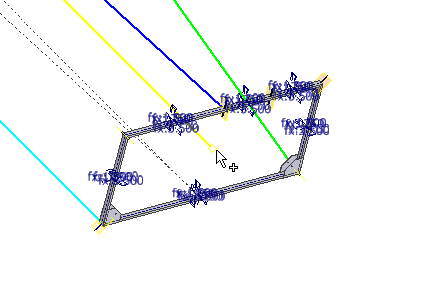
- Select the work point at the end of the yellow spline for the Upper right point.
- In the Frame Height field, enter 125 mm.
- In the Frame Width field, and enter 125 mm.
- Select the Path pattern tab to specify path information.
- Select the cyan (light blue) line to use as the path for the pattern (the Path button is selected automatically).
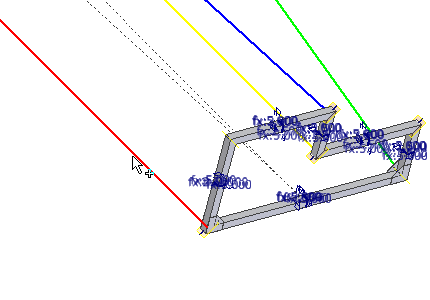
- The Work Plane is selected automatically based on the selected path.
- Enter 8 in the Instance number field.
- Enter 2500 mm in the Offset field.
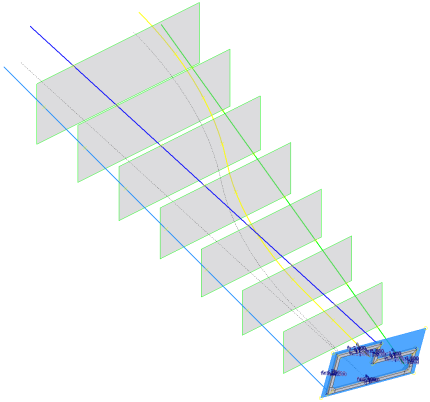
- Click Next to continue the command. The Copy / Reuse iCopy Components dialog box displays because there are components that can be reused in the iCopy definition.
- Click Next in the Copy / Reuse iCopy Components dialog box. The plates reference the same part file for each iCopy result (reuse). All other components are copied for each iCopy result (copy). The iCopy: File Names dialog box is displayed.
- Click OK to complete the command. The file name prefix that you entered previously is maintained until you turn the setting off.
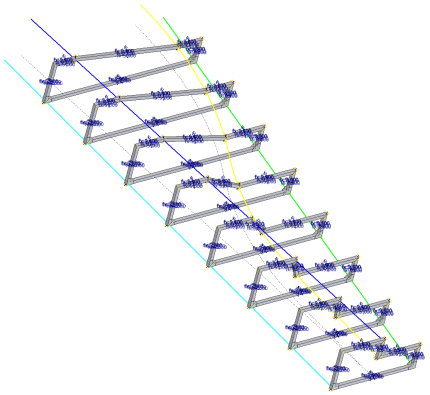
The frame parts are copied for each iCopy result. Each iCopy result uses the plate part.
- The iCopy results are created as shown. If the iCopy is not successful, return to the iCopy template and review the steps to create it.Note: If your assembly does not appear as shown in the following image, click the
 Local Update button on the Manage tab to update the iCopy results.
- Save Target.iam and its dependents.