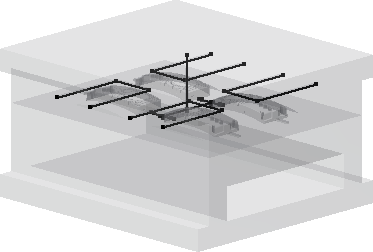
In the Export pane, you can export models and analysis results to a ZIP format archive file for use in Autodesk Moldflow Adviser or Insight products. Select Autodesk Moldflow Result to export an .mfr file for use in Autodesk Moldflow Communicator. In the Export Models pane, select Autodesk Moldflow Insight to export a 3D .sat file suitable for performing a cooling analysis with Moldflow Insight.
Export
- In the Mold Layout tab, or the Core/Cavity tab, click the drop-down arrow in Tools, and then click Export. The Export dialog box displays.
- In the Export pane, select Autodesk Moldflow Adviser, Autodesk Moldflow Insight, or Autodesk Moldflow Communicator as the export format.
- In Destination file box, enter a name and location for the export file.
- Click Export to create the file.
Export Mold Models

- In the Mold Layout tab, or the Core/Cavity tab, click the drop-down arrow in Tools, and then click Export. The Export dialog box displays.
- In the Export Mold Models pane, select Autodesk Moldflow Insight.
- In the Destination file box, enter a name and location for the .sat file.
- Click Export to process the model and open the Export Options dialog box.
- Click the Mold Block tab:
- Check items to include, clear the check mark to exclude.
- Right-click an entry to set Visibility state.
- Right-click an Insert to toggle Mark to Part Insert or Mark to Mold Insert.
- Click the Cooling System tab:
- Check cooling channels to include, clear the check mark to exclude.
- In the Hoses pane, press Click to add and select the ends of the required cooling channels to create a hose.
- Optionally, click the hose dimension to change the hose diameter.
- Click OK to create the .sat file.