Part 3 - Create parts from DWG files.
- Category
-
Data Exchange
- Time Required
-
15 minutes
- Tutorial File Used
-
Start a new assembly document
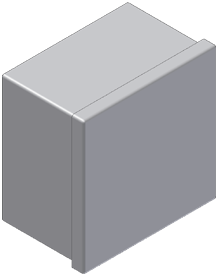
Create the box portion of the electrical panel within the context of the assembly. Use specific layers of the supplied 2D DWG file to define the Inventor solid part geometry.
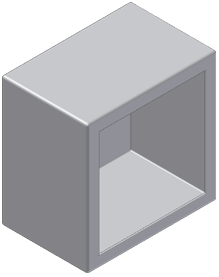
At the assembly level, insert the panel and cover parts you created earlier. Use assembly constraints to position the parts relative to one another.
This tutorial draws on the skills you learned in parts 1 and 2 of this tutorial set.
Objectives
- Create part models in the context of an assembly.
- Use layers of a DWG file to define your part geometry.
- Insert parts into an assembly.
- Position parts relative to one another with assembly constraints.
Prerequisites
- Complete Parts 1 and 2 of this tutorial set.
- Know how to set the active project and navigate model space with the various view tools.
- See the Help topic “Getting Started” for further information.
Navigation Tips
- Use Next or Previous at the bottom-left to advance to the next page or return to the previous one.