Now we define the rigid links to create connections between selected nodes. We create rigid links between nodes located under and above the cart wheels.
- In the Connections panel, click Rigid Link
 .
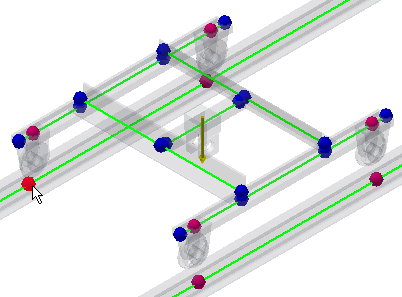
. - The Parent Node button is automatically activated. Select the node as shown in the following image:

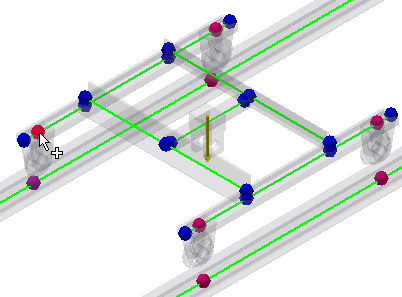
- The Child Nodes button activates. Select the node as shown on the image:

- On the Rigid Link dialog box, in the Rotation area, clear the Y-Axis check box. The Rigid link is free to rotate about the Y-axis. Click Apply.
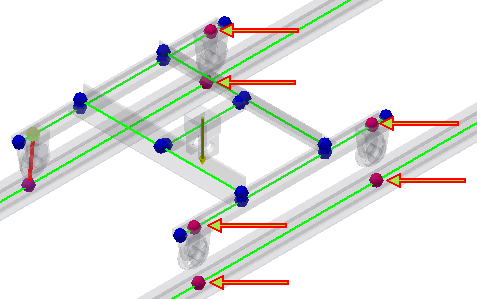
- The Rigid Links dialog box remains open after we create our first rigid link. Define rigid links between nodes under and below remaining three cart wheels. Always, select the node below the wheel as a parent node, and a node above the wheel as a child node. For all rigid links, clear the Y-Axis check box in the Rotation area. In the image, see which nodes to select to create rigid links. When you define the last rigid link, click OK to close the Rigid Link dialog box.

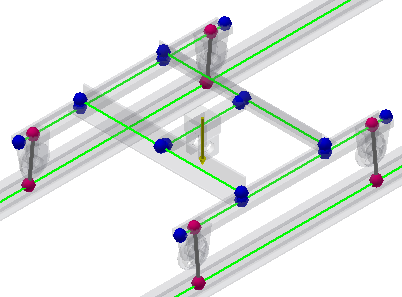
- Now, four new rigid links are created between selected custom nodes.
