Now we select the geometry to position the lower and upper frame members. For the lower frame members:
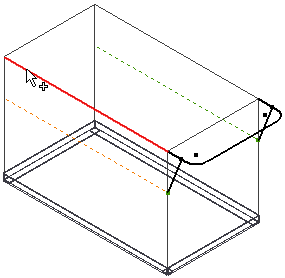
- Select the four lower edges. Ensure that the first selection matches the image, as indicated by the cursor.

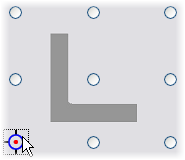
- Set the orientation indicator as shown.

- Select 0.00 deg in the Angle field.
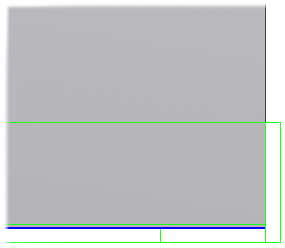
The design intent is that the inside surfaces of the L-channels are flush with the solid. Since the channels are 5 mm thick, they must be offset 5 mm.
- Enter -5 mm in the Horizontal Offset and Vertical Offset fields.

- Click Apply. The Create New Frame dialog box appears.
- Click OK.
For the upper frame members.
- Select the four upper edges. Ensure that you select the left end of the first line, as shown.

- Click Apply.
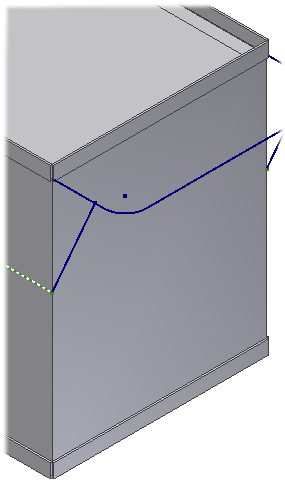
- Change the graphics display to the Shaded visual style.
