|
In this exercise, you start a project, and create levels for the foundation, lower level, entry level, and roof of the building model. When you create levels, you can choose to have the corresponding views created at the same time.
Objectives
- Create a project from a template.
- Rename default levels and modify level elevations.
- Add a level by specifying the level start and end points.
- Add a level by offsetting the elevation from an existing level.
Modify Project Levels
- Open Revit LT, and on the Recent Files page, click Architectural Template to start a project.
- In the Project Browser, under Elevations (Building Elevation), double-click South to open the South view in the drawing area.
Two levels are already created in the project template.
- Zoom in to the level labels and values on the right. (You can use the mouse wheel to zoom in and out.)
- Click the label for Level 1, and enter 01 - Lower Level.
- Click outside the label to save your change.
- At the prompt, click Yes to have Revit LT rename the corresponding views.
- In the Project Browser, under Floor Plans, right-click Level 2 and click Rename.
Alternatively, you can rename levels by renaming the corresponding view in the Project Browser.
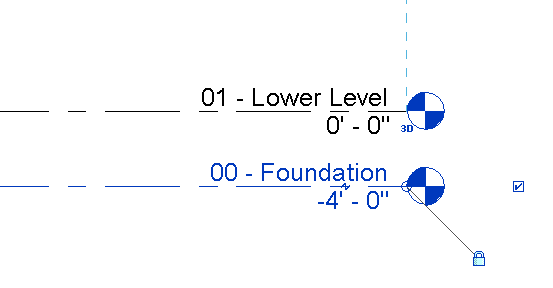
- For Name, enter 00 - Foundation, and click OK.
- At the prompt, click Yes to rename the corresponding level and views.
- In the drawing area, click the value for 00 - Foundation, enter -4', and press Enter to change the elevation of the level.
Add Levels
- Click Architecture tab
 Datum panel
 (Level).
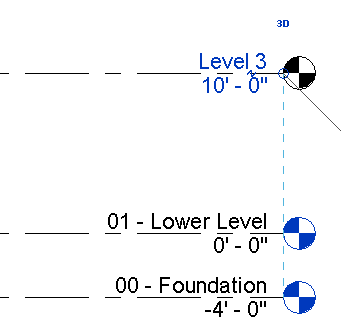
 - Position the cursor over the left endpoint of the 01 - Lower Level line, move the cursor up 10', and click to begin a new level.
- Move the cursor horizontally to the right, until the dashed line indicates that the endpoint aligns with the endpoint of the lower level, and click to place the level.
- Click Modify | Place Level tabDraw panel
 (Pick Lines).
 You can add a level by creating it at a specific distance from an existing level.
- On the Options Bar, for Offset, enter 10', and press Enter.
- Position the cursor on the level you just added until the dashed line displays above, and click to place the level.
- Click
 (Modify).
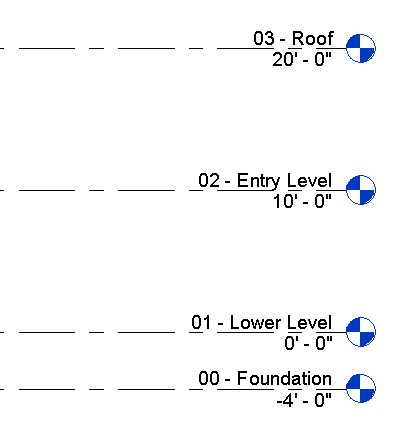
 - Rename Level 3 and Level 4 to the following values, and click Yes to rename the corresponding views.
- Level 3 = 02 - Entry Level
- Level 4 = 03 - Roof
You now have 4 levels at the appropriate elevations for the project.