You can use reference lines to create a parametric family framework to which elements of the family can attach.
Examples
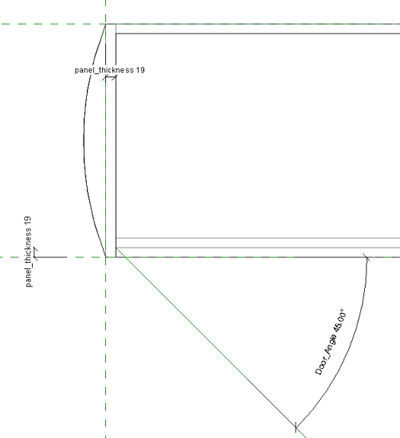
- Use reference lines to parametrically control the angle of a door swing. Angular parameters applied to a reference line also control the elements attached to its face.

A bookcase family featuring a door with a swing controlled by a reference line

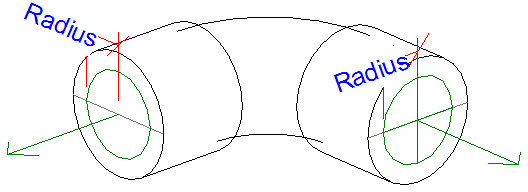
- Use reference lines to control the angle of a curve of an elbow fitting.

An elbow pipe fitting family with an angle controlled by a reference line
Reference lines are datum objects with their own category. When selected, they display dual faces. When printing, their visibility is affected by the Hide ref/work planes option.
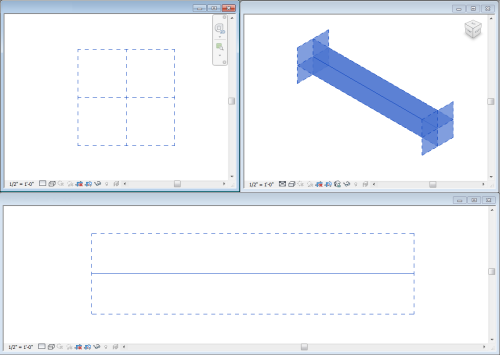
Straight reference lines provide 4 faces or planes for you to sketch on, one that is parallel to the work plane of the line, one that is perpendicular to that plane, and one at each endpoint. All planes go through the reference line. The planes display when the reference line is selected or highlighted, or when you use the Work Plane tool. When selecting a work plane, you can place the cursor over a reference line and press Tab to switch between the 4 planes. The plane in which the line was sketched always displays first. You can also create arc reference lines, but they do not define planes.
Reference Line Behavior in the Project
After a family is loaded into a project, the behavior of reference lines is identical to that of reference planes. Reference lines are not visible in a project and do not highlight when the family instance is selected. They highlight and generate shape handles in the same contexts as reference planes currently do, depending on their Reference property.

Selected reference line in multiple views