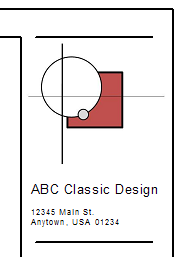
To include a corporate logo or image in a title block, you can import an image file into a title block family. Revit supports the following image file types: BMP (bitmap), JPEG, JPG, PNG (portable network graphics), and TIFF.

A corporate logo in a title block
To import an image into a title block
- Prepare the image or logo, and save it in a supported file format.Tip: Import the file using the image size at which you want it to display in the title block. If you load and resize a large image file in the title block, Revit retains the large file size, which can degrade performance. To improve performance, use the smallest acceptable image file.
- Open the title block in the Family Editor.
- Click Insert tab
 Import panel
 (Image).
 - In the Import Image dialog, navigate to the location of the image file.
- Select the image file, and click Open.
- Click in the drawing area to place the image.
To reposition the image, drag it to the desired location on the sheet. To resize the image, select it and drag a blue corner dot, or enter the desired height and width on the Properties palette.