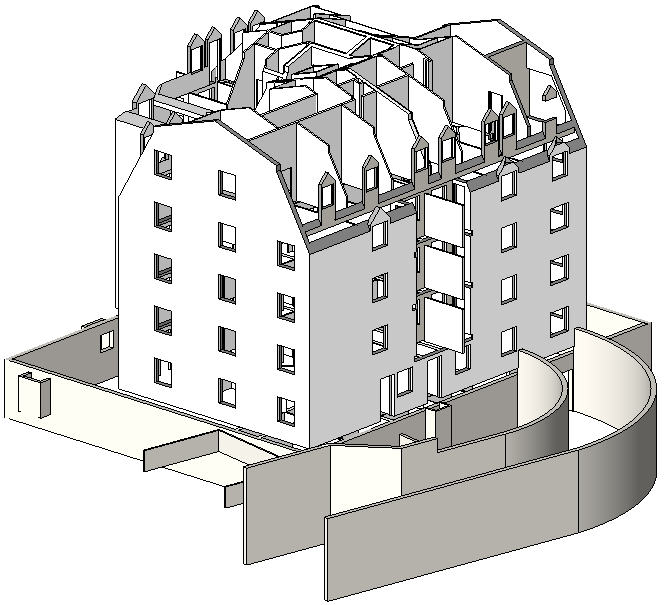
Like other basic elements in a Revit building model, walls are instances of predefined system family types, which represent standard varieties of wall function, composition, and thickness. You can customize these characteristics by modifying a wall’s type properties to add or remove layers, divide them into regions, and change their thickness or assigned material.
You add walls to a building model by clicking the Wall tool, selecting the desired wall type, and placing instances of that type in a plan view or 3D view.
To place an instance, you select one of the draw tools on the ribbon, and either sketch the linear extents of the wall in the drawing area, or define them by picking an existing line, edge, or face. The position of the wall relative to the path you sketch or the existing element you select is determined by the value of one of the wall’s instance properties: Location Line.
After you place a wall in a drawing, you can add sweeps or reveals, edit the wall’s profile, and insert hosted components such as doors and windows.

3D view of walls