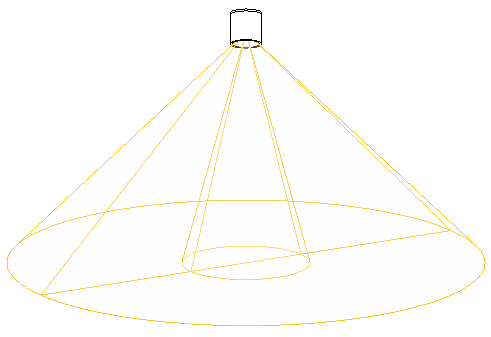
The geometry of a light source determines the shape of the light that emits from the lighting fixture. For example, the following image shows 2 different geometries for light sources.

Note: The Family Editor is the only place where you can define the geometry of a light source in a lighting fixture family. You cannot change the geometry of a light source for a lighting fixture in the context of a project.
To define the geometry of a light source
- Create a lighting fixture family, or open a lighting fixture family for editing.
- In the drawing area, select the light source.
In the Family Editor, the light source is generally represented by a yellow outline or shape.
 Note: If the light source does not display in the Family Editor, the light source is not turned on. To turn it on, click Create tab
 Properties panel
 Family Category and Parameters, select Light Source, and click OK.
 - Click Modify | Light Source tab
 Lighting panel
 (Light Source Definition).
 As an alternative, on the Properties palette, for Light Source Definition, click Edit.
The Light Source Definition dialog displays.

- For Emit from Shape, select the shape of the light to emit from the light source: Point, Line, Rectangle, or Circle.
- For Light distribution, select the pattern of light distribution for the light source: Spherical, HemiSpherical, Spot, or Photometric Web. Tip: If you plan to specify an IES file to define the photometric shape of the light source, select Photometric Web.
The middle image changes to illustrate the combined settings. These settings determine the parameters that are available for the light source.
- Click OK.
The outline shape for the light source may change in the drawing area, depending on the selected light source definition settings.
- Save changes to the lighting fixture family.