- Open the view where you want to add parallel conduits.
- Click Systems tab
 Electrical panel
 Parallel Conduits.
 - On the ribbon, specify the following options:
If you want to... Then... use the bend radius of the original conduit to draw parallel conduits click  Same Bend Radius.
 use a varying bend radius to draw parallel conduits Note: This option is only available for conduit without fittings.click  Concentric Bend Radius.
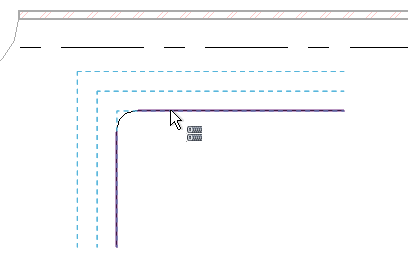
 change the default number of horizontal or vertical conduit runs enter a value in the text box to the right of Horizontal Number or Vertical Number. change the default offset for horizontal or vertical conduit runs enter a value in the text box to the right of Horizontal Offset or Vertical Offset. - In the drawing area, move the cursor to an existing conduit to highlight a segment. As you move the cursor to either side of the existing conduit, an outline for the parallel conduits displays.
- Click to place the parallel conduit.
- To finish the parallel conduits run, click Modify.
You can add parallel conduits to an existing conduit run that is connected through a surface connector on a piece of equipment or connected to a cable tray.

Press Tab to select the entire conduit run.
