In this model, we simulate an electronics chassis to determine the component temperatures and the flow distribution. The enclosure consists of two PCBs, several chips, and other heat dissipating components. A commercially-available fan provides cooling air to the device.
Before you begin, please watch this short video that demonstrates the steps of the tutorial:
Get started
1. Download the model by clicking here. Save the file to a folder on your computer, and unzip the contents.
2. Open Simulation CFD 360 by double-clicking the desktop icon:
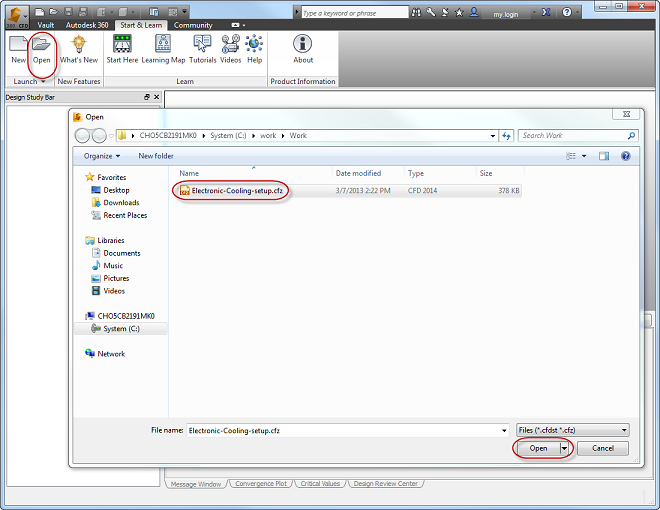
3. To open the model, click Open from the Start & Learn ribbon tab, select the cfz file, and click the Open button.
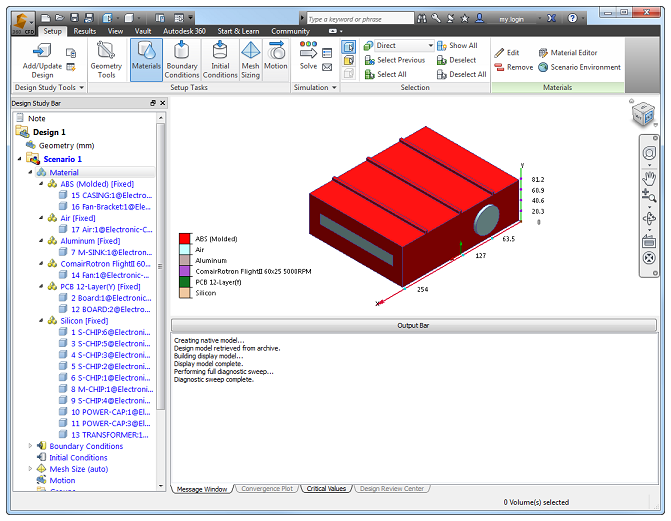
After the model loads, you should see this:
Run the simulation
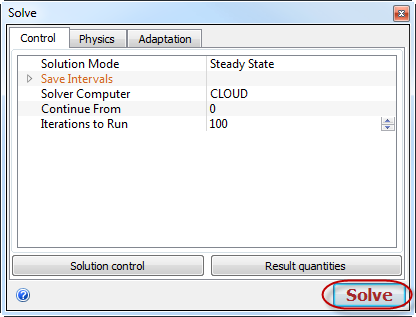
1. Click Solve from the Setup (tab) > Simulation (panel):
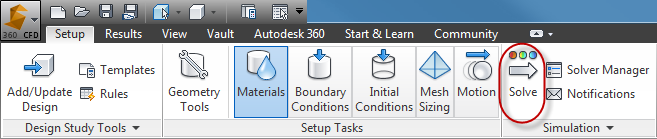
2. Click Solve.
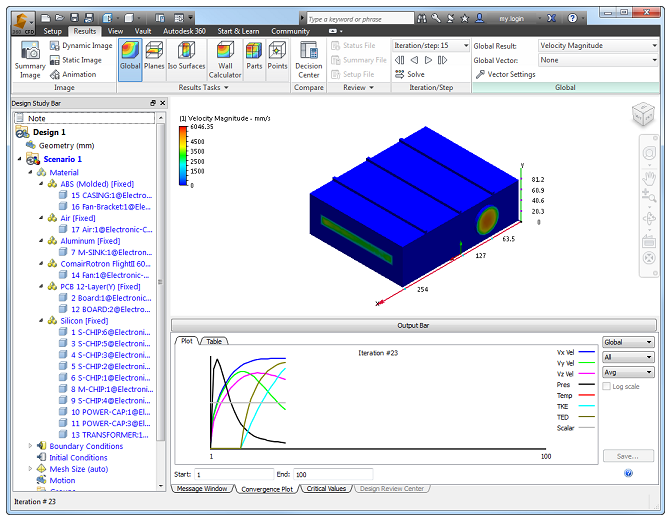
You should see the simulation start. This model should take roughly 10 minutes to run.
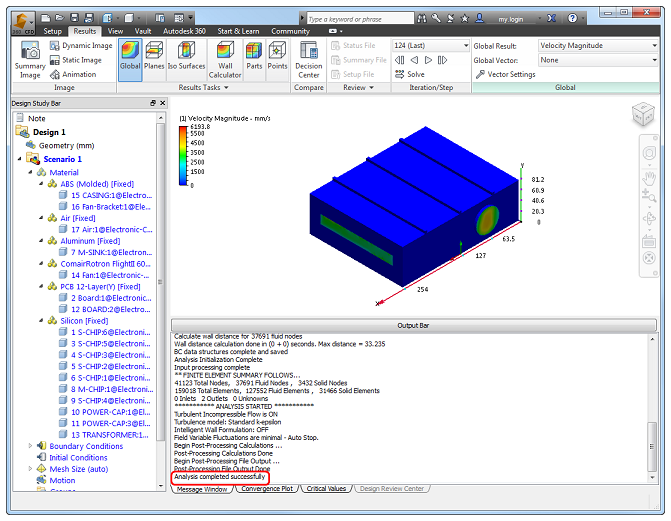
When it's finished, you should see Analysis completed successfully in the Output Bar:
View the results
Now that you've run the simulation, we can take a look at the air as it flows through the enclosure.
1. Let's expand the workspace by clicking the Output Bar button.

2. To create a results plane, click Planes, and click Add.

3. To re-orient the plane, left click on it, and click Y.

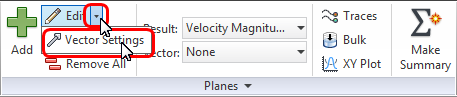
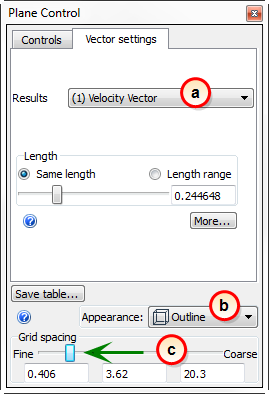
4. Click the small arrow beside Edit, and click Vector Settings.
5. To enable vectors and make them look awesome:
- a. Select Velocity Vector from the Results menu.
- b. Select Outline from the Appearance menu.
- c. Drag the Grid spacing slider toward the left.
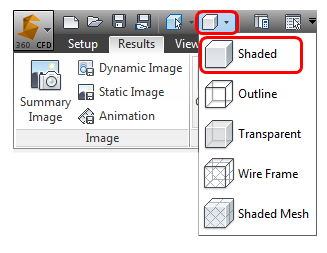
6. To shade the entire model, click Visual Style from the Quick Access toolbar, and select Shaded.
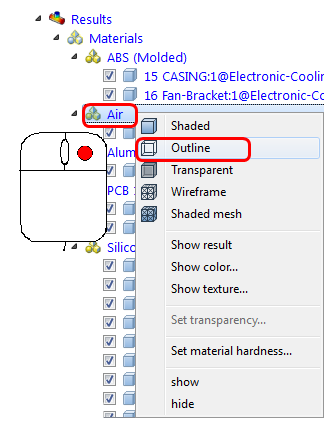
7. To display the casing and air as outline:
- From the Design Study bar (Results branch), right click on the Casing part, and click Outline.

- Right click on Air, and click Outline.
8. To display component temperatures, click Global, and select Temperature from the Global Result menu.

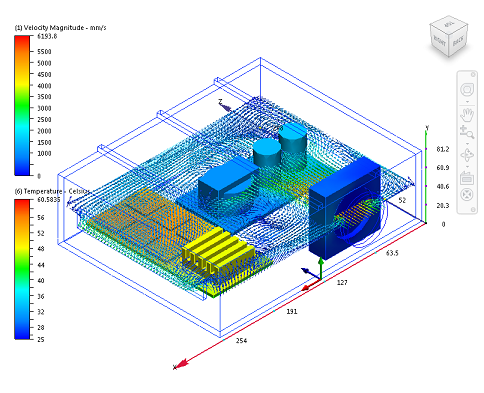
Good job! In just a few minutes, you ran a fairly complex 3D flow simulation and created a view that's awesome and useful.