Previous: Chapter 21 | Next: Exercise 16
This exercise teaches how to leverage an existing analysis to quickly and easily explore changes in your design.
1. Right click on the Baseline design in the Design Study Bar and select Clone…

2. Enter the name “Floor Registers Active” to the cloned design. Click OK.
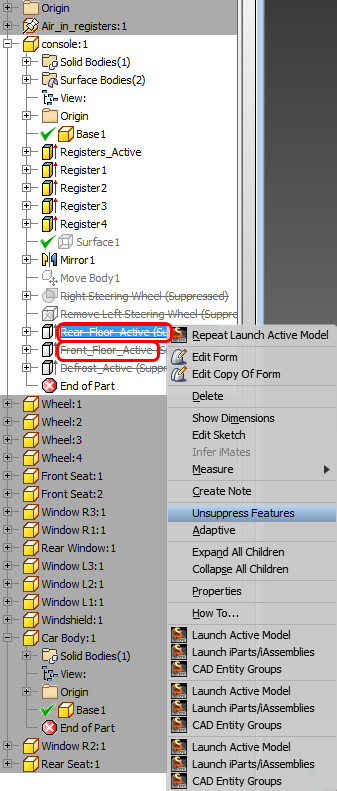
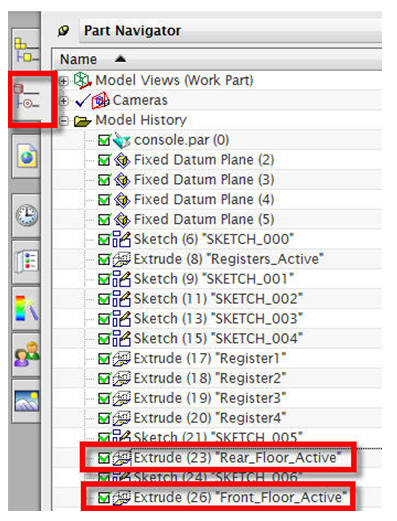
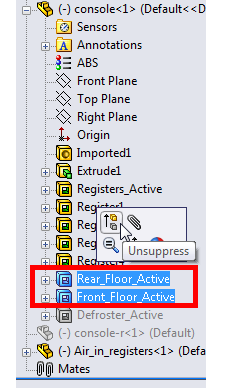
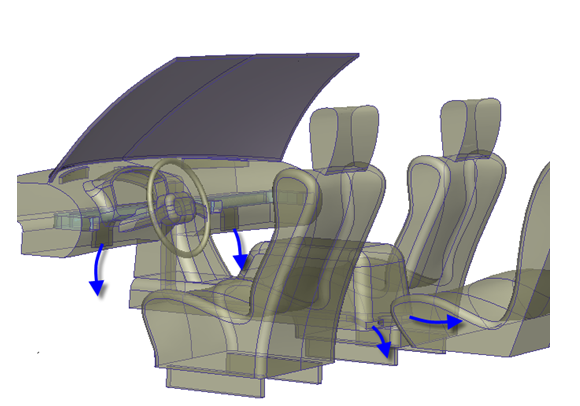
3. In the CAD model, enable the features that allow air to flow to the front floor and the rear floor registers. In the console part (or console-r part for the right-drive configuration), activate the following features:
- Rear_Floor_Active
- Front_Floor_Active
Autodesk® Inventor
Autodesk® Fusion
Instead of modifying the model in Autodesk® Fusion, we will change the material definition of the three floor-level ducts to air in Autodesk® Simulation CFD:
- Click Materials from the Setup tab.

- Hide the Car Body, Cabin Air, and Console parts to reveal the ducts.
- Select the three floor-level ducts:
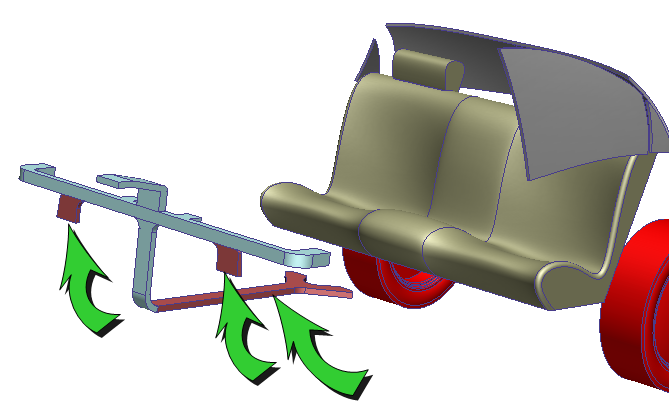
- Assign Air:
Material DB Name = Default. Type = Fluid, Name = Air. Click Apply.
Please proceed to Step 6...
PTC Creo or Pro/Engineer

UG NX
Make console part (or console-r part) the working part and activate the part navigator. Check the box to enable each feature.
SolidWorks
4. Launch Autodesk Simulation CFD and update the cloned design with the new CAD geometry:
To launch from CAD...
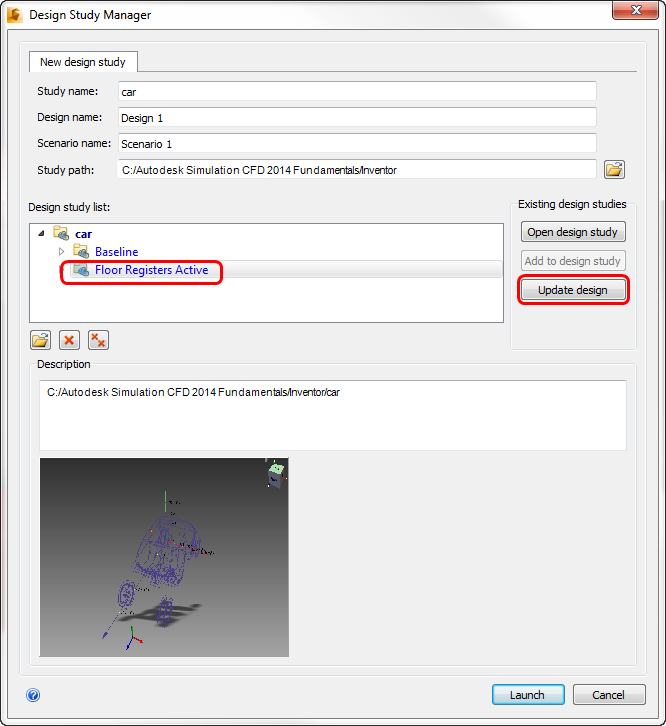
- In the Design Study Manager, expand the car design study.
- Select the Floor Registers Active design.
- Click Update Design.
5. In the Design Study Bar, note that there is a lost Air material setting. Right click on it and click Delete.


6. Right click off the model and choose Solve…
7. Set Continue From to 0 and click Solve.

8. When prompted if you want to delete all results after iteration 0 and continue, click Yes.
End of Exercise