Use the Network Pipe Creation workflow to create network pipes with or without casing or anode protection.
- In the Industry Model Explorer, click the Workflow explorer icon.

- Right-click Network Pipe Creation.
- Click Execute.
- Specify a reference record, if any.
- Under Choose Protections, specify whether to create casing, anode, or both when creating the pipes.
You are prompted to create the protection features. Casings are polygons and anodes are points.
- Click OK.
- Follow the prompts.
- Press ESC to finish the workflow.
When you are finished creating geometry, the feature class form is displayed so you can add attribute data.
Feature Rules
Feature rules ensure consistency on the Pipe attribute feature class, Pipe and on its related Line geometry feature class.
- If a vertex of the new pipe lies exactly on an existing network point feature, the pipe is soft split, see Split Lines.
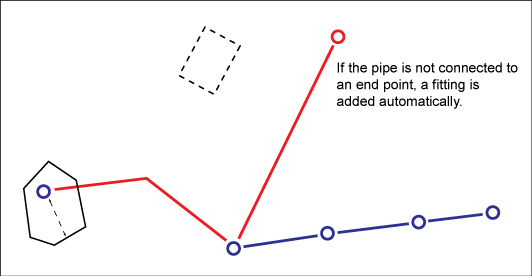
- If you create a pipe with a start or end that is not connected to a network point, by default a fitting is created, see Feature Rule: Create Start And End Nodes.