As for Facade1, you use Unwrap UVW to texture the entryway faces of Facade4. Because of the arrangement of these faces, you use different Unwrap UVW techniques.
Set up the lesson:
- Continue working on your scene from the previous lesson or
 open
\modeling\facades\facade_modeling_05.max.
- If you open the file,
 select the façade, go to the
  Modify panel, and make sure that
  (Show End Result) is on for all three levels of the stack.
Texture the pavement:
-
 Select Facade4.
 - Make sure the viewport displays Edged Faces (F4).
-
 Orbit (or use the ViewCube),
  zoom, and
  pan to get a good view of the arch geometry.
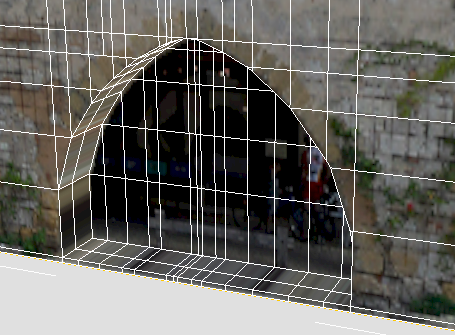
- Go to the
 Modify panel. On the modifier stack, make sure UVW Map is the active level.
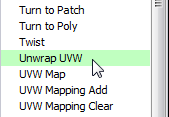
 - From the Modifier List, choose Unwrap UVW.
- On the modifier stack, click
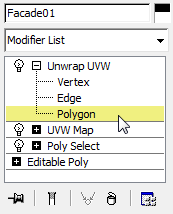
 (the plus-sign icon) by the Unwrap UVW entry to expand the Unwrap UVW sub-levels, then click the Polygon sub-object level to make it active.
-
 Click and
  +click to select the upper faces of the doorstep or sidewalk.
 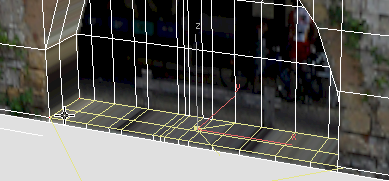 Tip: You can press F2 to toggle the shading of selected faces. Turning on face shading makes it easier to see your selection.
 - On the
 Modify panel
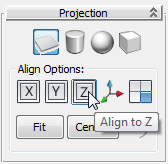
  Projection rollout, click to turn on
  (Planar Map), then click
  (Align To Z).
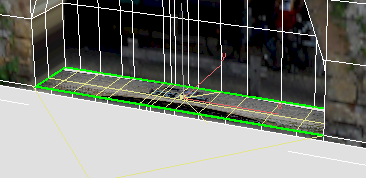
Now the pavement is correctly aligned with the fac4.jpg texture.
- Click
 (Planar Map) again to turn it off.
 - On the
 Modify panel
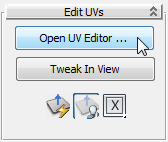
  Edit UVs rollout, click Open UV Editor to open the Edit UVWs dialog.
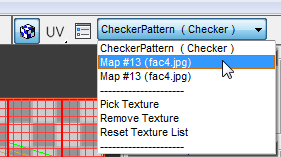
- On the Edit UVWs dialog, choose “Map #13 (fac4.jpg)” from the background pattern drop-down list. (The map number might vary.)
- On the Edit UVWs dialog lower toolbar, click to turn on
 (Display Only Selected Polygons).
 - On the Edit UVWs dialog main toolbar, click to activate
 (Freeform Mode).
 - Use the handles to move and scale the pavement faces so they are on top of the larger window’s windowsill.
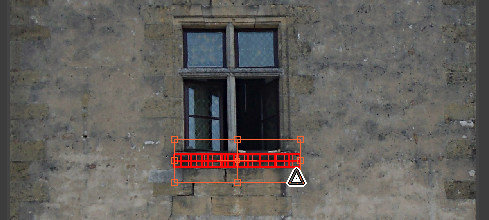
The idea is to map the pavement to a dark area of stone.
Tip: Move the Edit UVWs dialog so you can also see the texture display in the viewport.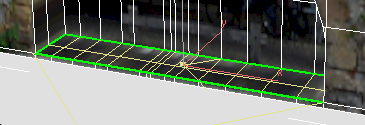
-
 Close the Edit UVWs dialog.
Set up texturing for the wall portion of the arch:
- Use the ViewCube to orbit the scene so you can see all the interior faces of the archway.
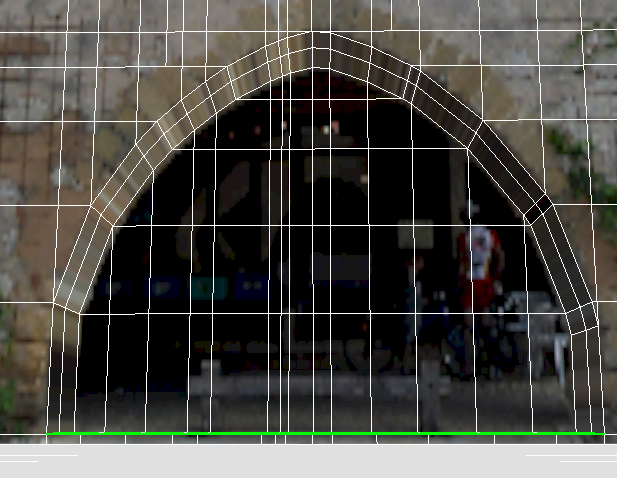
-
 Click and
  +click to select the outer faces along the inside of the archway: These are the faces that correspond to the width of the stone wall.
 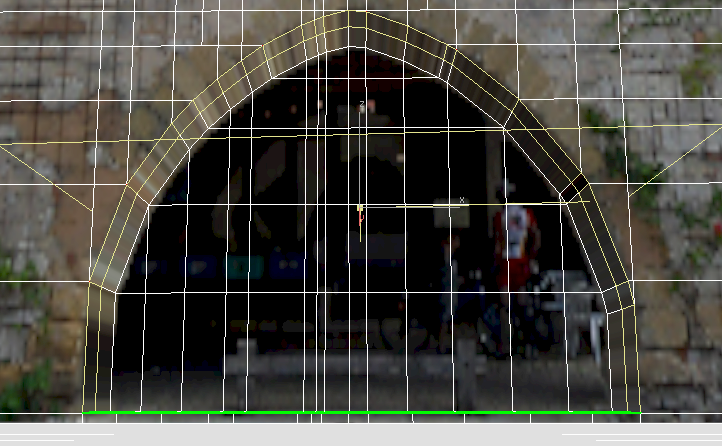 Tip: You can press F2 to toggle the shading of selected faces. Turning on face shading makes it easier to see your selection.
 - Press
 +Z to return to your previous view of the archway, looking at it from the side and slightly downward.
 - On the
 Modify panel
  Projection rollout, click
  (Cylindrical Map) to turn it on, then click
  (Align To Y).
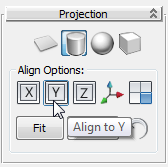
3ds Max displays a cylindrical gizmo for the Unwrap UVW projection.

-
 Move the cylinder gizmo forward a bit, so you can see all of it, and it is not hidden by the wall.
 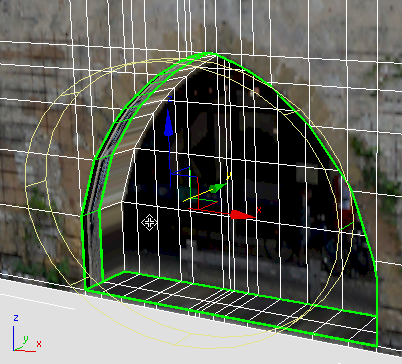 Tip: As the illustration shows, you might want to
 orbit (or use the ViewCube) to see the wall and the cylinder gizmo more obliquely.
 The cylinder gizmo has one height segment displayed in green. This indicates where the seam of the cylindrical mapping will be. At present, the green segment is near the right side of the arch.
- Activate
 (Select And Rotate).
 -
 Rotate the cylinder gizmo about the Y-axis until the seam segment is at the bottom of the scene.
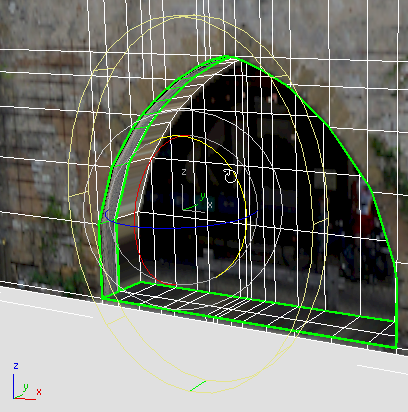
Since the arch isn’t a full circle, putting the seam at the bottom ensures there won’t be a seam on the façade geometry.
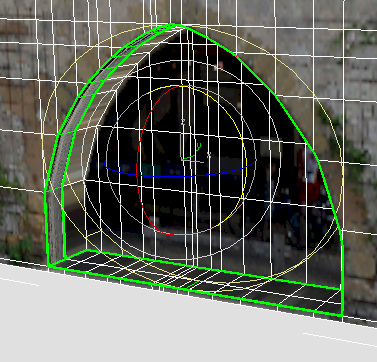
- On the Projection rollout, click Fit.

3ds Max fits the cylinder gizmo to the geometry of the arch.
- Click
 (Cylindrical Map) again to turn it off. Important: Like the Planar Map button, the Cylindrical Map button enters a mode: If you forget to turn it off, later you won’t be able to use controls in the Edit UVWs dialog.
Use the Edit UVWs dialog to position the wall texture:
- On the
 Modify panel
  Edit UVs rollout, click Open UV Editor to display the Edit UVWs dialog.
- If you need to, on the Edit UVWs dialog, choose “Map #13 (fac4.jpg)” (the map number might vary) from the background pattern drop-down list, and on the lower toolbar, turn on
 (Display Only Selected Polygons).
 - On the Edit UVWs dialog main toolbar, click
 (Freeform Mode) to activate it.
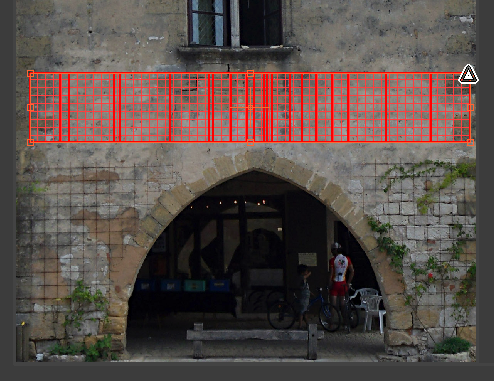
 - Use the handles to scale the wall faces so they cover a strip of stone above the arch. The placement doesn’t matter much, as you will be changing it soon.
- Also on the lower toolbar, use
 (Zoom To Region) to get a good view of the arch and the wall just above it.
 - On the Edit UVWs dialog main toolbar, click
 (Mirror Selected Subobjects).
 - On the Edit UVWs dialog
 first lower toolbar, the Sub-Object Selection toolbar, click
  (Vertex) to make the Vertex sub-object level active.
- On the Edit UVWs dialog menu bar, choose Tools
 Sketch Vertices.
 3ds Max opens a Sketch Tool dialog.
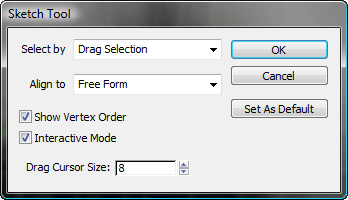
The Sketch Tool options you want to use are Align To = Free Form, and Interactive Mode turned on.
- Make sure the Sketch Tool settings are correct, and then click OK.
- Right-click the Edit UVWs window, and choose Sketch Vertices from the quad menu.
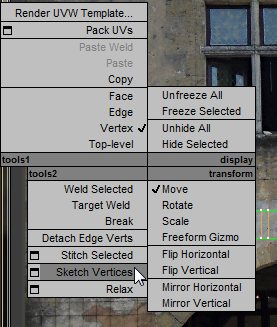
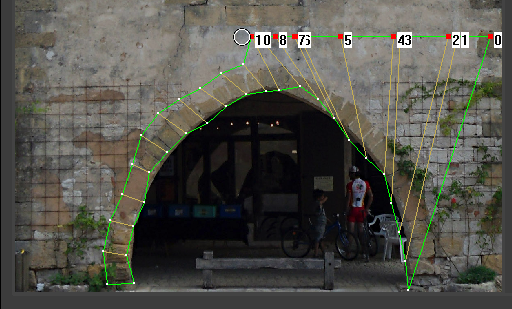
When you use the Sketch Tool with Free Form drawing, you work in a two-step manner: First, drag to select the vertices you want to reposition; Second, draw a freehand stroke to show Edit UVWs where to place the selected vertices.
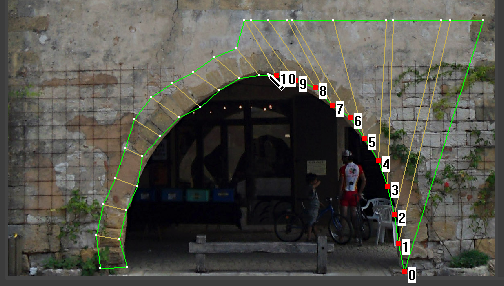
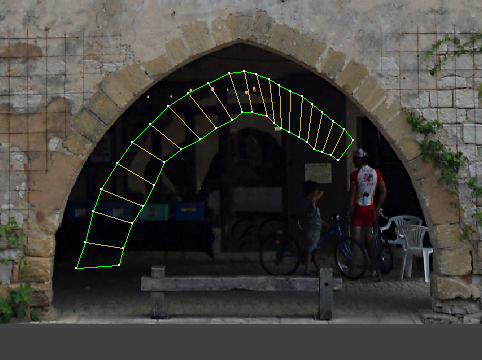
- In one continuous motion, drag to select vertices along the lower-left edge of the arch faces: Begin at the center of the lower edge, and move the cursor to the left.
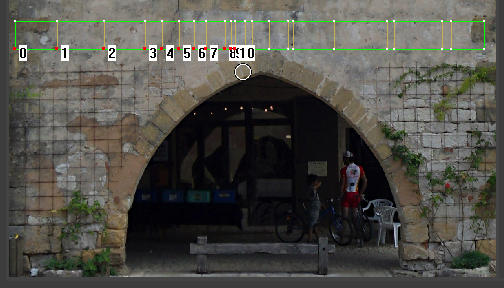 Note: If your grid of edges matches the grid shown in the previous lesson, there are 11 vertices on each side of the arch. 3ds Max numbers the selected vertices from 0 to 10.
 - With the pencil cursor, sketch along the lower-left edge of the arch that the bitmap shows.
3ds Max moves the vertices you selected to follow the line as you draw.
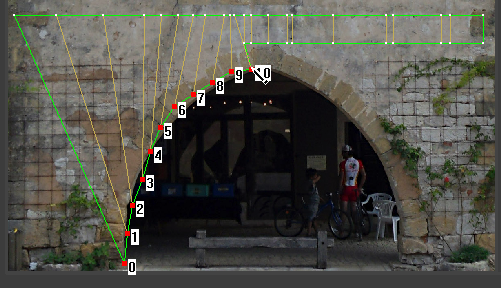
You don’t have to worry about being too precise: You can adjust your work later.
- Repeat the previous two steps for the upper edge of the arch faces.
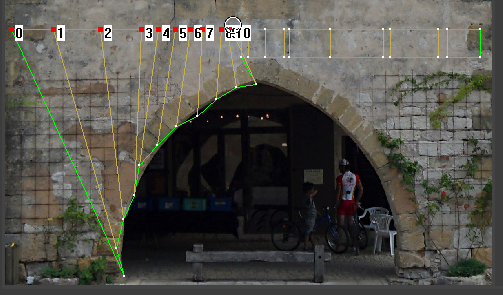
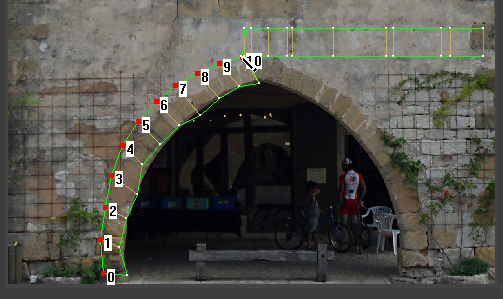
- And then repeat the same steps for the right side of the arch.
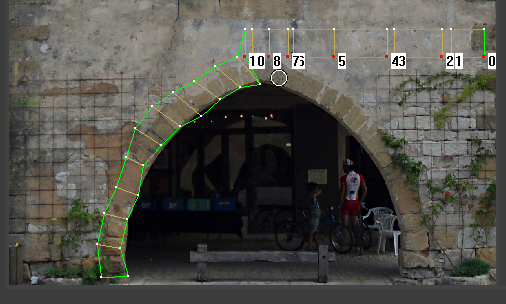
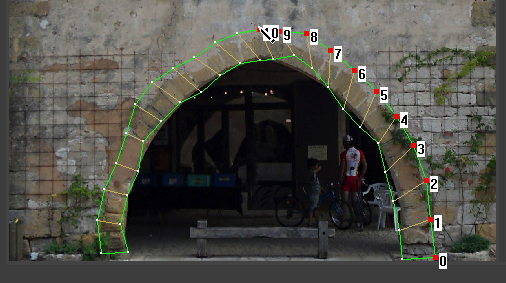
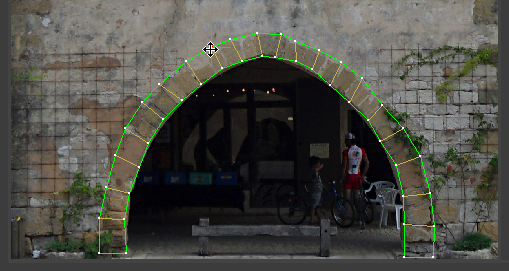
- After you have used Sketch Vertices to rough out the arch faces in this way, on the Edit UVWs dialog toolbar, activate
 (Move Selected Subobject), and then move vertices to arrange them more regularly.
Map the inner, arcade faces:
- Select the inner faces instead of the outer ones.
- Map the faces to the dark, arcade area of the bitmap. Avoid lighter areas of the bitmap (except the reflected lights, which will look OK); and of course, avoid the bicyclist.
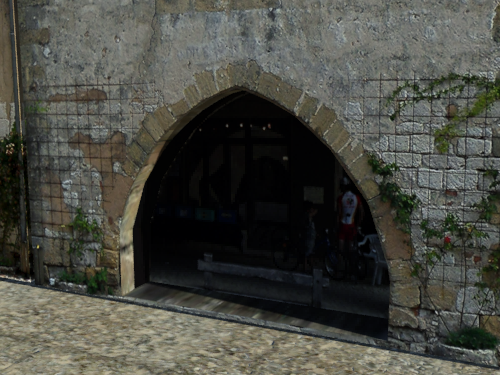
A close-up rendering of the façade shows the result of mapping the arch.
We’ll let you decide whether you want to go through the steps for mapping the inner, arcade faces. The steps to follow are the just same as the steps you followed for the stone wall faces, with these changes:
Save your work:
- Save the scene as facade4_textured.max.
The completed scene is facade_modeling_completed.max. This scene contains two other façades. If you want to try modeling them, you should now know the tools you can use to do so.
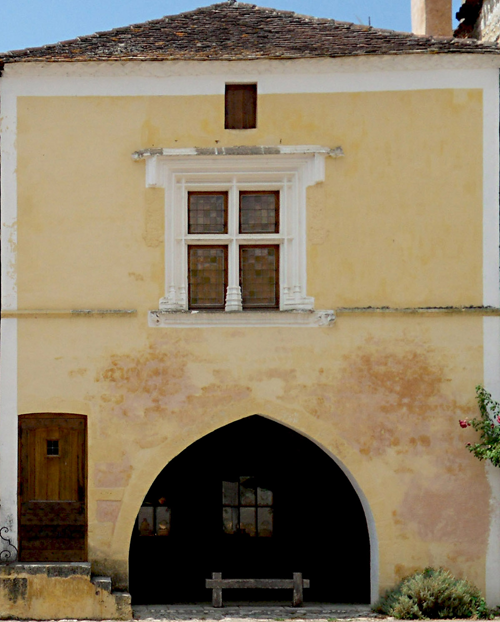
Façade 2
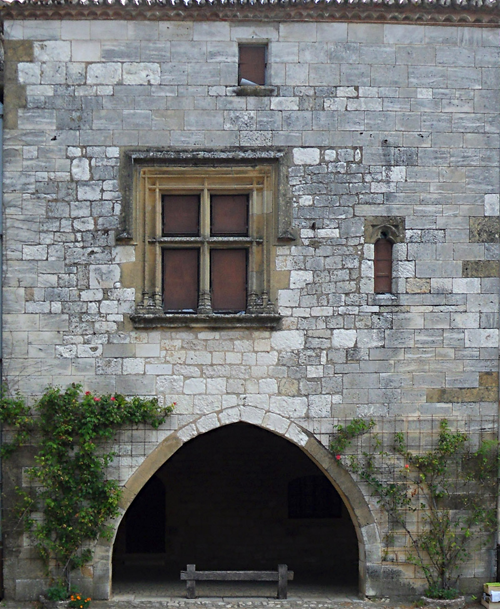
Façade3
Summary
With a photograph of a building’s façade, you can create a convincing model of that façade. The overall steps are as follows:
- Use a photo-editing program to correct the photograph’s perspective, so that vertical and horizontal lines are parallel.
- In 3ds Max, create a plane that has the same aspect ratio as the photograph, and the same dimensions as the original building.
- Create a material that uses the photo as both a Diffuse and a Bump map, and apply it to the plane.
- Make the plane an Editable Poly object.
- Set up the stack with UVW Map and Poly Select, so you can see the end result while you edit the geometry.
- Use Editable Poly tools to create edges that correspond to features of the façade.
- Use the Extrude tool to make features three dimensional, having them recess or protrude so the building will cast realistic shadows.
- Use Unwrap UVW to correct the mapping of faces that aren’t parallel to the main UVW Map projection.