In this final lesson, you will assign a material identification number to each polygon in the model. You can then use these ID numbers to assign materials to specific parts of the model.
Set up the lesson:
- Continue working from the previous lesson or
 open
building2_sloping_roof.max.
open
building2_sloping_roof.max.
Check the default Material ID:
-
 Select the Tower object,
  maximize the Front viewport and click
  (Zoom Extents Selected). Make sure the view is in Wireframe mode.
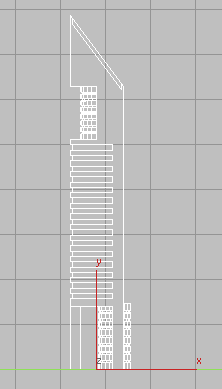
- On the
 Modify panel
  Selection rollout, activate
  (Polygon), then press
  +A to select all the polygons in the Tower object.
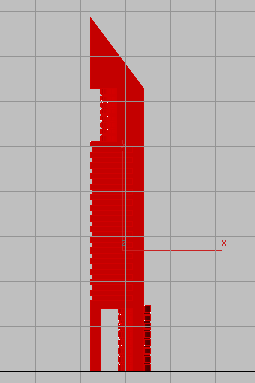
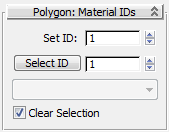
- On the Modify panel, scroll down to the Polygon: Material IDs rollout, and verify that Set ID has a value of 1.
At this point, if you were to assign a material to the Tower object, all its polygons would receive the same material, because they all have the same material ID number.
Assign a new Material ID to the glazing:
- Click anywhere outside the Tower object to deselect the polygons.
-
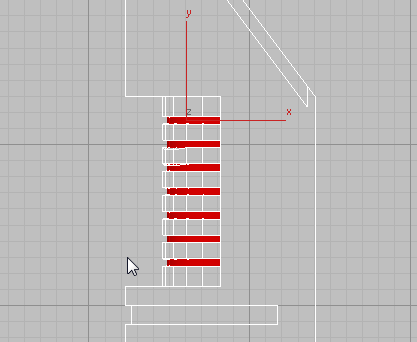
 Zoom in to the upper section of the tower and begin to +click the polygons that represent the glazing in the cylinder, as shown in the next illustration.
 Start your selection by clicking outside the tower and dragging right, across all the glazing polygons. Starting your selection outside the tower ensures that all glazing polygons on the other side of the Tower object are also selected.
-
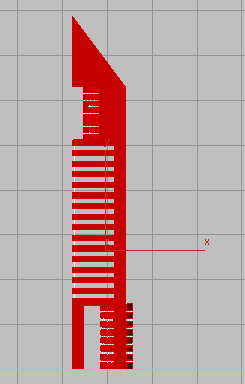
 Zoom out and continue to +click all the glazing in the lower floors, using the same selection technique described in the previous step. Be sure to include the glazing polygons in the bottom cylinder. The result is shown in the next illustration.
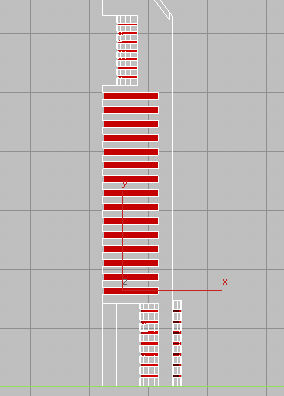
- On the Polygon: Material IDs rollout, click the Set ID spinner up-arrow once, to change the value to 2.
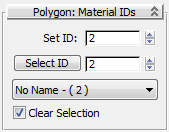
Now you can assign the Tower object two different materials.
Apply materials to the tower:
- On the Polygon: Material IDs rollout Select ID spinner, type 1, then click Select ID.
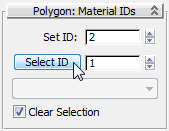
All the material 1 polygons are now selected.
- On the main toolbar, choose the button for the
 Compact Material Editor.
 - In the sample slots, locate the Concrete material. Click the slot to make the material active, and then click
 (Assign Material To Selection).
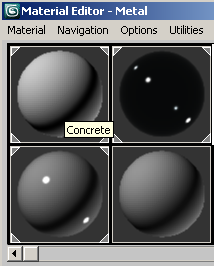
3ds Max applies the Concrete material to all polygons that have ID 1 assigned to them.
- On the Polygons: Material IDs rollout, change the Select ID value to 2, then click Select ID.
- In the Material Editor sample slots, locate the Glass material, and click the slot to make the material active. Then click (Assign Material To Selection).
3ds Max applies the Glass material to all polygons that have ID 2 assigned to them.
-
 Close the Compact Material Editor.
 - On the Selection rollout, click
 (Polygon) to exit the Polygon sub-object level.
Render the scene:
- Adjust the Perspective viewport so that the two tower models are clearly visible, then click
 (Render Production) to view the result.
 Your rendered image should look something like this:

Save your work:
- Save the scene as my_building2_completed.max.
Summary
This tutorial introduced you to the concept of Boolean operations and how they can be used to produce complex shapes from simple geometry. You also learned some polygon editing techniques, and how to apply materials to multiple surfaces by assigning material ID numbers to different sets of polygons.