Now that you have applied the texture to the airplane model, you need to use the Unwrap UVW modifier to assign portions of the texture to specific faces.
Set up the lesson:
- Continue from the previous lesson or
 open
p47_texture_applied_unadjusted.max.
- If you opened a different scene,
 click the P-47 object to select it.
Apply the Unwrap UVW modifier:
- Go to the
 Modify panel. Open the Modifier List drop-down list, and choose Unwrap UVW. (You can press U to quickly choose this modifier.)
 - In the stack, click the
 plus-sign icon to open the Unwrap UVW hierarchy.
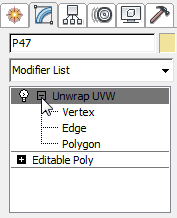
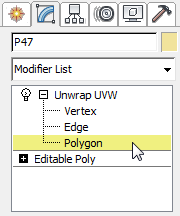
- Click the Polygon sub-object level to make it active.
Set up the top of the left wing for mapping:
- Click
 (Maximize Viewport Toggle) to make all four viewports visible.
 - Click
 (Zoom Extents All Selected) so you can see the whole airplane in the Top, Front, and Left viewports.
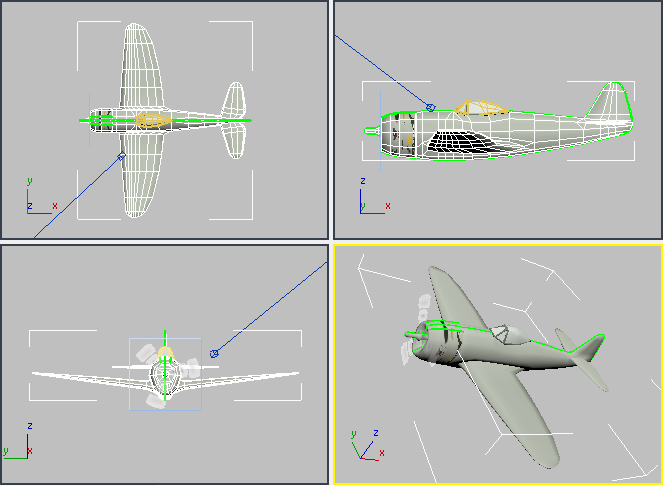
- On the main toolbar, make sure the Window/Crossing selection toggle is in its
 Crossing state, then in the Top viewport,
  drag a selection box to select all the faces on the top of the left wing.
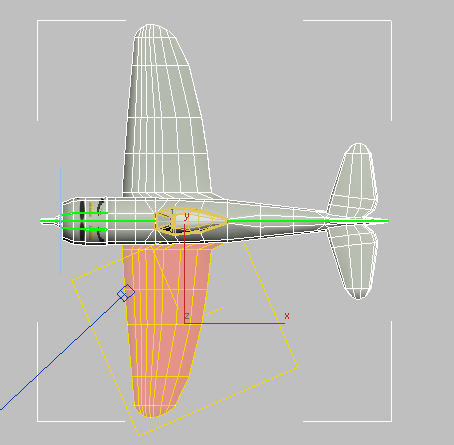
In the Left viewport,
 +click to select the narrow faces along the leading edge of the wing, as well. Tip: To select the faces on the leading edge of the wing, it helps to
 maximize the Left viewport (press
  +W).
+W). 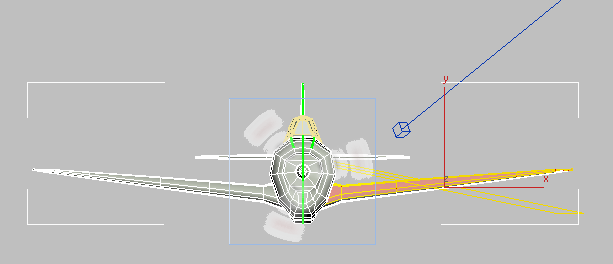 Tip: You might want to use a Bottom view to make sure that no faces on the bottom of the wing are selected.
 - On the main toolbar, in the Named Selection Sets field, name this selection Wing Left Top.

Naming your sub-object selections as you go along can help you select these faces again, if you want to make further adjustments later on.
Tip: Named selections for a sub-object level, such as Face, appear only when that sub-object level is active. Also, if you need to change the contents of a named selection, click (Edit Named Selection Sets), use the Edit Named Selections dialog to delete the named selection, then create it again.
Set up the UVW Map modifier and the Edit UVWs dialog:
- On the Modify panel, scroll down to the Projection rollout, and then click
 (Planar Map) to activate it.
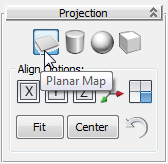
3ds Max applies a planar projection of the texture to the upper surface of the wing, but it still is not the correct mapping.
Note: The (Quick Planar Map) tool on the Edit UVs rollout is an alternative to Planar Map, but it relies on a gizmo, so its result is not necessarily perpendicular to one of the construction planes. Because of that, we don’t use this option in this tutorial.
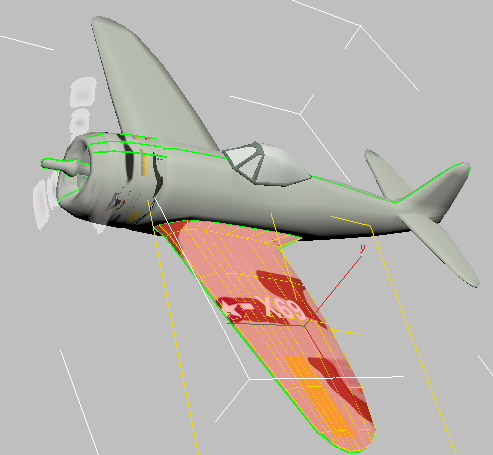
- Click Align Options

 (Align To Z) to make sure the pattern is aligned with the world Z axis.
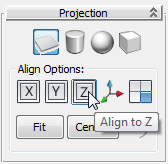
The layout of the pattern changes, but it still needs further adjusting.
- Click
 (Planar Map) again to deactivate it.
 The texture projection remains the same, because you have not chosen another method.
Important: If you forget to turn off Planar Map, later you won’t be able to use controls in the Edit UVWs dialog. - Scroll up to the Edit UVs rollout, and click Open UV Editor.
3ds Max opens the Edit UVWs dialog.
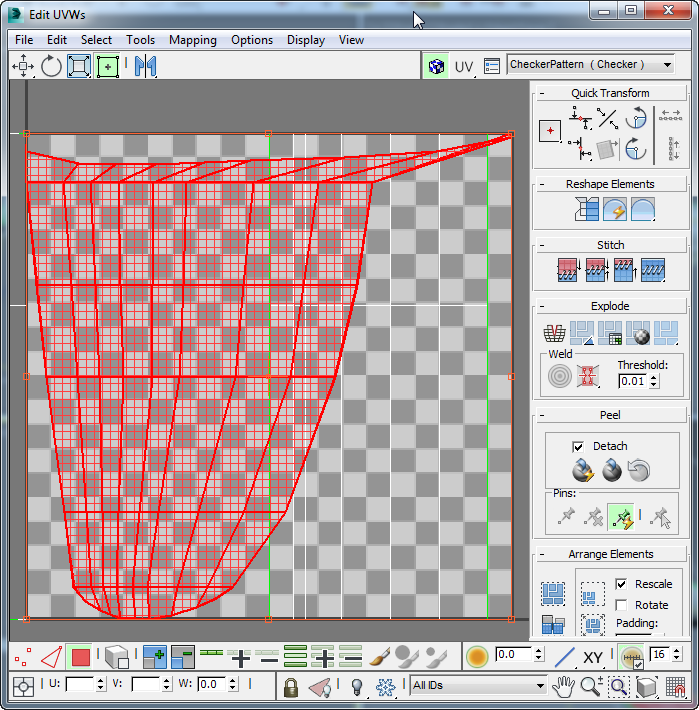
- Open the drop-down list at the right of the Edit UVWs dialog toolbar, and choose the entry Map #8 (p47_tex.jpg) (the map number might vary).
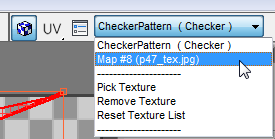
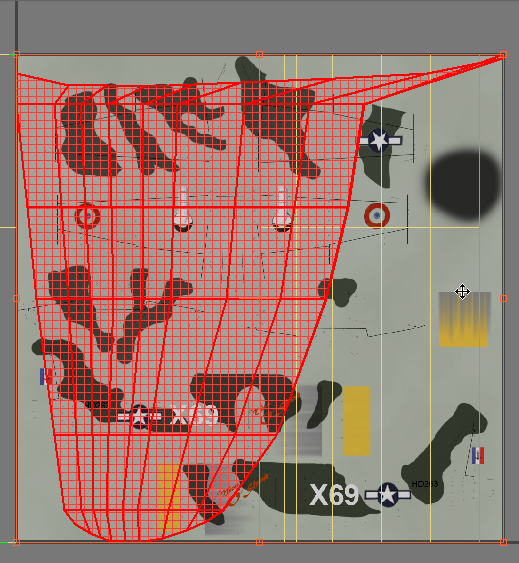
In the main window, the dialog now displays p47_tex.jpg as a background.
- On the second of the lower toolbars, the Transform/Display toolbar, click
 (Display Only Selected Polygons) to turn it on.
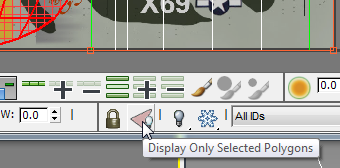
This hides the unselected geometry in the main Edit UVWS window, making it easier to adjust the mapping of the wing.
Note: If you make a different sub-object selection in a viewport (and this can happen if you click an empty area of the viewport), the selected faces disappear from the Edit UVWs dialog. You can view the sub-object selection in Edit UVWs again, simply by selecting the original faces once more. This is one reason it is a good idea to give each sub-object selection a name you can choose on the main toolbar. - On the Edit UVWs dialog
 main toolbar (at the top), click
  (Freeform Mode) to make this tool active.
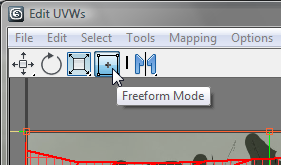
In Freeform Mode, the sub-object selection is surrounded by a box. Dragging the center of the box moves the selection; dragging a handle in the middle of a side rotates it; and dragging a handle at a corner scales the selection, relative to the texture you are mapping.

Freeform Mode: Moving a selection

Freeform Mode: Rotating a selection
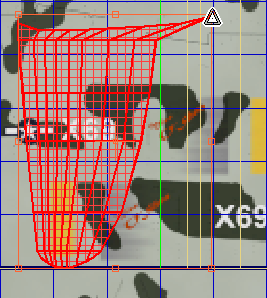
Freeform Mode: Scaling a selection
Now you are ready to position the wing faces over the correct portion of the texture map.
Map the top of the left wing:
- First, rotate the wing faces 90 degrees in a counterclockwise direction.
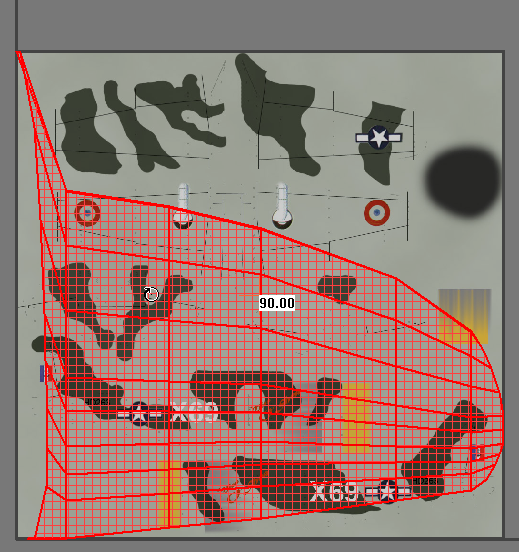
- Next, scale the wing faces so they cover a smaller area of the texture window, roughly corresponding to the part that is meant for the left wing.
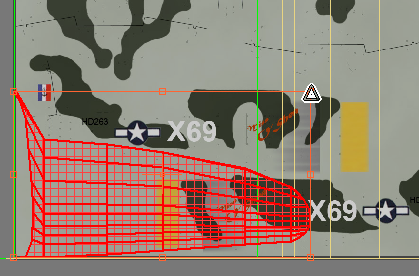
- Finally, move the faces to the upper-right area of the texture window and scale them so they fit the area of the bitmap that corresponds to the wing.
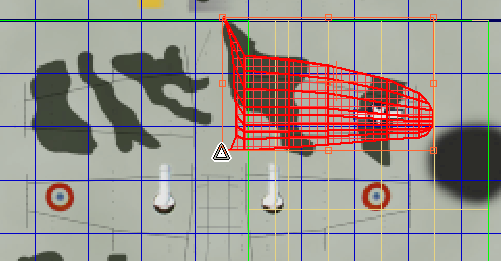
Fortunately, with the camouflage pattern the placement of the wing faces doesn’t have to be precise, but do make sure that the trailing edge of the wing is close to the top of the dark-green swatch that underlies the insignia on top of the wing.
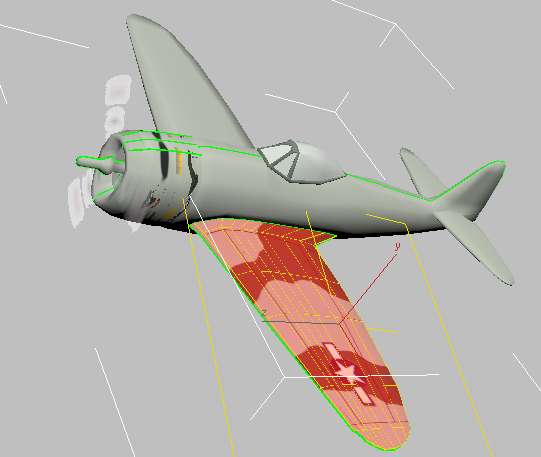
In the Camera01 viewport, you can see that the top of the left wing is now textured correctly.
Save your work:
- Save the scene as my_p47_textured_wing.max.