After you've separated your object's UVW coordinates into clusters, either manually or using one of the automatic tools on the Mapping menu, you can use the Stitch tool to recombine specific clusters by merging corresponding edges.
Procedures
To stitch two clusters together:
- In the “source” cluster, select sub-objects along an edge you want to connect.
By default, this causes the shared edges to highlight in the “target” object(s).
- Open the Stitch Tools dialog via either UI path at the start of this topic.
The clusters are connected.
- Adjust the settings on the Stitch Tool dialog.
Feedback takes place in real time.
- Click OK to accept or Cancel to abort.
Interface

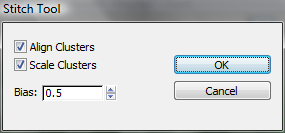
- Align Clusters
-
Moves the target cluster to the source cluster, and rotates the target cluster into place if necessary. When off, the target cluster remains in its original position and orientation. Default=on.
Tip: If your clusters overlap after stitching with Align Clusters turned on, cancel the stitching, and then position and align them as you want them after stitching. Then use the Stitch tool with Align Clusters turned off. - Scale Clusters
-
Resizes the target cluster to a size comparable to that of the source cluster. Takes effect only when Align Clusters is on. Default=on.

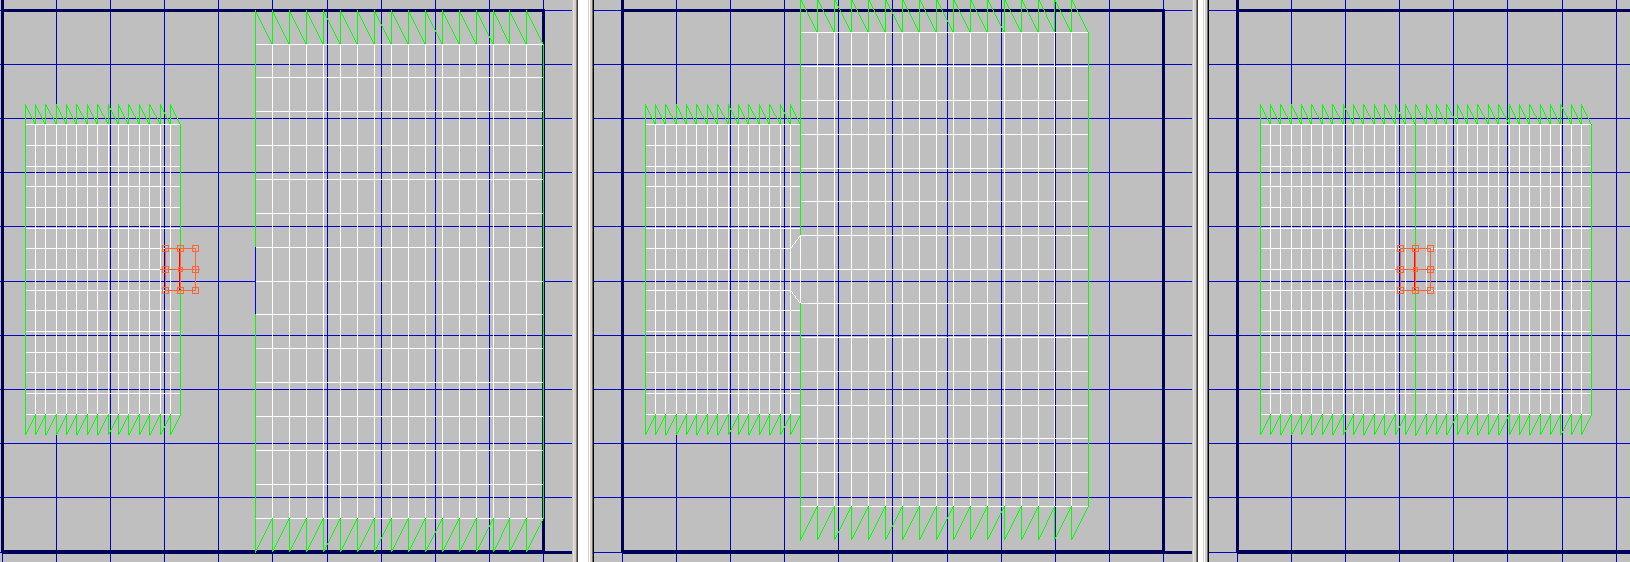
Edges chosen to stitch (left); Clusters aligned (center); Clusters aligned and scaled, with Bias=0 (right)
- Bias
-
When Scale Clusters is off, Bias sets the extent to which attached sub-objects are moved from their original positions. At Bias=0, the sub-objects remain in their original positions in the source cluster. At Bias=1, sub-objects remain in their original positions in the target cluster. At in-between settings, their positions are averaged between the two.
When Scale Clusters is on, Bias sets where 3ds Max derives the scaling of the target cluster(s). At Bias=0, the scale is fully derived from the stitched edges on the source. At Bias=1, the scale is fully derived from the stitched edges on the target. At in-between settings, the scaling is averaged between the two.
 Stitch Settings button (on Stitch: Custom flyout)