Scripts, transitions, and clip references are saved in a Motion Flow Editor MFE, file, for later editing. This format lets you save a Motion Flow and script from one biped and load it onto another biped.
You save, load, and append MFE files from the Motion Flow rollout.
Procedures
To save Motion Flow Editor files:
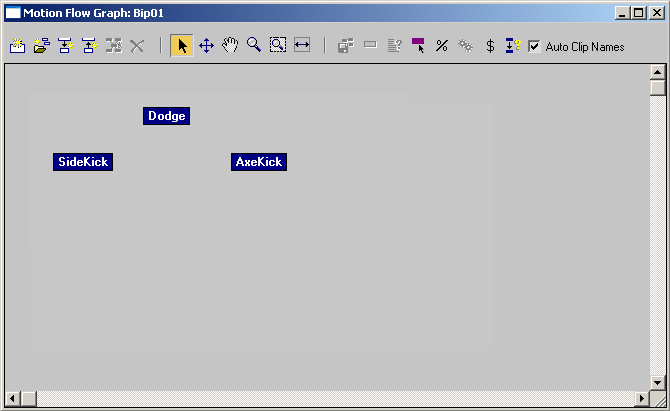
- Create a Motion Flow Graph with three or more motion files.
For information on how to set up the graph, see To create multiple clips in the Motion Flow Graph.
- Create a script using the clips in the Motion Flow Graph.
For information on how to create a script, see To create Motion Flow Scripts.
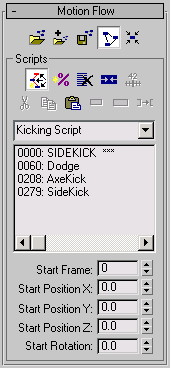
A sample script called Kicking Script containing four clips
- Click
 (Save File) to save a Motion Flow Editor MFE file.
 3ds Max opens the Save As dialog.
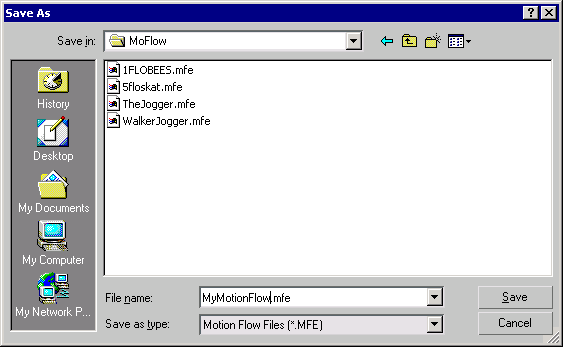
- Specify a folder on your hard drive where you plan to store your Motion Flow Editor files.
To load Motion Flow Editor files:
-
 Select a biped.
 - Go to the
 Motion panel.
 - On the Biped rollout, click
 (Motion Flow Mode).
 - On the Motion Flow rollout, click
 (Load File).
 3ds Max opens a file dialog.
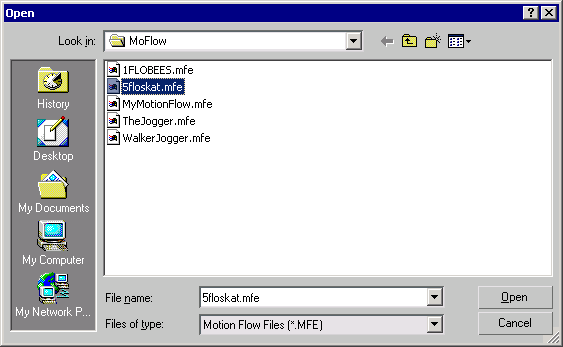
- Navigate to the folder where your MFE files are stored.
- Choose the file to load.
- Click
 (Play Animation) to see the biped move to the scripted clips.
To append Motion Flow Editor files:
-
 Select a biped.
 - Go to the
 Motion panel.
 - On the Biped rollout, click
 (Motion Flow Mode).
 - On the Motion Flow rollout, click
 (Load File).
 3ds Max opens a file dialog.

- Select an MFE file from the folder where your Motion Flow Editor files are stored.
- Click
 (Append File).
 3ds Max opens a file dialog again.
- Choose a different MFE file.
A new script appears in the script drop–down list and the appended sequence of clips appears directly below the original sequence of clips in the Motion Flow Graph dialog. You might have to scroll down to see it.