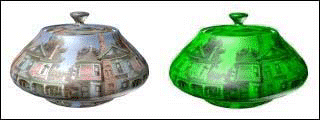
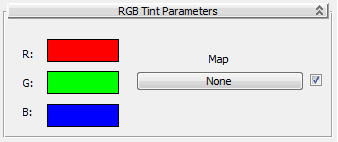
RGB Tint adjusts the value of the three color channels in an image. Three color swatches represent these channels. Changing a color swatch adjusts the value of its associated color channel.

RGB Tint map
The channels are named Red, Green, and Blue for their default colors, but you can assign them any color. You are not limited to variations of red, green, and blue.
Procedures
To tint a map:
- In the RGB Tint Parameters rollout, click the Map button marked None.
3ds Max opens the Material/Map Browser.
- Select the map you want to tint.
Alternatively, use the Slate Material Editor to wire a map to the Map component.
- Click the R, G, or B color swatch.
3ds Max opens the Color Selector.
- Choose a new color.
The red, green, or blue value of each pixel in the underlying map changes accordingly.
To change the saturation of one color in an image:
- Click the R, G, or B color swatch.
- On the Color Selector, increase or decrease Value to vary the color from light to dark.
To replace one color with another:
- Click the R, G, or B color swatch.
- On the Color Selector, increase or decrease Hue to change the color.
Interface

- R/G/B
-
The red, green, and blue color swatches display the Color Selector to adjust the value of the specific channel.
- Map
-
Displays the Material/Map Browser to select the map to be tinted.
The checkbox turns the effect of the map on or off.