The Intensity/Color/Attenuation rollout lets you set the color and intensity of the light. You can also, optionally, set a limit for its attenuation.
Interface
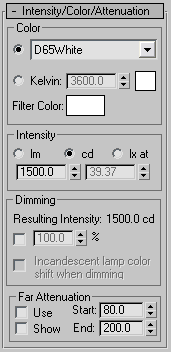
Color group
- Light Pick a common lamp specification to approximate the spectral character of your light. The color swatch next to the Kelvin parameter is updated to reflect the light you select.
These are the options when you specify color using the Light drop-down list (HID stands for high-intensity discharge):
- D50 Illuminant (Reference White)
- D65 Illuminant (Reference White) (the default)
- Fluorescent (Cool White)
- Fluorescent (Daylight)
- Fluorescent (Lite White)
- Fluorescent (Warm White)
- Fluorescent (White)
- Halogen
- Halogen (Cool)
- Halogen (Warm)
- HID Ceramic Metal Halide (Cool)
- HID Ceramic Metal Halide (Warm)
- HID High Pressure Sodium
- HID Low Pressure Sodium
- HID Mercury
- HID Phosphor Mercury
- HID Quartz Metal Halide
- HID Quartz Metal Halide (Cool)
- HID Quartz Metal Halide (Warm)
- HID Xenon
- Incandescent filament lamp
Note: The default choice, D65 Illuminant (Reference White), approximates a midday sun in western or northern Europe. “D65” is a white value defined by the Comission Internationale de l’Éclairage (CIE), the International Lighting Commission.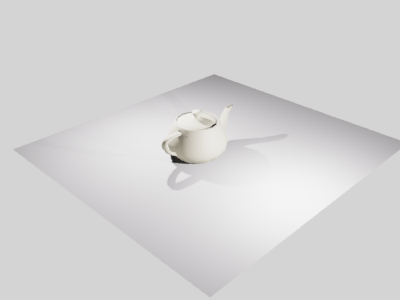
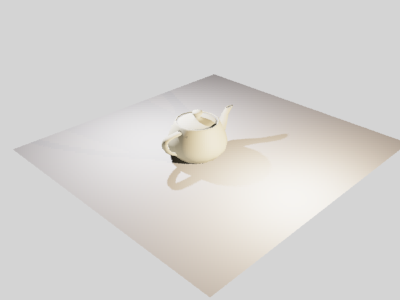
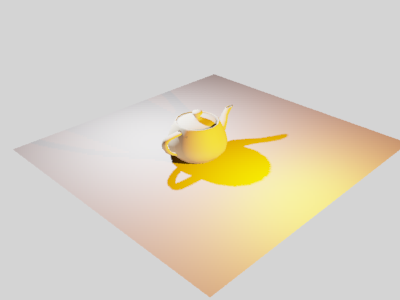
Different lamp types used for the foreground light:
Top: D50 Illuminant (Reference White)
Middle: Fluorescent (Cool White)
Bottom: HID High Pressure Sodium
- Kelvin Set the color of the light by adjusting the color temperature spinners. The color temperature is displayed in degrees Kelvin. The corresponding color is visible in the color swatch next to the temperature spinners.
- Filter Color
- Use a color filter to simulate the effect of a color filter placed over the light source. For example, a red filter over a white light source casts red light. Set the filter color by clicking the color swatch to display the Color Selector. Default=white (RGB=255,255,255; HSV=0,0,255).
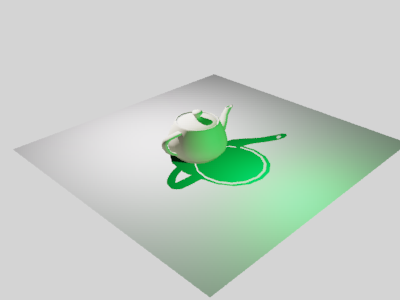
Foreground light given a dark green filter color
Intensity group
These controls specify the strength or brightness of photometric lights in physically based quantities.
You set the intensity of a light source using one of the following units:
- lm (lumen) Measures the overall output power of the light (luminous flux). A 100-watt general purpose light bulb has a luminous flux of about 1750 lm.
- cd (candela) Measures the maximum luminous intensity of the light, usually along the direction of aim. A 100-watt general purpose light bulb has a luminous intensity of about 139 cd.
- lx at (lux) Measures illuminance caused by the light shining on a surface at a certain distance and facing in the direction of the source. The lux is the International Scene unit, which is equivalent to 1 lumen per square meter. The AS unit for illuminance is the footcandle (fc) which is equivalent to 1 lumen per square foot. To convert from footcandles to lux, multiply by 10.76. For example, to specify an illuminance of 35 fc, set illuminance to 376.6 lx.
To specify the illuminance of a light, set the lx value on the left, and then in the second value field, enter the distance at which that illuminance is measured.
Dimming group
- Resulting Intensity
- Displays the intensity caused by the dimming, using the same units as the Intensity group.
- Dimming percentage
- When the toggle is on, the value specifies a “multiplier” that dims the intensity of the light. At 100 percent, the light has its full intensity. At lower percentages, the light is dimmed.
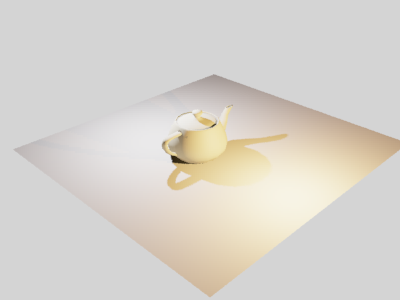
Incandescent light in the foreground
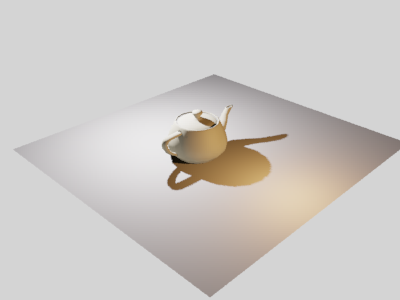
Foreground light dimmed to 10 percent
- Incandescent lamp color shift when dimming
- When on, the light simulates an incandescent light by turning more yellow in color as it is dimmed.
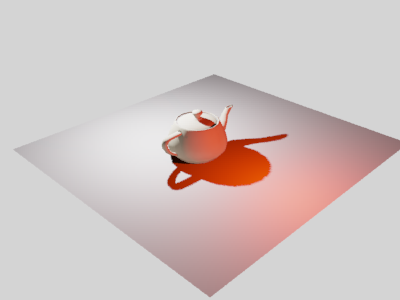
Dimmed foreground light with color shift turned on
Far Attenuation group
You can set the attenuation range for a photometric light. Strictly speaking, this is not how real-world lights behave, but setting an attenuation range can help improve rendering time dramatically.
Far attenuation works only with the mental ray renderer.
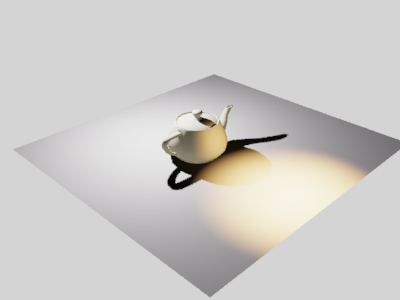
Far Attenuation applied to the foreground light
- Use
- Enables far attenuation for the light.
- Show
- Displays the far attenuation range settings in viewports. For spotlight distribution, attenuation ranges appear as lens-shaped sections of the cone. For other distributions, the ranges appear as spheres. By default, Far Start is light brown and Far End is dark brown. Note: The attenuation ranges are always visible when a light is selected, so turning off this checkbox has no apparent effect until you deselect the light.
- Start
- Sets the distance at which the light begins to fade out.
- End
- Sets the distance at which the light has faded to zero.