The following graphic illustrates the amount of light going through a lens set to an aperture opening of f11. In Figure A, shutter speed is fast and only a small amount of light travels through. In Figure B, shutter speed is slow and more light travels through.
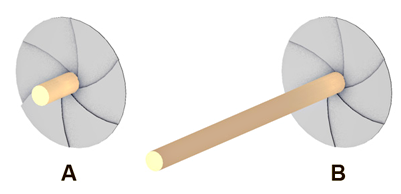
Usually, you need to adjust both the shutter speed and aperture value to ensure that an optimum amount of light enters the camera.
In an exterior setting on a sunny day, for example, you would combine a faster shutter speed with a small aperture to compensate for the bright environment.
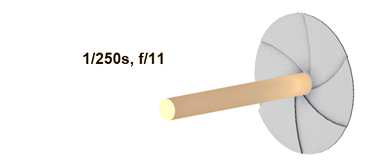
If the day is cloudy, however, you might want to reduce the speed so that more light travels through the lens. Otherwise, your shot will be underexposed and appear too dark.
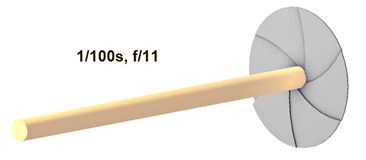
If your environment includes fast-moving objects, you may choose to use a faster shutter speed to prevent blurring. To compensate for the faster shutter speed, you would also need to open the aperture to let in more light.

The challenge is to strike an effective balance between shutter speed and aperture. A setting that works well in one situation might not necessarily work well in another.
Summary
As you develop your scenes in 3ds Max, you will need to experiment with various aperture and shutter-speed settings to obtain the right lighting conditiond.
3ds Max provides you with a variety of exposure presets formulated to suit specific environmental conditions. You can then fine-tune your exposure by manually adjusting shutter speed and f-stops as needed.

The next three illustrations show the effects different exposure settings can have on an identical scene.
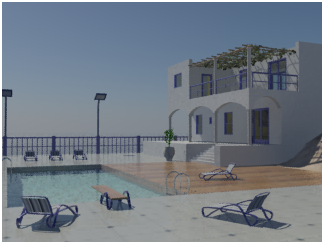
Properly exposed scene: shutter speeed 1/500s at f8.
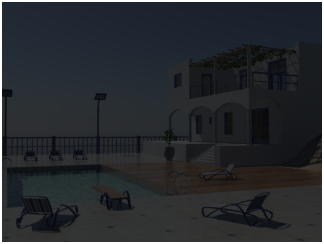
Underexposed scene: shutter speeed 1/1000s at f16.
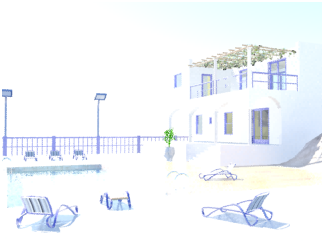
Overexposed scene: shutter speeed 1/100s at f5.6.