Note: The answer is referring to version 2015. This information may differ on other versions.
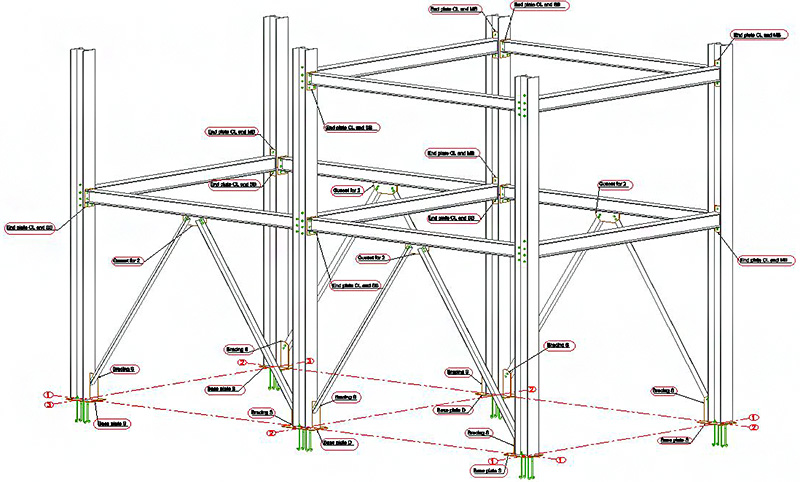
The name received by the joints at grouping or creation can be displayed in the general arrangement directly in the view by creating new labels.
To find out more about the joint groups, read FAQ: How are joints grouped in Advance Steel?.
- Open the view in which you want to display the joint name.
- On the ribbon, click
 (Label content manager).
 - Labels & Dimensions
 Labels
(Label content manager)
Labels
(Label content manager)
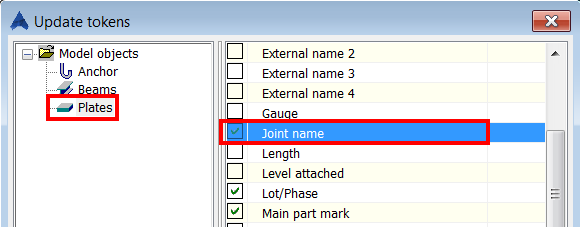
The Update tokens dialog box appears.
- Labels & Dimensions
- Next, select the element added by the joint (plates - in current example) for which you will display the joint name using labels. Choose the token used by the label "Joint name" and click OK.
- On the ribbon, click
 (Insert label).
 - Labels & Dimensions Labels
(Insert label)
- Labels & Dimensions
- Select the objects for which you want to add labels and create them.
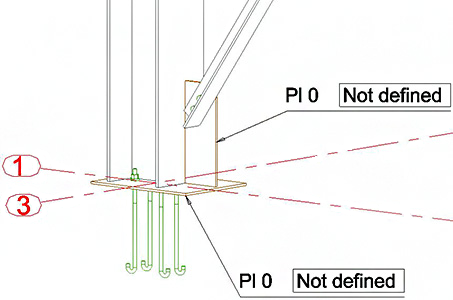
- After you create all the labels, select only the ones for which you want to display the joint name.
- Right click and select Advance Properties from the context menu.
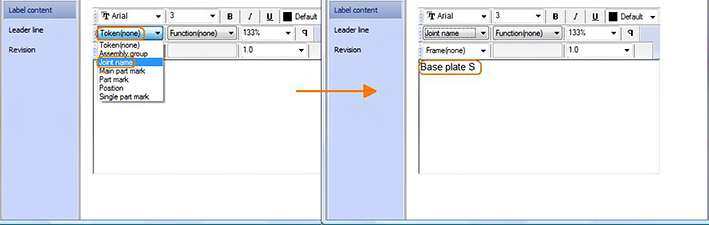
- In the Labels and symbols dialog box, from the Tokens drop-down list, select Joint name.
The labels will display the joint name which includes the labeled elements (plates). This token change can be made for each element.