You can render an entire view, a set of selected objects, or a portion of what you see in the viewport.
Render a View
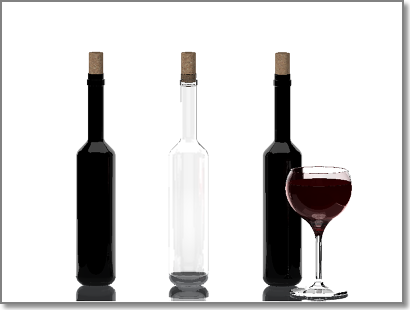
The default rendering procedure is to render all objects in the current view in the drawing. If you haven’t opened a named view or a camera view, the current view is rendered. While the rendering process is faster when you render key objects or smaller portions of a view, rendering the entire view lets you see how all objects are oriented to one another.
If your current drawing contains named views or if you’ve added cameras to your model, you can quickly display them by using the VIEW command.
The following example shows a rendering of a named view.

Depending on the rendering destination you’ve chosen, the rendered view is displayed in the Render Window or directly in the viewport.
Render Selected Objects
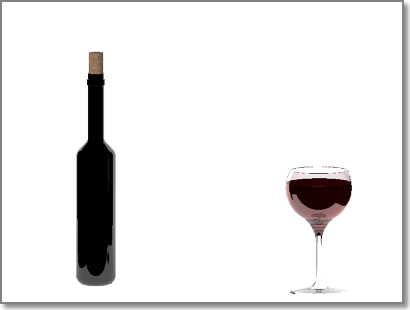
If you’re adding detail to specific objects, you don’t want to waste time rendering an entire viewport. By changing the rendering procedure to Selected, you are prompted to pick the objects that you want rendered.
The following example shows a rendered selection of the first bottle, its cork, and the wine glass.

Rendering a selection set of objects is efficient when testing different materials, especially when the materials include texture mapping. By rendering a selected object, you can quickly verify how the material looks and if its texture coordinates must be altered.
Render a Cropped Area
Sometimes you need to render only a portion of what is displayed in the viewport, but you still want to see some of the surrounding environment.
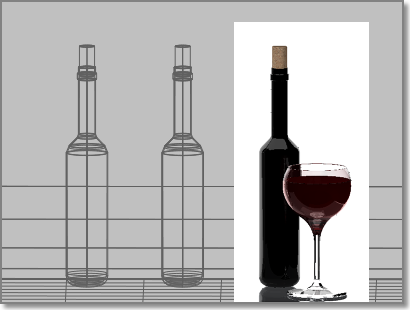
In the following example, only the region surrounding the third bottle and the wine glass is rendered.

By setting the rendering procedure to Crop, you can specify a smaller region of the viewport to be rendered. Similar to selecting objects by window, you can set a rectangular region in the viewport. Any objects that appear in the region are rendered. Everything outside the region is ignored by the renderer.