Getting Started with the Maya plug-in
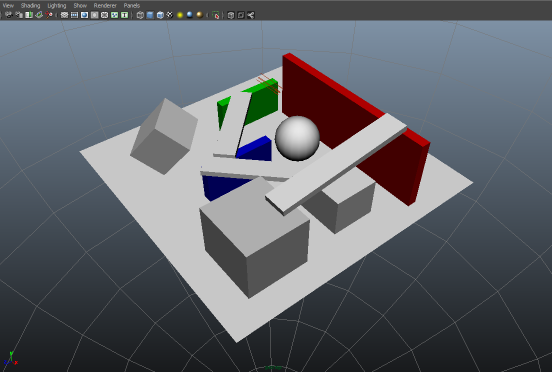
This section demonstrates how you can use Beast with Maya. The baking workflow, when using Beast for Maya, is designed with building game levels in mind. This approach lets you set up a level for "quick" baking, then add finer control where required rather than manually tweaking each object. For clarity, we have used a relatively small scene in this example.
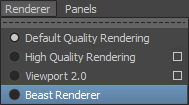
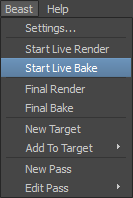
- Start an interactive Beast render in the viewport. Choose Beast
 Start Live Render, then choose Renderer Beast Renderer.
Opening a scene in this interactive viewport gives you a live preview of any changes—such as adding or moving lights, moving or editing geometry, etc. Changes are progressively rendered for a quick preview when making changes or moving the camera, but present a higher quality render when no changes are being made or the camera is static. If you have a DistriBeast cluster running, it will be used to render the scene in the viewport.
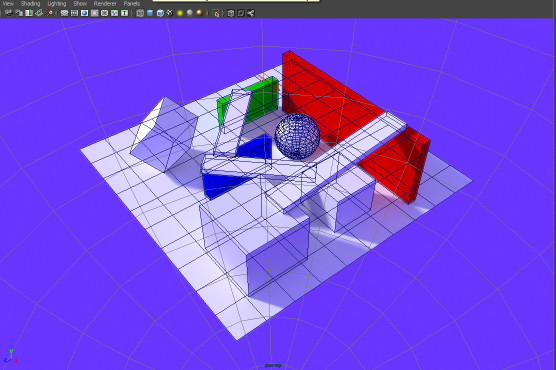
- To improve visibility of objects in the viewport, choose Shading Wireframe to add a wireframe overlay to the scene.
- Choose Shading Smooth Shade All to return to the render without the wire frame, and Beast Stop Live to pause the live rendering.
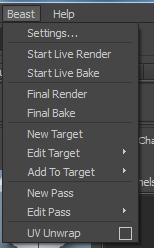
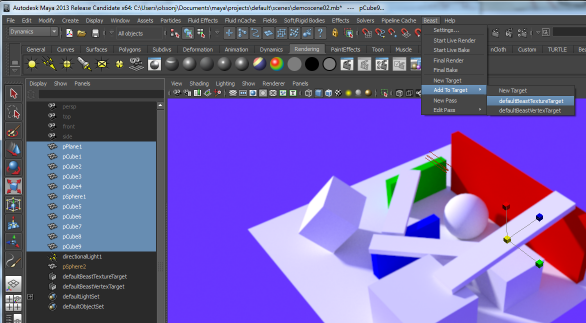
Before baking the scene, Maya instances need to be added to the default Beast bake targets. These bake targets are logical groupings of objects sharing bake settings—such as pass and bake type.
- Drag Maya instances, groups, or sets to a Beast target, or add them using Beast Add To Target.
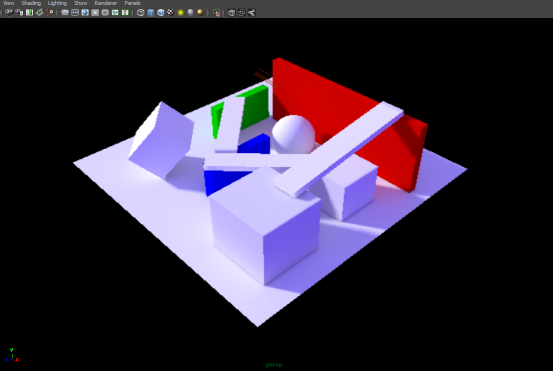
- Choose Beast Start Live Bake to from the viewport renderer to the Beast Renderer to display the baking rather
than the camera rendering.
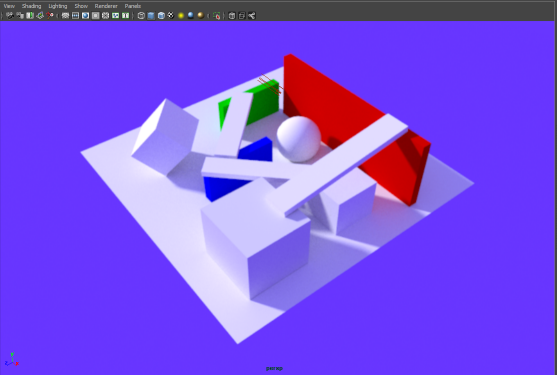
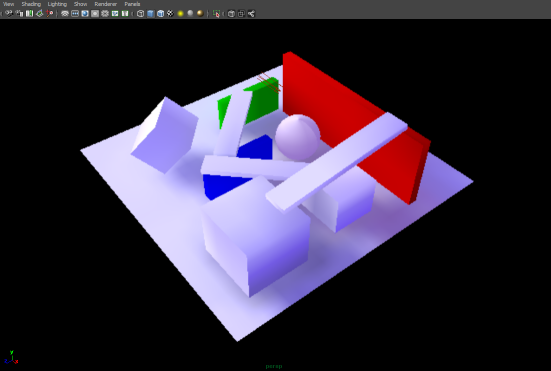
The result will appear quite similar to the viewport rendering, but in this view the display is Beast baking the lightmaps for the objects. In this view, you can rotate the scene without causing the render to become invalidated; it will automatically fill in any gaps in the baked lightmaps.
At this point, the scene appears somewhat blurry because the texture resolution has not yet been adjusted.
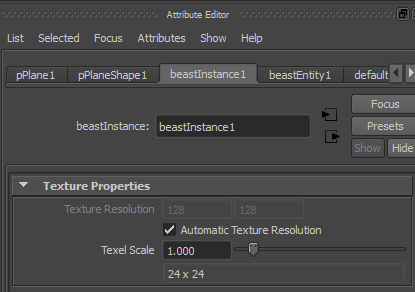
By default, a scene is assigned approximately one lightmap texel per world unit (active Maya working units). The scene in this example is 24 cm wide, and the plane was assigned a texture resolution of 24 x 24.
- To display the assigned texture resolution, select the Maya instance, and choose
the beastInstance in the Attribute Editor.
When a Maya instance is added to a Beast target, a Beast intance node is automatically connected. This node contains bake settings specific to the Maya instance. While you can adjust (increase) the Texel Scale for a larger texture resolution, for an instance, it is more efficient to make the adjustment for the whole level.
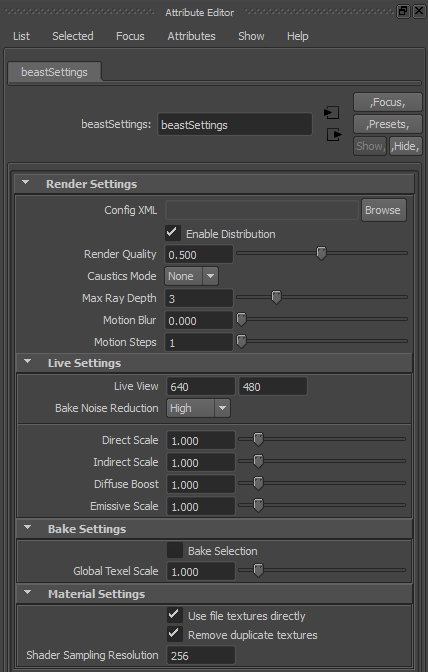
- To adjust the resolution for the whole level, choose Beast Settings.
- Increase the Global Texel Scale to 10.0. Reselect the plane in the viewport to see the updated resolution.
NOTE:It is important to have non-overlapping UV-sets when baking lightmaps. In this sample scene, all objects have correct UV-maps because they are simple primitives.
Interactive baking supports UV-mapping for an object without stopping the bake. To change UV-mapping, open the UV texture editor and edit the map. Beast will automatically adjust for changes to the UV-mapand re-bake the object to apply your changes.
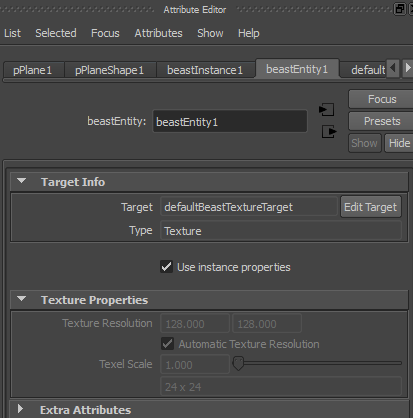
Additional Beast Nodes
For each Beast target a Maya instance is added to, a Beast entity node is created. These nodes can be used to override the bake settings for a target in a Maya instance, and they are used to store relevant information for the final baked result.
Beast Targets
Beast targets, best located in the Outliner, can be texture or vertex type. These targets contain settings for the Bake UV set, and they are used to determine if members of the target should be baked together into a texture atlas.

BeastOSL
The BeastOSL node is a new shader type that should be used instead of the standard Maya shaders such as Lambert, Blinn, Phong, Phong E, anisotropic, etc. The OSL shader decides what BSDF function(s) to use; you can then plug standard Maya networks into that shader. These are sampled as usual using the sample resolution that you specify in the beastSettings tab in the Attribute Editor, or the resolution referenced in the input texture.
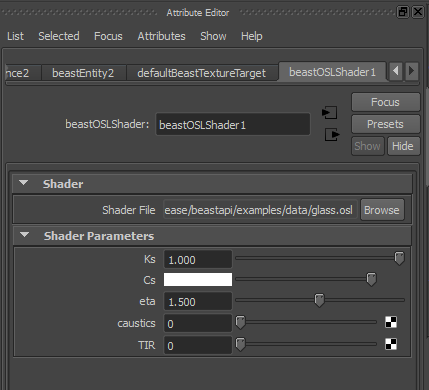
- Browse to your OSL file in the Shader File control.
If you have written a new shader from scratch, you can test it by first compiling it with the oslc.exe tool, found in the bin directory of the Beast SDK package.
- Once the shader is loaded, the Shader Parameters section is populated automatically with mappable slots for the parameters exposed by the shader. You can connect standard Maya pattern nodes (i.e. not Blinn, Lambert, etc.) to these slots.
Currently, the plug-in uses a Python script to extract the parameters from the OSL shader. If this script fails, please contact Support and provide the OSL shader that loads incorrectly. See Support.
For more information on OSL shading, see Creating Physical Materials.
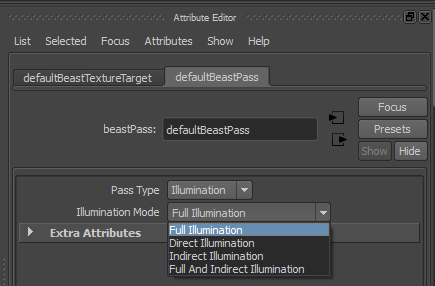
Beast Passes
A target can be associated with a number of Beast passes. A single pass generates one type of output—such as Illumination, Radiosity Normal Maps, etc. Passes can be shared by different Beast targets. Double-click a pass in the association list to open it in the Attibute Editor.

Creating UVs
The Maya plug-in integrates the Beast UV creation system into Maya.
To create UVs for your meshes using Beast in Maya, select the Beast > UV Unwrap option from the main menu.
Click the square icon in the menu to open a tool options window in which you can configure the settings used by the UV creation system. For details on these settings, see the topics under UV Unwrapping.
 Except where otherwise noted, this work is licensed under a Creative Commons Attribution-NonCommercial-ShareAlike 3.0 Unported License. Please see the Autodesk Creative Commons FAQ for more information.