In this exercise, you will modify some of the imported survey data, and then reprocess the linework to apply the changes.
You will learn about import events, which are a reference to the original survey data file that was imported into the survey database. Import events are useful when you need to determine how the survey data was originally imported and the individual points and figures that were imported during that event. Import events provide a convenient way to remove, re-import, and reprocess the survey data referenced within the event.
Reprocess the survey points
- In Toolspace, on the Survey tab, expand the Survey Databases
 Survey 1
  Import Events collection. Note:
If you cannot expand the collection, right-click the database name and click Open For Edit.
- Select Import Events.
The import options that were specified when the survey data was imported are displayed in the Toolspace list view. Notice that Point Identifier Offset is 10000. This indicates that as each survey point was imported, 10000 was added to the original point number. You will remove this offset value in the following steps.
- Under the Survey-1.fbk import event, select Survey Points.
In the Toolspace list view, compare the values in the Number column with the values in the Original Number column. The Number column reflects the offset of 10000 that was added to the point numbers when they were imported.
- Right-click Survey-1.fbk. Click Re-Import.
- In the Re-Import Field Book dialog box, clear the Assign Offset To Point Identifiers check box.
- Click OK. Note:
If you are prompted to abort the import process, click No.
The points are re-imported, and the linework is reprocessed.
This exercise uses Survey-2B.dwg, which you saved in the My Civil 3D Tutorial Data folder during the previous exercise. If you did not do this, you can use the copy of Survey-2B.dwg that is in the tutorials drawings folder, but you will get duplicate objects when you update the survey data.
Update and reprocess a survey figure
- In Toolspace, on the Survey tab, select the Survey Databases
 Survey 1
  Figures collection.
 - In the list view, select BLDG7. Right-click. Click Zoom To.
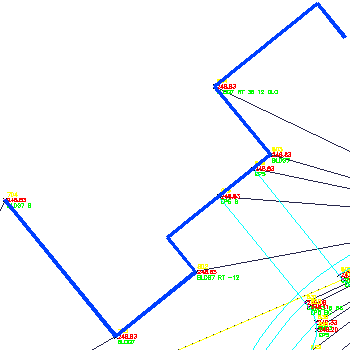
The BLDG7 figure is displayed in the drawing. The ending line segments are incorrect, and the figure is not closed. You will edit the survey point to correct the figure.

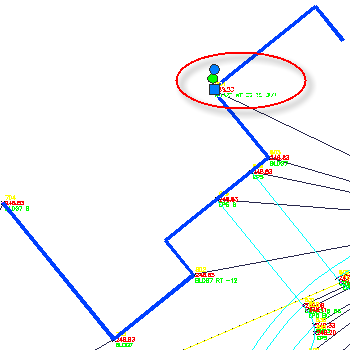
- In the drawing, select survey point 804.

- Click tab
 panel
panel 
 .
. In the Description, two errors are evident. First, a - (hyphen) was omitted from one of the values, which caused the line to extend in the wrong direction. Second, the close code is CLO, while the close code specified in the linework code set is CLS.
- In the Survey Point Properties dialog box, change the Description to the following:
BLDG7 RT -36 12 CLS
- Click OK.
You are prompted to select another survey point object. The command persists, so you can continue modifying survey point properties, as necessary.
- Press Enter to end the command.
You are prompted to update the linework associated with the survey points.
Note:All survey points must be reprocessed because any point potentially can contribute to the definition of any generated figure.
- Click Yes.
- In the Process Linework dialog box, clear the Insert Survey Points check box.
In this case, it is only necessary to update the figure linework. The point coordinates did not change.
- Click OK.
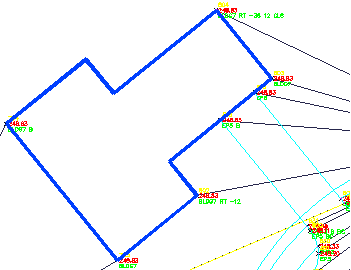
The linework is reprocessed, and the survey figure is corrected.

- Click

 Save As.
 - Navigate to the My Civil 3D Tutorial Data folder. For File Name, enter Survey-3.dwg. Click Save.
To continue to the next tutorial, go to Viewing and Editing Survey Data.