In this exercise, you will create dynamic offset alignments for an existing centerline alignment.
Create offsets of a centerline alignment
- Open Align-6A.dwg, which is located in the tutorials drawings folder.
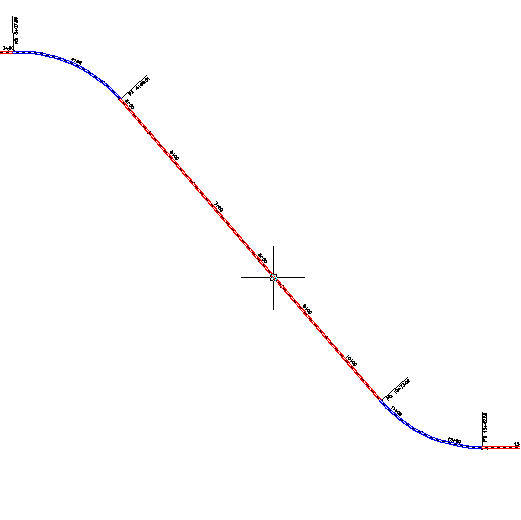
The drawing contains a surface and an alignment.
- Click tab
 panel
panel  drop-down
 .
. - Select the alignment in the drawing.

- In the Create Offset Alignments dialog box, specify the following parameters:
- No. Of Offsets On Left: 1
- No. Of Offsets On Right: 1
- Incremental Offset On Left: 12
- Incremental Offset On Right: 12
- Alignment Style: ETW
- Alignment Label Set: Offset Labels
You can also specify design criteria for the offset alignments.
- Click OK.
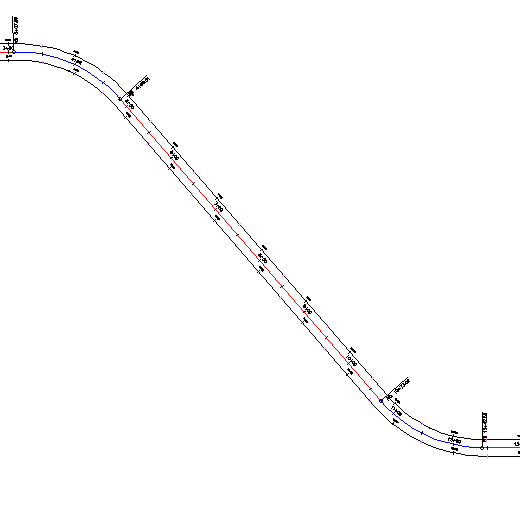
An offset alignment is created on either side of the centerline alignment.

- In Toolspace, on the Prospector tab, expand the
 Alignments
 Offset Alignments collection.
 Notice that the two alignments you created were placed in the Offset Alignments collection. You can create profiles, profile views, and sample line groups from offset alignments, just as you can for standard, Centerline alignments.
To continue this tutorial, go to Exercise 2: Editing an Offset Alignment.