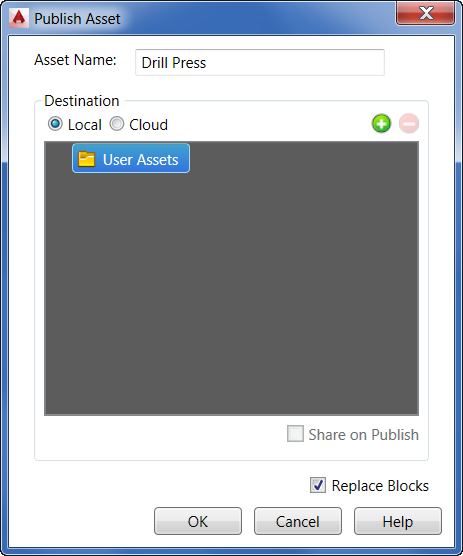
- On the Asset Builder tab, in the Publish panel, click Publish Asset
 to open the Publish Asset dialog box.
- By default, assets are published to the User Assets library.
- If you want to specify a different folder for your published asset, right-click the User Assets folder and select New from the pop-up context menu. The new folder appears as a subfolder in the User Assets folder. To provide a more descriptive name for the new folder, right-click over the new folder name and select Rename from the context menu. Enter the new folder name and press Enter.
Note: The pop-up context menu also provides the option to create an additional subfolder under the new folder you have created. You can also delete any custom folder from the User Assets folder structure using the context menu. Be aware that any assets stored in a subfolder are also deleted. The Explore context menu option opens the selected folder using Windows Explorer.
- After specifying the default User Assets folder, or creating a new subfolder for the asset, determine whether the asset is to be local or published to the cloud by selecting the Local or Cloud option button.
- If publishing to the cloud, select the desired asset collection from the list. To see all the members in a collection, click the collection name.
- Asset collections can be created from within the Publish Asset dialog box, or by using the Web-based Factory Asset Warehouse. Use the Add
 and Remove
  buttons if you wish to add or remove a collection from the list. Adding a collection creates a new folder that can be named at creation time or renamed later, as required.
 Tip: The Add and Remove buttons can be used to create and delete folders for local assets also.
- If you wish to share your asset with other users on the cloud, activate the Share on Publish check box. When an asset is shareable, other users can rate it or comment on it in the Factory Asset Warehouse.
Note: Public sharing of assets can also be toggled on and off using the Factory Asset Warehouse.
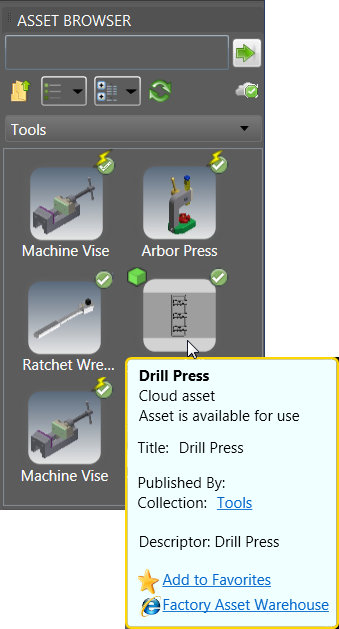
- Once the asset has been published to the cloud, it becomes available for download in the Asset Browser. Access to the Factory Asset Warehouse is also provided through the browser for cloud-based assets.
- When activated (the default), the Replace Blocks check box automatically replaces the block used for asset creation with the newly published asset once publishing is complete.
- Click OK to add the asset to the Factory Assets library and close the Publish Asset dialog box.
- On the Asset Builder tab, in the Exit panel, click Finish Asset Builder
 to exit the environment.
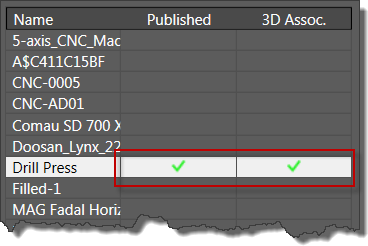
- A green checkmark is added to the Published column in the Block Browser dialog box.