Set Landing Surface defines how the model sits on the floor. For models that are mounted on a wall or ceiling, you can set the orientation and then use Grip Snap to move the model to the correct height.
 On the ribbon, click Factory tab
 Position panelSet Landing Surface.
 - Click three model points to define the landing surface plane.

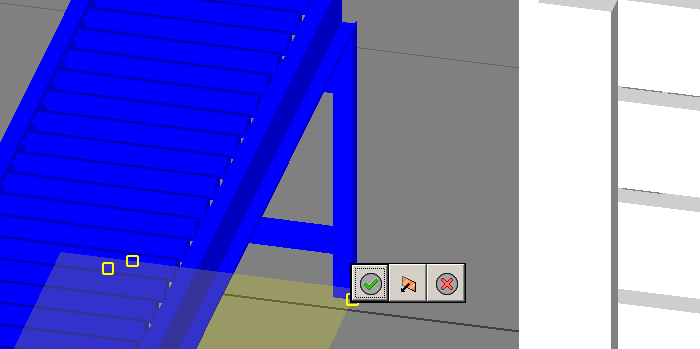
- After selecting the three points, a mini-toolbar appears.
- If necessary, click the Inverse button to flip the model upside down.
- Click Confirm to leave the model in that position or click Back to return the model to the previous position.
- Press Esc to end the command.