If the part is included in an assembly, first activate the part whose face appearance you want to change.
- In the graphics window, click one or more faces.
- Right-click, and click Properties.
- In the Face Properties dialog box, Appearance drop-down list, select an appearance.
- Click OK.
In general, face appearance changes follow these rules:
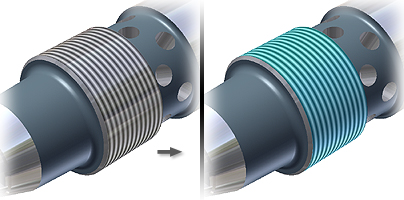
If a cosmetic thread texture is applied to the feature, a face color change affects only the base color used in the thread texture.
In the following image, face appearance is changed to Blue (Sky-Bright) but threads remain black.

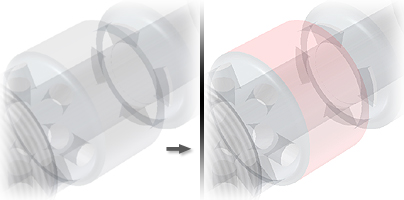
If the part is transparent, the face appearance changes but is transparent.
In this image, face appearance is changed to Red (Bright) but is transparent to match part appearance.

A face appearance overrides the feature appearance (which overrides the part appearance).
In this image, the appearance of this feature is set to Metal-Steel (Polished). Some faces are changed to Zinc, which overrides feature appearance.

If you change a face appearance, and then include the feature in a pattern, the patterned features do not have the face appearance.
In this image, the feature appearance is changed to Gold Metallic. The feature is patterned, and appearance for pattern instances remains set to As Part.

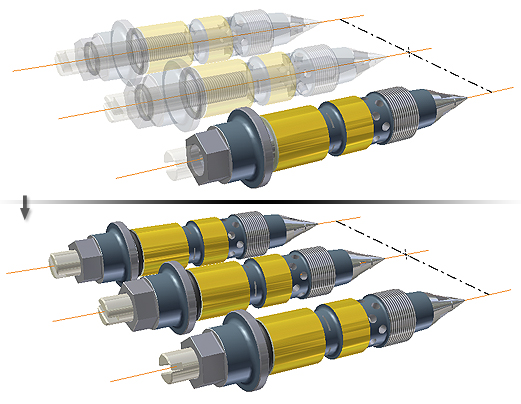
If an assembly contains multiple instances of the part, all instances update with the new face appearance.
In this image, the face appearance is changed to Gold Metallic. Each instance of that part updates with new face appearance.
