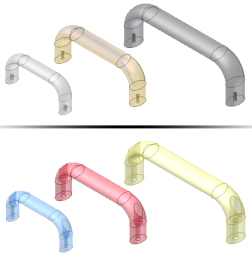
Transform parts that you use often in different sizes, materials, or mounting configurations.

You can create a table-driven iPart and use it to create a table-driven iFeature if the entire part is going to be used as an iFeature. Use the Extract iFeature command to save the iPart as an iFeature. Once the table-driven iFeature is saved to the catalog location, use the iFeature Author to change the table.

In the iPart Author table, you define individual members of the iPart factory by specifying its values. If you prefer, you can add or edit members in an embedded Microsoft Excel spreadsheet. For standard iParts, each table row is a member of the iPart.
A Member column in the iPart table generates a default file name based on the factory name. Each member name is incremented. Optionally, click Options in the iPart Author dialog box to set up a different naming scheme, or enter a new name in the member cell.
Any feature that you select in an iPart Author table highlights in the graphics area. If you select a column or a cell, the owning feature highlights in the graphics area, if possible.
Parameters in iPart factory

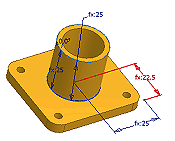
If you know that you want the part to be a part factory, as you add dimensions create parameters with meaningful names. For example, in the dimension edit box, enter Length=75mm. The sketch length changes to 75mm, and a parameter is created and added to the table with the name of Length.
Parameters appear in the order you add them in the iPart table. When you add parameters, give some thought to the order so that related parameter columns are grouped.
Tips for creating iPart factories
- Determine the part of your design that changes with each version.
- After you create the basic part, use the Parameters command to rename system parameters and to create unique parameter names. Then iPart Author to create the iPart factory. Named parameters are automatically added to the iPart table.
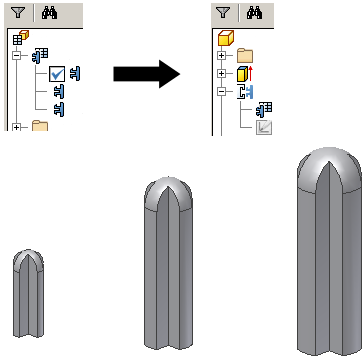
- When creating an iPart factory, use Suppress and Unsuppress features to make significant changes between members. Add the features to the iPart table, and then specify the suppression status for the features in each row of the iPart table.
- In the iPart Author, right-click materials, sizes, or other critical values in the right pane and designate as keys. Only key values are shown in the model browser. Key numbers determine the nesting hierarchy, such as key 3 is nested under key 2, which is nested under key 1.
- if you do not specify a unit of measure in a table cell, default document units are used.
- If you select the Material property from the Design Assistant Properties list, use the Material Column option on the Other tab to ensure that the current appearance is set to As Material.
- To include part properties in drawings and bills of materials, include them in the iPart table, even if their values do not vary between members.
- To include part properties in drawings include them in the iPart table, even if their values do not vary between members.
- Place standard iPart factories in a library and include the library path in your project file.