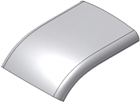
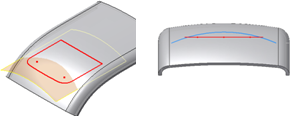
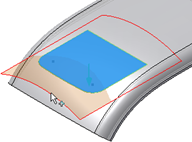
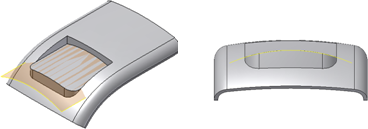
- Create or import a thin-walled part.

- Create the rest profile on a 2D sketch between the upper and lower faces of the thin-walled part. Tip: Use an Offset Work Plane for the sketch location.

- Build a surface that spans the entire sketch at the position where the landing surface is required.

- On the ribbon, click 3D Model tab
 Show Panel icon
  . Select Plastic Part panel to display the Plastic Part panel, and then select Rest
  .
. - Verify that the box in the Shape tab is set to Through All. The platform direction arrow is like the arrow shown in the image. (For example, opposite to the appropriate clearance volume.)

- Switch to the More tab.
- Specify To Surface in the Landing Options box on the More tab and select the surface.

- Click OK to complete the Rest with a surface-shaped landing.
