A workflow automates a set of activities.
To run a workflow
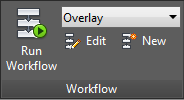
- In the Planning And Analysis workspace, on the
 , select a workflow from the list.
If the workflow you want is not in the list, click Open Workflow From File at the bottom of the list.
- Click
 .
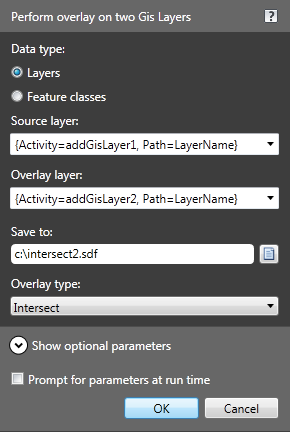
. - If prompted, specify the values for the parameters of the workflow.
For example, the Overlay workflow requires you to specify the data store to connect to.

If the workflow requires parameters for any of its activities, it displays a prompt.
- To connect to database, specify login credentials.
- To connect to a file, select the appropriate provider and click
 and navigate to the file.
 - To connect to a SHP folder instead of a file, select the SHP provider and click the folder icon to specify the folder.
The workflow performs the activities in its definition and displays the result.
For example, the built-in Overlay workflow connects to the specified data stores, performs the overlay, and displays the resulting layers in your map. The overlay itself is saved to the specified SDF file. AutoCAD Map 3D Connects to that SDF file and adds a Display Manager layer for it. The connections appear in Map Explorer and in the Data Connect window.
Note:If the workflow fails, an error message displays. Open the Workflow Designer to find the error. The activity that failed displays a red X or an exclamation mark.
- If you changed any parameters in response to a prompt, you can save or discard the changes when the workflow is complete.