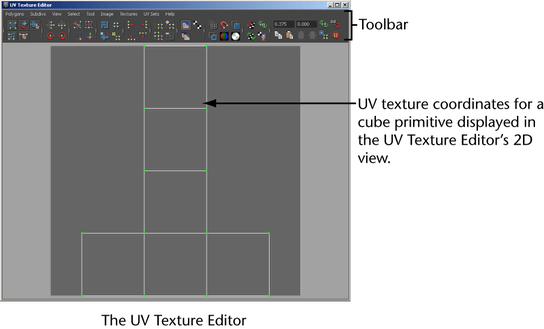
Window > UV Texture Editor
Edit UVs > UV Texture Editor
The UV Texture Editor lets you view and interactively edit the UV texture coordinates for polygon, NURBS, and subdivision surfaces within a 2D view.
You can select, move, scale, and generally modify the UV topology for a surface very much like you work with other modeling tools within Maya. You can also view the image associated with the assigned texture map as a backdrop within the UV Texture Editor and modify the UV layout to match as required.


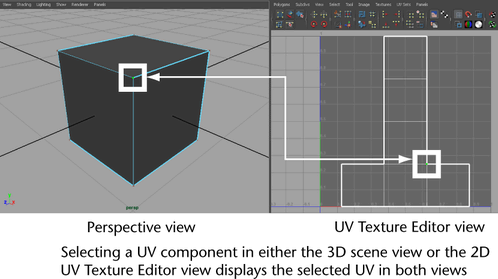
This is useful when you’re editing UVs and need to understand how an item in the 2D view relates to the 3D model in the scene view. For this reason, many Maya users find it invaluable to have the Maya perspective view and the UV Texture Editor displayed side-by-side when performing UV texture and layout work. You select this layout from the layout shortcuts section of the Toolbox.
The UV Texture Editor contains tools that allow you to modify the UV texture coordinates. For example, you can perform such actions as rotating and flipping UVs as well as cutting and sewing UVs in order to achieve the UV layout you require. You can also output a bitmap image of the final UV layout so it can be used as a background for texture creation work.
There are separate menus for polygons and subdivision surfaces UV tasks. Many of the items within the UV Texture Editor are also accessible from the UV Texture Editor’s toolbar as icons. As well, some of the items that are contained within the UV Texture Editor are also available in the Edit UVs menu from the Polygons menu set.