Autodesk product installation requires that ports on your computer are available, and not blocked by a firewall. For more information, click here.
The first time you use Install Now to install products, you are led through the following general steps:
- On the Autodesk product download website, find your product and click Install Now.
After you accept the Autodesk License and Service Agreement, the Autodesk installer package is downloaded to your computer as an executable file (.exe). Depending on your web browser and network security, you may be asked to approve the download, and choose whether to run the file or save it to run later. The run option is recommended. After downloading, the product installer is launched.
Important: Keep the Autodesk download website open until the installer is launched. Then you can close the website if you wish.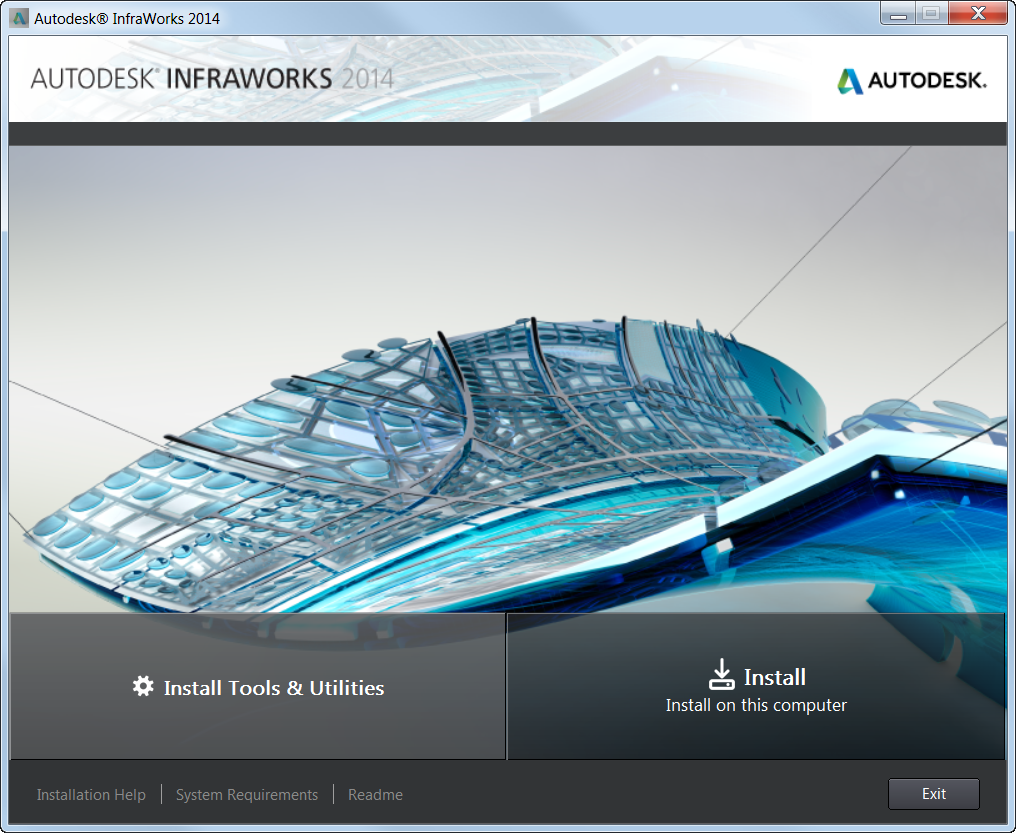
Sample Autodesk Installer
- In the installer window, click Install. Note: Education Suite users are not required to manually enter a product serial number and product key when using Install Now. The system retrieves this data from other sources.
In the installer window, you can click the Installation Help link to open a document with advice specific to the product or suite you are installing. This document may not accurately describe the Install Now experience, but it can have other useful information, especially about product configuration.
- Select the products to install, and configure any settings you want to change from the default values, including the install location, {System drive}:\Program Files\Autodesk\.
The install location must be on a local drive, not a shared network drive, and some of the files will be installed on the C: drive, regardless of the specified install location. The installer checks that the install location has enough available disk space to download and install the products. If there is not enough space on the install drive, a message notifies you of how much more space is required. You can create space by deleting files, or specify another local drive with sufficient space.
Products are downloaded and installed, one at a time.
Advice
During download and installation, the performance of your computer for other tasks may be slower than normal. After installation, you may be prompted to restart the computer before running the products.
If you are installing a product suite and decide not to install all of the products, an icon is created on your desktop with a name such as Install Now <Product Name>. You can double-click this icon later to install more products.
To repair or reinstall a product, go to the computer's Control Panel using one of the following methods:
Windows 7 or 8, viewing by category
- Click Windows Start Menu
 Control Panel Uninstall a Program.
 - Right-click the product name and click Uninstall/Change or another selection.
Windows 7 or 8, viewing by icons
- Click Windows Start Menu Control Panel Programs Programs and Features.
- Right-click the product name and click Uninstall/Change or another selection.
Windows XP
- Click Windows Start Menu Control Panel Add or Remove Programs.
- On the program list, click Change/Remove for the product.