In this step, we open the valve model into Autodesk® Simulation CFD.
1. Start Simulation CFD, and click New.

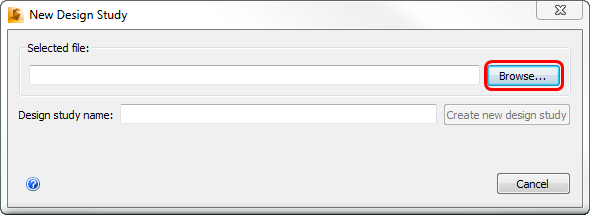
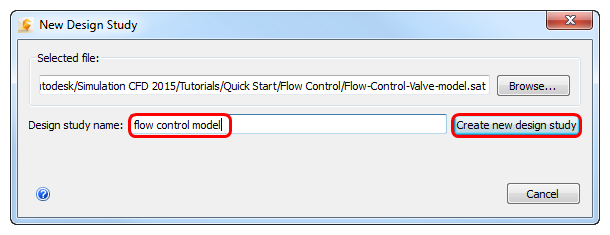
2. On the New Design Study dialog, click Browse...
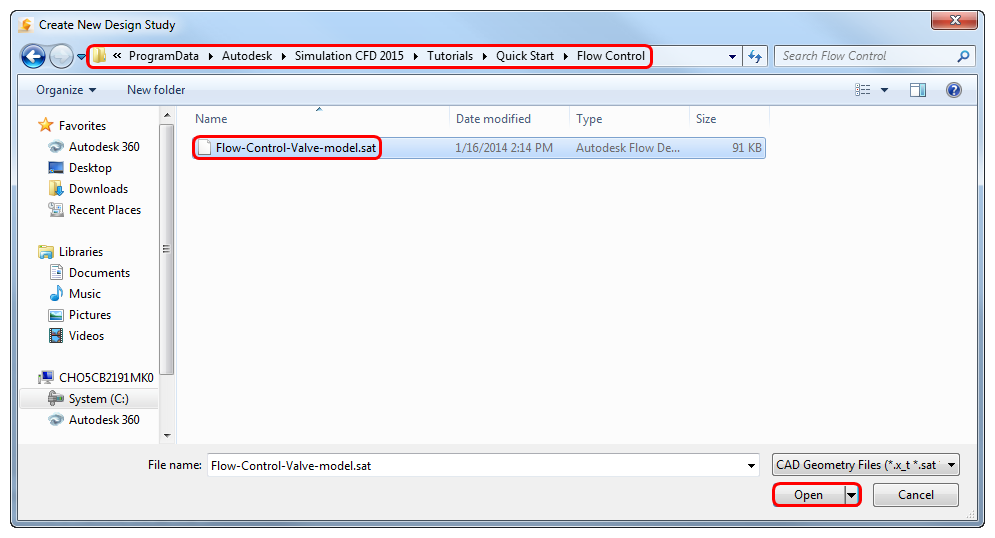
3. Navigate to C:\ProgramData\Autodesk\Simulation CFD 2015\Tutorials\Quick Start\Flow Control, and select Flow-Control-Valve-model.sat. Click Open.
Can't find the ProgramData folder?
Open a file browser window (Start menu > Computer).
From the top left corner, click Organize > Folder and search options.
Click the View tab.
Select the Show hidden files, folder, and drives option.
Click Ok.
Using Simulation CFD 360?
Navigate to C:\ProgramData\Autodesk\Simulation CFD 360 2015\Tutorials\Quick Start\Flow Control
4. On the New Design Study dialog, enter a name for the Design study name, and click Create new design study:
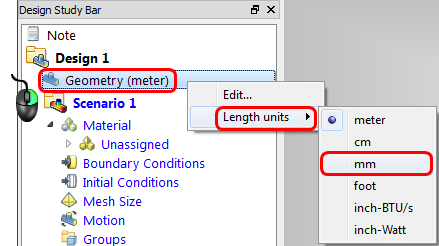
5. The geometry imports in units of meters, we need to convert it to mm. To do this:
- Right click on the Geometry branch of the Design Study Bar, select Length units, and click on mm.
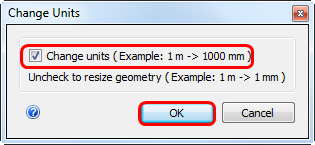
- On the Change Units dialog, make sure Change Units is checked, and click OK.
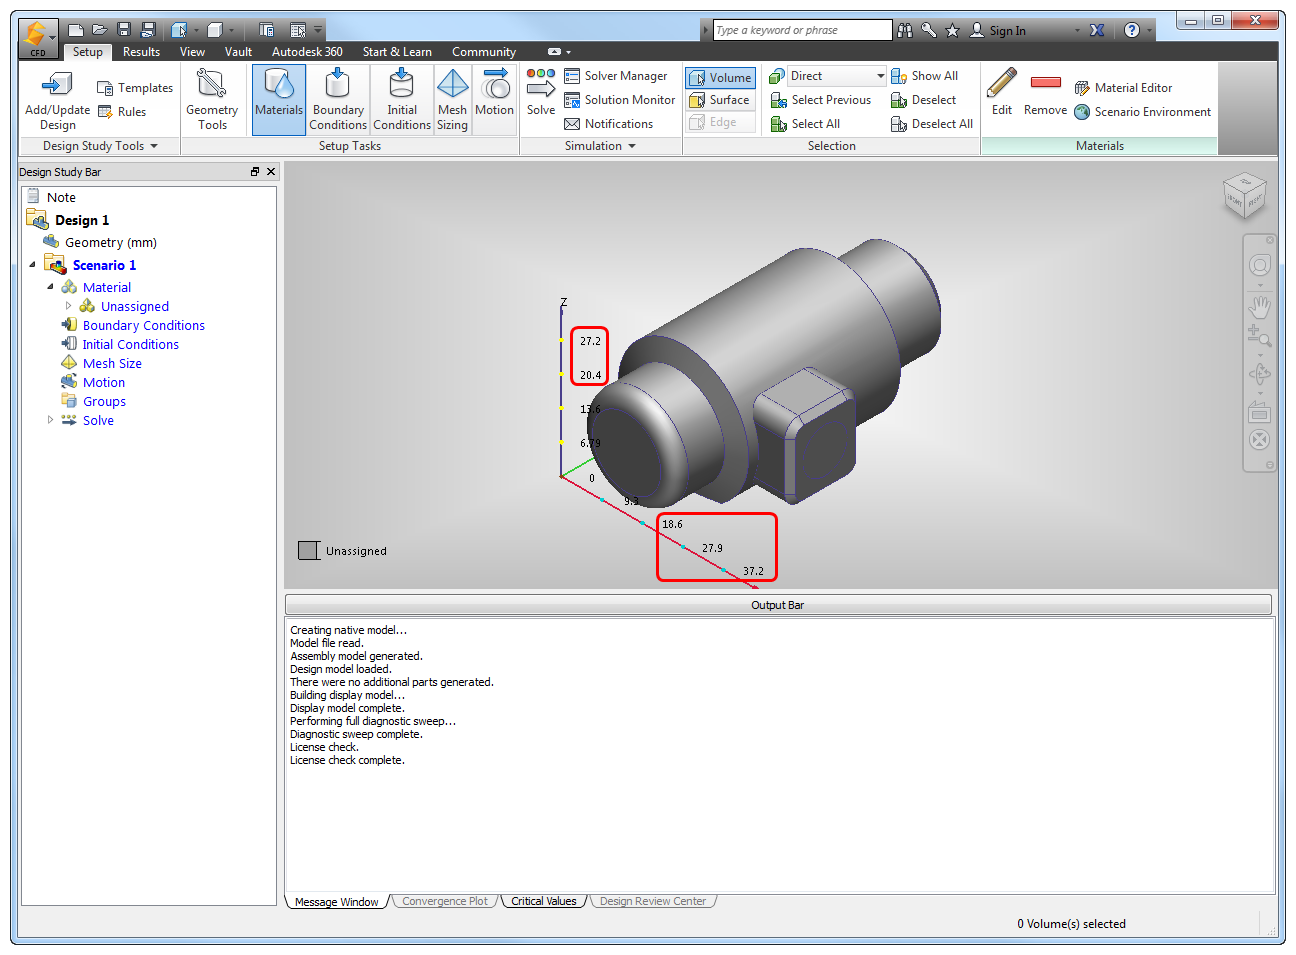
What it should look like:
Autodesk® Simulation CFD should start, and you should see the model. Note the dimension values on the axes: